Thread bracelets DIY is a fun, creative, and affordable way to express your personality through handmade accessories. Whether you’re new to crafting or an experienced hobbyist, making thread bracelets allows you to design unique pieces that reflect your mood, style, or even meaningful messages. In fact, this craft has gained popularity across all age groups because it requires simple materials and offers endless customization options. As a result, more people are turning to thread bracelets DIY as a relaxing pastime and thoughtful gift idea. Moreover, these bracelets are lightweight, comfortable to wear, and perfect for layering.
Because they use colorful embroidery floss, yarn, or cotton threads, the visual impact can be bold or subtle, depending on your preference. Furthermore, techniques like braiding, knotting, and weaving make the process engaging and satisfying. Therefore, learning how to create thread bracelets DIY opens up a world of artistic freedom. Where to buy thread bracelet kits online? This article will guide you through essential supplies, step-by-step methods, design ideas, and care tips. By the end, you’ll feel confident to start your own thread bracelets DIY journey.
 Why Making DIY Thread Bracelets Is Perfect for Everyone
Creating thread bracelets DIY suits people of all ages and skill levels. First, the materials are easy to find and inexpensive. You only need thread, scissors, and tape or clips to hold your work in place. Additionally, no special tools are required, which makes this project accessible to beginners. As a result, kids, teens, and adults can all enjoy the process.
Second, thread bracelets DIY promotes mindfulness and reduces stress. The repetitive motions of braiding or knotting help calm the mind. In fact, many people use this activity during breaks or while watching TV. Similarly, focusing on color patterns or sequences encourages creativity and concentration. Therefore, it serves as both entertainment and mental relaxation.
Moreover, thread bracelets DIY fosters connection. Friends often make them together during sleepovers or gatherings. Likewise, families use this craft to bond over shared designs or themes. For example, matching bracelets can symbolize friendship or support for a cause. Consequently, the experience becomes about more than just the final product.
Another benefit is sustainability. Instead of buying mass-produced accessories, you reuse leftover threads or repurpose old fabrics. This reduces waste and supports eco-friendly habits. Also, homemade items carry more personal value than store-bought ones. Hence, wearing a thread bracelet you made feels more meaningful.
Finally, thread bracelets DIY builds confidence. Completing a bracelet gives a sense of achievement. Over time, you can try advanced patterns and improve your skills. Thus, it’s not just a craft—it’s a journey of growth and self-expression.
Essential Supplies for Starting Your DIY Thread Bracelets Project
Before diving into thread bracelets DIY, gather the right materials. First, choose high-quality embroidery floss. It comes in hundreds of colors and holds knots well. Typically, six-strand cotton floss works best because you can separate strands for thinner designs. Alternatively, use nylon or silk thread for a shinier finish.
Next, prepare a pair of sharp scissors. Clean cuts prevent fraying and ensure neat ends. Also, keep a ruler or measuring tape handy. Most bracelets range from 6 to 8 inches, depending on wrist size. Therefore, accurate measurement is key to comfort.
Then, secure your workspace. Use tape to fasten the starting end of your thread to a table or clipboard. Or, clip it to a pillow with a safety pin. This keeps tension steady while you work. Some crafters prefer using a braiding disc or loom for consistent patterns. However, these are optional for basic projects.
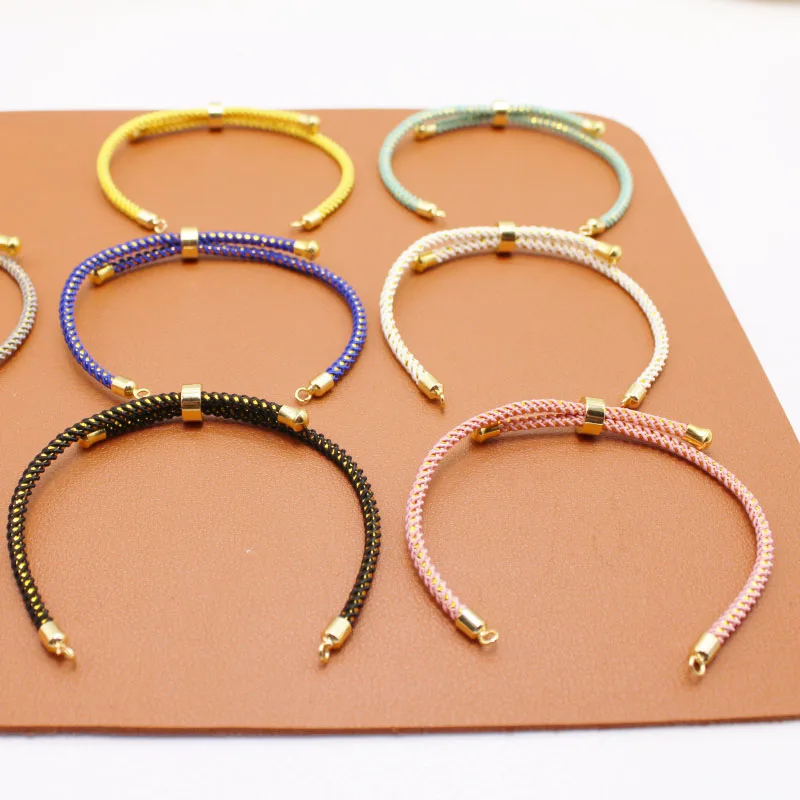
Additionally, consider closure options. While some thread bracelets tie on with knots, others use buttons, toggles, or magnetic clasps. If you plan to sell your creations, durable closures add professional appeal. On the other hand, knotted styles suit casual, temporary wear.
Lastly, organize your colors. Sort threads by shade or theme to speed up design choices. You might also label them for future reference. Having everything ready means less interruption and more creative flow. With these supplies, your thread bracelets DIY experience will be smooth and enjoyable.
 Popular Techniques Used in DIY Thread Bracelets
Several techniques bring variety to thread bracelets DIY. Each one offers a different texture and look. Learning them expands your creative options.
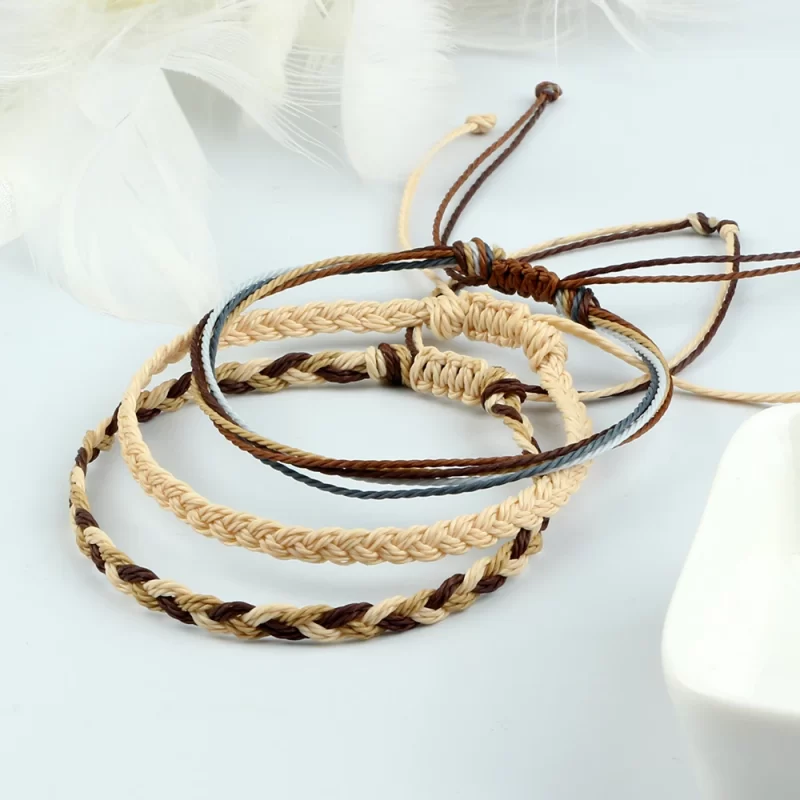
First, the fishtail braid is simple and elegant. It uses four strands and alternates outer threads to the center. As a result, it forms a sleek, woven pattern. This style works well for monochrome or two-tone designs.
Second, the chevron pattern creates a V-shaped effect. It usually starts with six or more strands arranged symmetrically. Then, you perform forward and backward knots on each side. Gradually, the layers build into a striking geometric look. Because it’s flat and wide, it covers more wrist space.
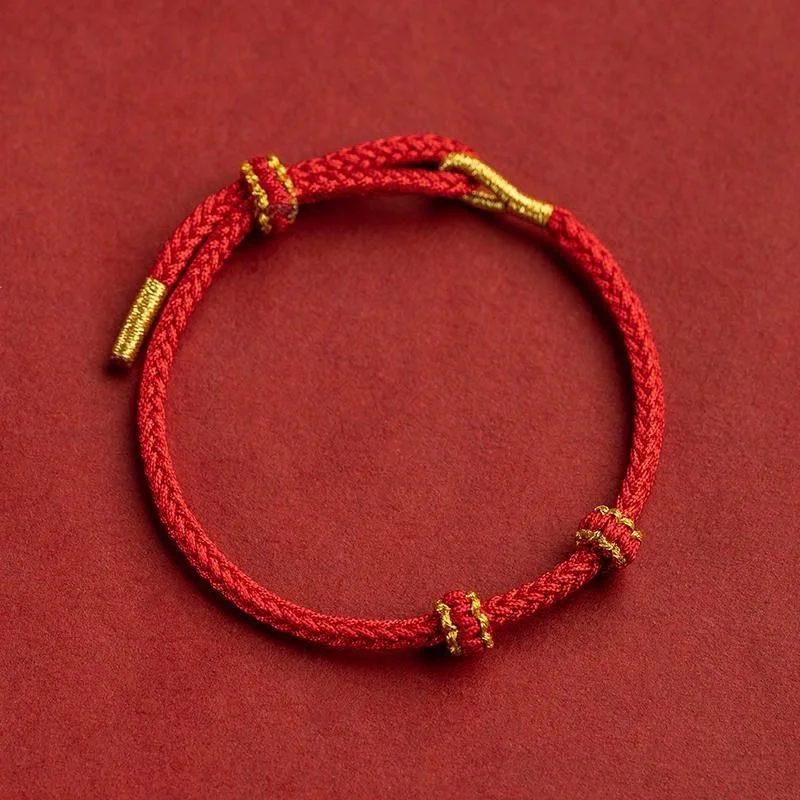
Third, the spiral braid produces a twisting effect. Use two strands and knot one consistently over the other. After several rows, the bracelet naturally coils. This method is ideal for contrasting colors, as the twist highlights both threads.
Fourth, the candy stripe technique relies on vertical lines. It involves multiple strands knotted together in sequence. When done correctly, it resembles a striped ribbon. This style suits playful or festive themes.
Fifth, macramé knots add texture and depth. Square knots, half-hitches, and lark’s head knots are common. They allow intricate details like hearts, names, or symbols. As a result, personalized thread bracelets become possible.
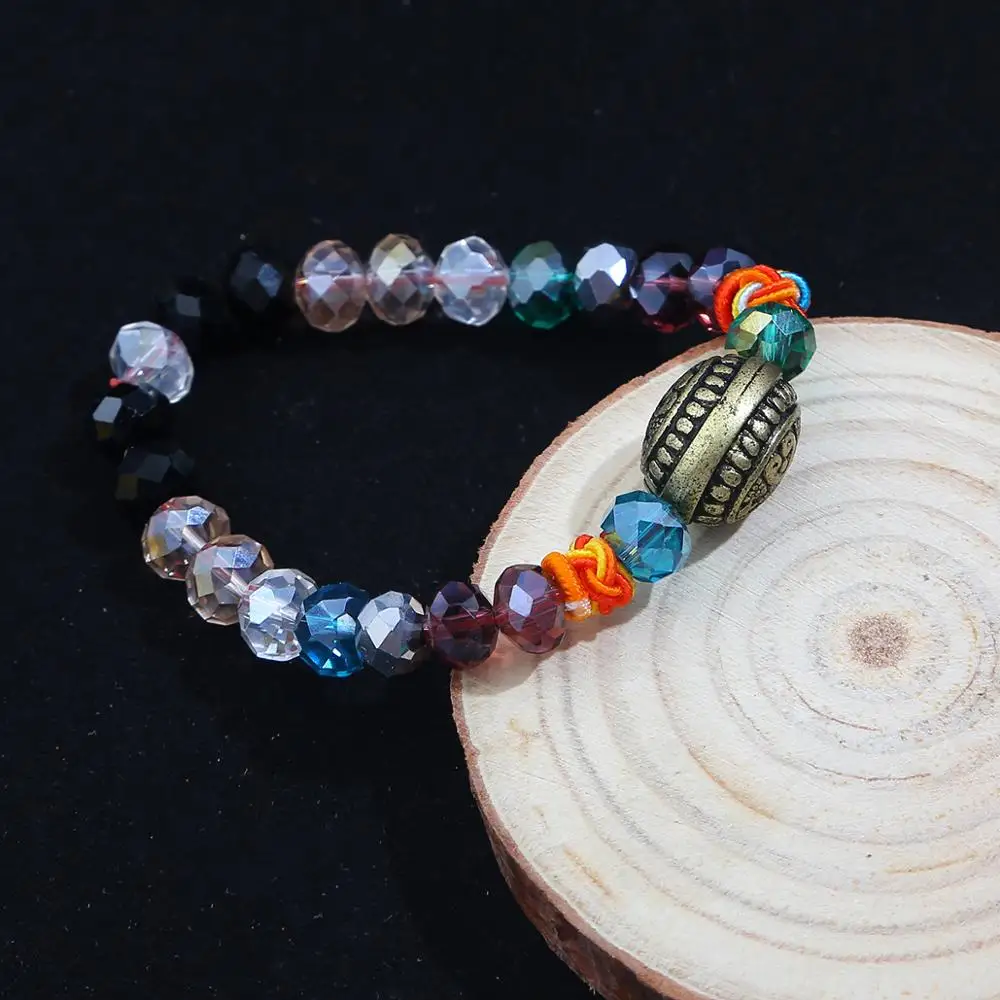
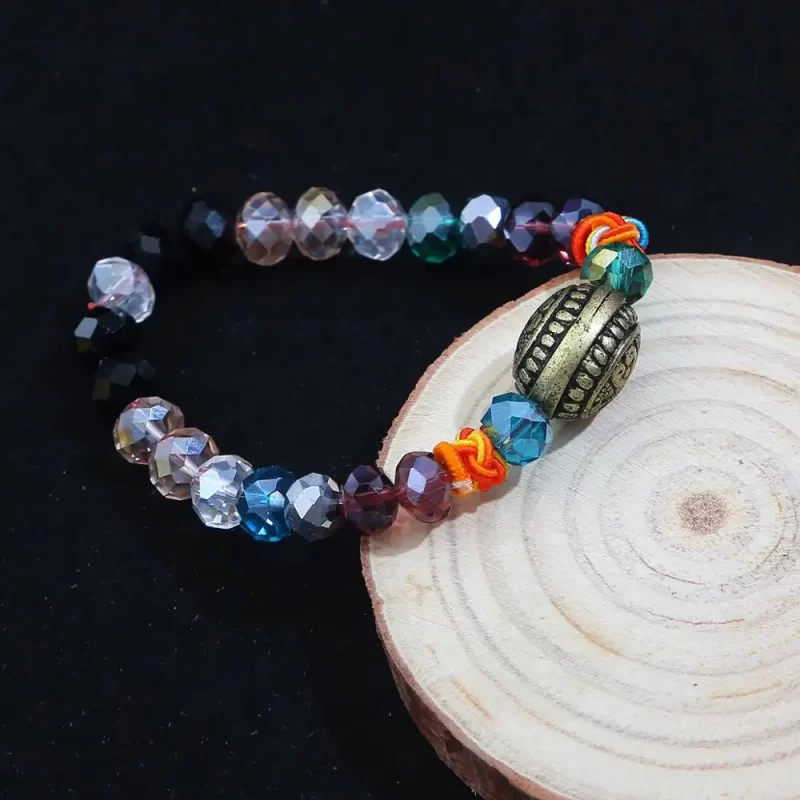
Finally, bead integration enhances visual interest. Slide small beads onto strands before knotting. They break up color blocks and add dimension. Moreover, beads can represent initials, birthstones, or lucky charms. Combining these techniques ensures your thread bracelets DIY remain fresh and exciting.
Creative Design Ideas for Your DIY Thread Bracelets Collection
Designing thread bracelets DIY lets you explore imagination and emotion. Start with color combinations. Pair complementary shades like blue and orange for contrast. Or use analogous tones like pink, red, and purple for harmony. Pastels offer softness, while brights bring energy.
Next, incorporate meaningful patterns. Try spelling names or words with letter beads. Alternatively, use knot spacing to represent Morse code messages. These hidden details make the bracelet personal and memorable.
Also, mix textures. Combine braided sections with knotted areas. Add tassels or fringe at the ends for flair. Such variations prevent monotony and highlight craftsmanship.
Consider themed sets. Make seasonal bracelets using holiday colors—red and green for winter, pastels for spring. Similarly, create awareness bands with symbolic hues, such as pink for breast cancer support.
Another idea is collaborative bracelets. Invite friends to contribute one row each. Then, link them into a long chain. This represents unity and shared memories.
You can also replicate cultural designs. Research traditional patterns from Mexico, India, or Africa. Adapt them using available threads. This honors global artistry while adding uniqueness.
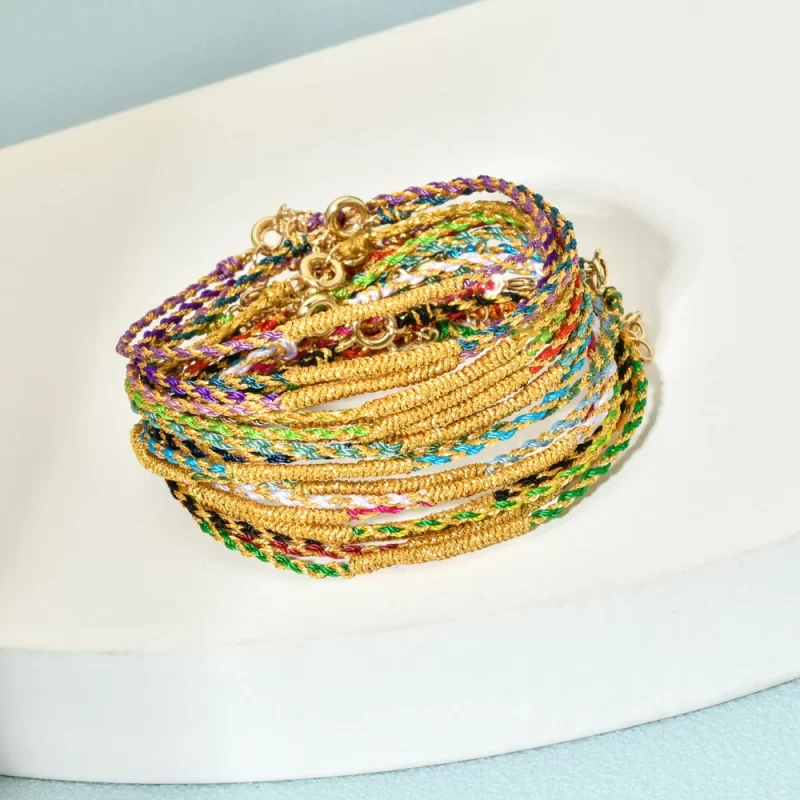
Lastly, experiment with layering. Make several thin bracelets to wear stacked. Choose coordinating colors or alternating styles. The layered look is trendy and dynamic. With so many options, your thread bracelets DIY collection will always feel fresh.
 F&Q: Frequently Asked Questions
Many crafters have questions when starting thread bracelets DIY. Here are common ones with clear answers.
How long does it take to make a thread bracelet? Simple designs take 15–30 minutes. Complex patterns may require 1–2 hours. Practice speeds up the process.
Can I wash thread bracelets? Not recommended. Water weakens knots and fades colors. If dirty, gently spot-clean with a damp cloth.
What if my thread frays? Trim the end and apply a drop of clear nail polish. Let it dry before continuing. This seals the fibers.
Are thread bracelets suitable for gifts? Absolutely. Handmade items show thought and effort. Include a note explaining its meaning.
How do I resize a bracelet? Adjust the starting length before knotting. Always measure the wrist first. Leave extra room for tying knots.
Can I use regular sewing thread? It’s too thin and weak. Embroidery floss is stronger and more vibrant.
How do I prevent knots from slipping? Pull each knot tightly. Use quality thread with good grip. Avoid oily hands during crafting.
These answers help beginners avoid common issues and enjoy their thread bracelets DIY experience.
 Where to Share and Showcase Your DIY Thread Bracelets Creations
Once you’ve made your thread bracelets DIY, share them proudly. First, post photos on social media platforms like Instagram, Pinterest, or Facebook. Use hashtags such as #threadbraceletsdiy or #handmadejewelry to reach wider audiences. Many communities welcome craft lovers and offer feedback or inspiration.
Second, join online forums or craft groups. Websites like Reddit or craft-specific boards host active discussions. You can ask for advice, trade tips, or participate in challenges. Being part of a group boosts motivation and learning.
Third, sell your pieces at local markets or online shops. Etsy is a popular platform for handmade goods. Provide clear images, descriptions, and care instructions. Customers appreciate knowing the story behind each bracelet.
Fourth, donate bracelets to charities or schools. Hospitals, shelters, or youth programs often welcome handmade gifts. This spreads kindness and promotes your craft.
Fifth, teach others. Host a workshop at home or in a community center. Sharing your skills strengthens bonds and inspires creativity in others.
Finally, enter craft fairs or exhibitions. These events connect you with buyers, artists, and suppliers. Displaying your thread bracelets DIY in person increases visibility and credibility.
By sharing your work, you not only gain recognition but also contribute to a growing handmade movement.
 Conclusion: Embrace Creativity with DIY Thread Bracelets
How to make quick thread bracelets for friends? Thread bracelets DIY is more than a craft—it’s a form of self-expression, connection, and joy. From choosing colors to mastering knots, every step invites creativity and focus. Because the materials are affordable and the techniques easy to learn, anyone can begin. Moreover, the results are wearable art that tells a story. Whether worn daily or gifted to someone special, each thread bracelet carries intention. As trends come and go, handmade accessories remain timeless. In fact, they often become cherished keepsakes. With practice, your skills will grow, and your designs will evolve. So, gather your threads, pick a pattern, and start creating. Ultimately, the world of thread bracelets DIY welcomes everyone with open hands. Indeed, every knot you tie brings you closer to your unique style. Keep exploring, and let your imagination shine through every thread bracelets DIY project you make.