Friendship bracelets are a timeless symbol of camaraderie and creativity. Whether you’re a beginner or an experienced crafter, exploring various friendship bracelets patterns can be both rewarding and fun. In this article, we delve into a variety of friendship bracelet patterns for friends, providing detailed instructions and tips to help you create stunning wrist adornments that strengthen bonds and showcase your artistic flair.
 Types of Friendship Bracelets
Friendship bracelets come in various designs, each offering a unique style and technique. Let’s explore the most popular types.
Knotted Bracelets
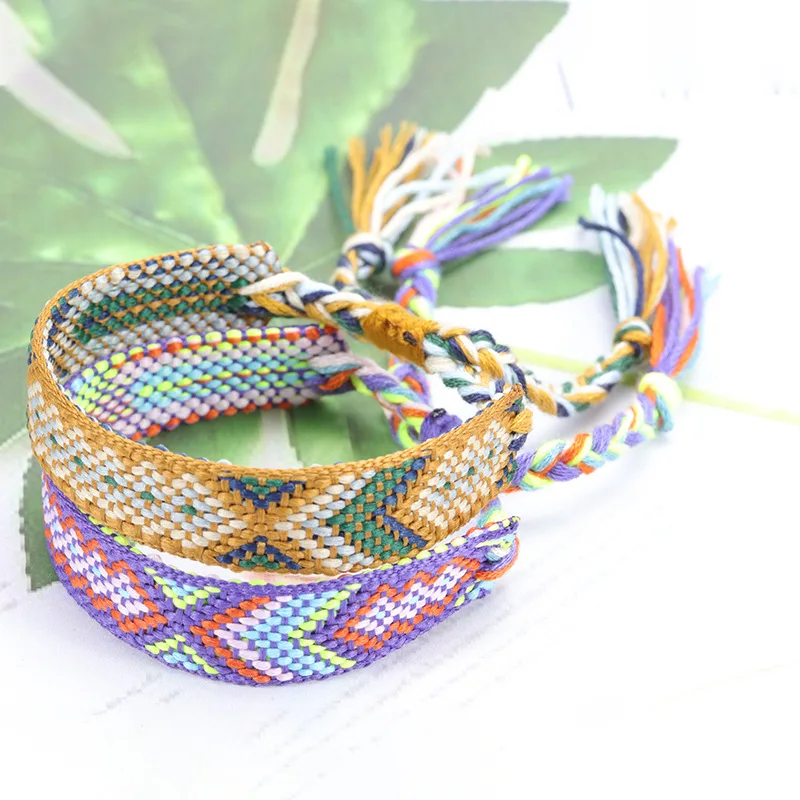
Knotted bracelets are one of the most traditional styles. They use simple knotting techniques, making them easy to craft. Popular patterns include chevron and diamond designs. These bracelets require colorful embroidery threads and precise knot work. They are durable and great for beginners.
Braided Bracelets
Braided bracelets are another timeless choice. They are made by weaving threads into intricate braids. This style offers flexibility in design and allows creativity with color combinations. Braided bracelets are quick to make and ideal for gifting.
Embroidered Bracelets
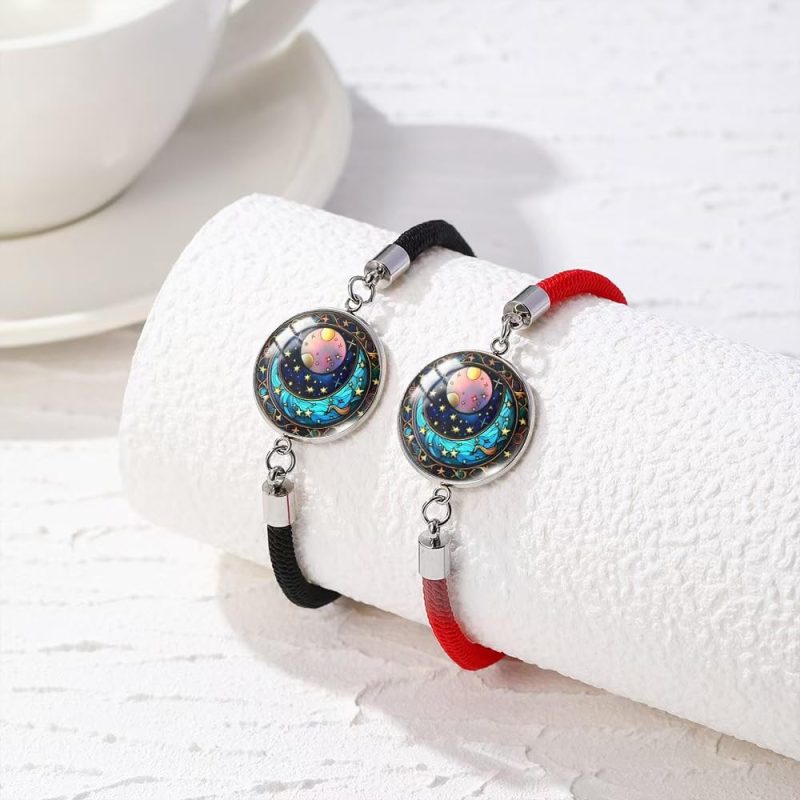
Embroidered bracelets add a unique touch with stitched designs. They combine fabric and threads to create visually stunning patterns. Beads or charms can also be included for extra flair. These bracelets are perfect for showcasing artistry and personal expression.
Materials Needed for Friendship Bracelets
To start creating friendship bracelets, you’ll need some basic materials. These items are essential for crafting different friendship bracelets patterns with ease.
Threads and Strings
Threads and strings form the base of any friendship bracelet. Embroidery threads are a popular choice due to their vibrant colors and durability. You can also use cotton threads or nylon cords for specific designs. Ensure you have multiple colors to make the patterns stand out.
Beads and Charms
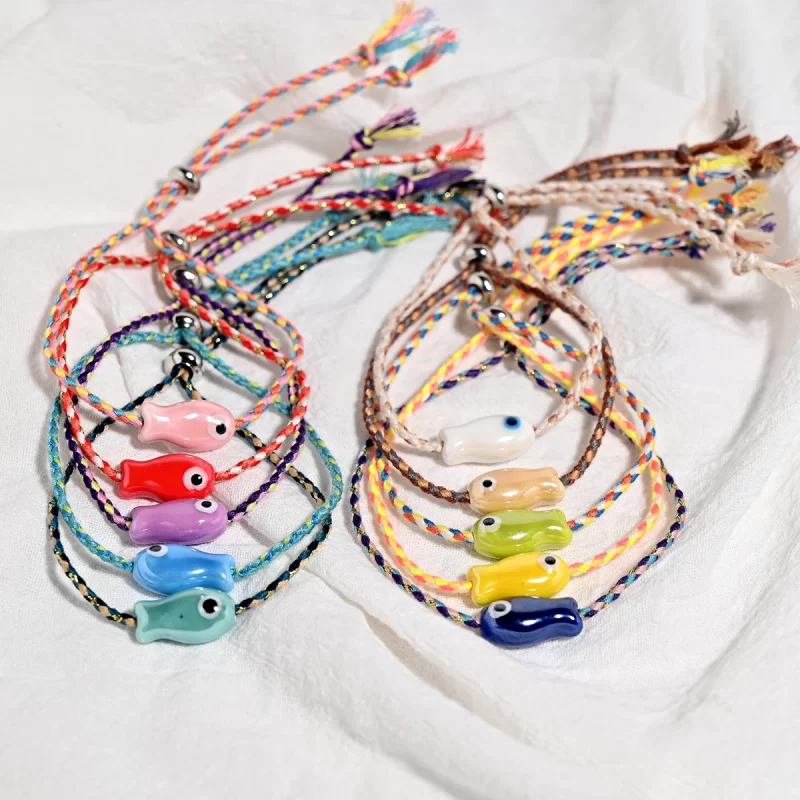
Beads and charms allow you to personalize your bracelets. Use small beads for subtle accents or larger ones for bold designs. Charms in unique shapes or symbols can make your bracelet meaningful. Choose beads that fit the thickness of your threads comfortably.
Tools and Accessories
Basic tools simplify the crafting process. You may need a pair of sharp scissors, tape, or clips to secure the threads while working. A ruler helps measure equal thread lengths, and a safety pin can assist with knotting. Optional accessories like glue can be used to secure the ends of your bracelet.
Step-by-Step Guide to Making Friendship Bracelets
Creating friendship bracelets is both fun and rewarding. Follow these steps to craft your own designs.
Basic Knotting Techniques
Mastering basic knotting techniques is essential for making beautiful friendship bracelets.
- Overhand Knot: This simple knot secures your threads before starting a pattern.
- Forward Knot: Loop one thread over another, pull tight to create a forward knot.
- Backward Knot: The reverse of forward knot, used for directional patterns.
- Forward-Backward Knot: Combines forward and backward movements, perfect for chevron patterns.
- Lark’s Head Knot: Often used for attaching threads, creating a secure start point.
Practice these knots on spare threads to build confidence.
How to Add Beads
Beads can elevate your friendship bracelet patterns to the next level.
- Prepare Beads: Select beads with holes that fit your threads.
- Thread Placement: Decide where beads will appear in your design.
- Insert Beads: String beads onto the desired thread while knotting.
- Secure Beads: Add a knot after a bead to keep it in place.
- Experiment: Mix bead sizes and colors for unique patterns.
Beads can make bracelets look stylish and personalized.
Creating Braided Patterns
Braided patterns are quick and versatile. Here’s how you can create them:
- Cut Threads: Use three or more threads of equal length.
- Secure Threads: Attach threads to a stable point using tape or a clip.
- Separate Threads: Arrange threads to start braiding easily.
- Braid: Cross the right thread over the middle, then the left over the middle. Repeat.
- Finish and Secure: Tie knots at the end and trim excess threads.
Braided patterns are ideal for beginners and make great gifts.
By combining these techniques, you can create endless friendship bracelet designs. This guide ensures each step is clear and manageable for all experience levels.
Popular Patterns for Friendship Bracelets
Learning specific patterns can elevate your bracelet-making skills. Each design adds its own charm and uniqueness to your creations. Here are some top patterns to try:
Chevron Pattern
The chevron pattern is a classic choice among friendship bracelets patterns. Its V-shaped design offers symmetry and elegance.
- Choose Threads: Select multiple colors for a vibrant look.
- Secure: Attach threads to a stable point to start.
- Start Knotting: Alternate forward and backward knots to create the chevron shape.
- Repeat: Continue knotting until you reach the desired length.
- Finish: Tie a secure knot and trim any extra thread.
This pattern is perfect for beginners and works well with bold contrasts or soft gradients.
Diamond Pattern
The diamond pattern offers a geometric look that is visually striking. It requires more focus but is worth the effort.
- Divide Threads: Use at least four threads in two alternating colors.
- Create the Outline: Start knotting outward to form the diamond frame.
- Fill the Diamond: Knot inwards to fill the center of each diamond.
- Repeat the Process: Continue forming additional diamonds.
- Secure the Ends: Finish the bracelet with a simple knot.
This design brings a sophisticated touch to your friendship bracelets, showcasing detailed craftsmanship.
Spiral Rope Pattern
The spiral rope pattern is a fun and dynamic style. Its twisting effect looks stunning and creative.
- Choose Threads: Use at least three threads in contrasting colors.
- Tie Knots: Consistently make forward knots using one thread as the lead.
- Allow the Twist: The repeated forward knots will naturally create a spiral.
- Continue: Repeat the steps along the entire bracelet.
- Finish and Trim: Secure the end with a knot and trim extra threads.
The spiral rope is easy to make but gives a visually complex and artistic finish.
Experiment with these friendship bracelet patterns to find your favorite style. Each pattern lets you play with colors and personalize your designs.
 Tips for Customizing Friendship Bracelets
Friendship bracelets are more special when uniquely customized. Personal touches can elevate their sentimental value.
Using Color Combinations
Color combinations are an easy way to make your bracelet stand out. Mix vibrant and pastel tones for contrast. Match colors with seasonal themes for relevancy. Use ombre effects with gradual shades for elegance. Rainbow designs are fun and suit all personalities. Choose colors that represent your friendship and shared memories.
Adding Personal Messages
Adding messages turns your bracelet into a meaningful keepsake. Use embroidery threads to stitch words or initials. Attach letter beads to spell names or phrases. Symbols like hearts or stars can convey emotions. Arrange message patterns to be clear and well-placed. These touches show effort and make the bracelet sentimental.
Incorporating Unique Designs
Unique designs make your bracelet truly one-of-a-kind. Experiment with unconventional knotting styles for variety. Add charms that represent hobbies or interests. Use distinctive beads like gemstones or metallic accents. Incorporate fabrics or ribbons for texture. Blend traditional patterns with modern twists for originality.
Customizing friendship bracelets lets you express creativity and create gifts that are truly personal.
Caring for and Maintaining Friendship Bracelets
Friendship bracelets often hold sentimental value, making their care essential. Proper maintenance keeps them looking great while ensuring longevity. Follow these simple tips to preserve your creations.
Washing and Cleaning Tips
- Use Cold Water: Always wash your bracelets in cold water to avoid color fading.
- Mild Soap Only: Use gentle soap to prevent damage to threads or beads.
- Hand Wash: Avoid washing machines; hand washing is safer for delicate patterns.
- Pat Dry: Gently pat them dry with a clean towel. Avoid aggressive wringing.
- Avoid Chemicals: Keep them away from bleach or harsh cleaning agents.
Cleaning your bracelets regularly will keep their colors vibrant and materials intact.
Best Ways to Store Your Bracelets
- Keep Them Flat: Lay bracelets flat to prevent tangling or unwanted creases.
- Use Storage Boxes: Store bracelets in small boxes or organizers for better protection.
- Separate by Type: Arrange by type or size for easier access and to prevent damage.
- Avoid Tight Spaces: Ensure storage containers are roomy to avoid crushing beads or threads.
- Keep Dry: Store them in a cool, dry space away from direct sunlight.
Proper storage extends the life of your friendship bracelets and keeps them ready to wear.
How to Avoid Wear and Tear
- Remove Before Water Activities: Take them off before swimming or showering to avoid thread weakening.
- Avoid Overstretching: Don’t pull too hard while putting them on or taking them off.
- Limit Sun Exposure: Prolonged sunlight can fade colors and weaken threads.
- Inspect Regularly: Check for loose knots or beads and fix them promptly.
- Mind Contact with Chemicals: Keep bracelets away from perfumes or cleaning sprays.
Taking these precautions ensures your bracelets stay beautiful and durable over time.
 Ideas for Gifting Friendship Bracelets
Sharing friendship bracelets as gifts makes them even more meaningful. Thoughtful gestures enhance their sentimental value.
Making Them for Special Occasions
Special occasions are perfect times to gift friendship bracelets. Choose colors and patterns for the event.
- Birthdays: Use the recipient’s favorite colors or themes for a personal touch.
- Holidays: Create bracelets with seasonal colors like red and green for Christmas.
- Anniversaries: Include charms or messages that celebrate your friendship milestones.
- Graduations: Add inspirational symbols or use school colors.
- Weddings: Make bracelets for bridesmaids, incorporating wedding themes or soft pastel tones.
Tailoring bracelets to fit the occasion makes them memorable keepsakes.
Creative Presentation Ideas
Presenting friendship bracelets creatively adds excitement to the gift. Let your packaging stand out.
- Gift Boxes: Place bracelets in small decorative boxes. Add tissue paper for a luxurious touch.
- Personalized Notes: Include handwritten messages that explain the thought behind the design.
- DIY Envelopes: Make unique envelopes using colorful paper or fabric.
- Gift Bags: Use themed bags that reflect the occasion. Tie the bag with a ribbon.
- Bracelet Tags: Attach tags with details like the bracelet’s name, significance, or date.
Creative presentation complements your effort and makes gifting extra special.
Symbolism and Meaning Behind Friendship Bracelets
Friendship bracelets symbolize connection, love, and trust. Adding personal meanings makes them unique.
- Colors: Different colors represent qualities like loyalty, happiness, or optimism.
- Patterns: Patterns like chevron or diamond signify stability and strength.
- Charms and Symbols: Hearts convey love; stars symbolize aspirations and achievements.
- Beads: Beads can represent memories or favorite moments shared together.
- Personal Messages: Embroidered initials or phrases reflect friendship and dedication.
Every bracelet tells a story. Incorporate meaningful elements to create unforgettable gifts.
 Frequently Asked Questions (FAQ)
What are the best materials for making friendship bracelets?
The best materials include high-quality embroidery floss, which is durable and comes in a wide range of colors. Additionally, using a clipboard or tape helps in keeping your work steady.
How long does it take to make a friendship bracelet?
The time varies depending on the complexity of the pattern and your skill level. Simple patterns like Chevron can take about 30 minutes, while more intricate designs like the Fishtail or Double Zigzag may take a few hours.
Can I add beads or charms to my friendship bracelet?
Absolutely! Adding beads or charms can personalize your bracelet and make it stand out. Just thread them onto the floss at your desired intervals.
How do I ensure my friendship bracelets stay intact?
To ensure longevity, always secure your knots tightly and consider using a clasp instead of a simple knot. Properly finished ends prevent the bracelet from unraveling.
Are there any age restrictions for making friendship bracelets?
No, making friendship bracelets is a versatile craft suitable for all ages. Whether you’re a child, teenager, or adult, you can enjoy creating beautiful bracelets.
 Conclusion
Exploring different friendship bracelets patterns opens up a world of creative possibilities. From simple Chevron designs to intricate Fishtail patterns, each bracelet you craft holds a unique story and represents lasting friendships. By understanding various patterns, utilizing the right materials, and following our step-by-step guides, you can create stunning DIY friendship bracelet patterns free that not only adorn wrists but also symbolize cherished bonds. Dive into the art of friendship bracelet making and let your creativity flourish as you strengthen connections through beautiful, handmade accessories.