Introduction
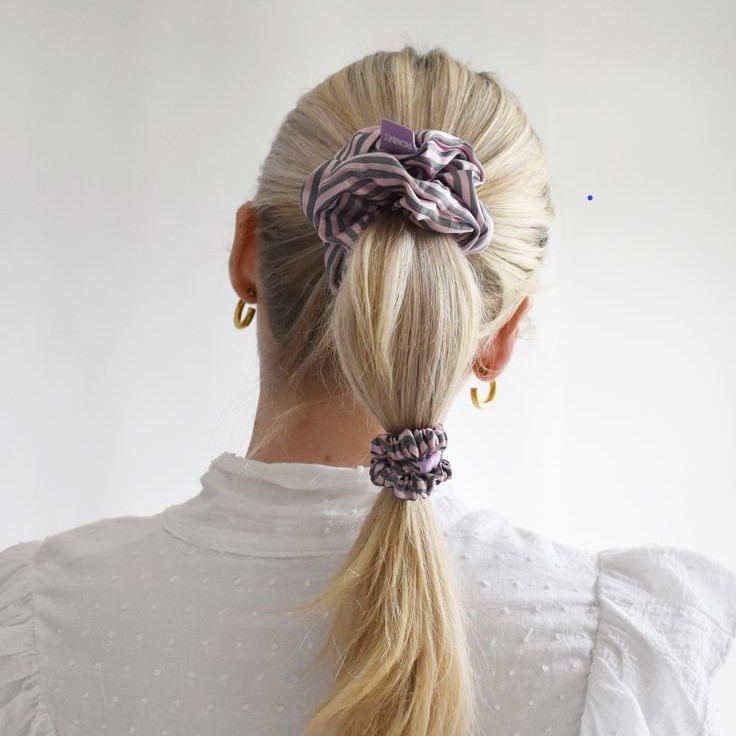
Making a scrunchie is not only a fun and creative activity, but it also offers practical benefits. This versatile hair accessory can be a delightful way to add a personal touch to your outfit or to create a thoughtful and unique gift for someone special. Learning how to make a scrunchie can be a rewarding experience that combines the joy of crafting with the satisfaction of producing something both beautiful and useful.
Whether you are looking to match your scrunchie to a specific outfit, experiment with different fabrics and patterns, or simply enjoy a relaxing and engaging hobby, this tutorial will guide you through the entire process. We will start by helping you select the right materials, including the best types of fabric and elastic, and then walk you through each step of the construction, from cutting and sewing to adding the finishing touches.
By the end of this tutorial, you will have created a beautiful, handmade scrunchie that you can proudly wear or give as a heartfelt gift. The sense of accomplishment and the ability to customize your scrunchie to your liking will make this project even more enjoyable. Whether you are a beginner or an experienced crafter, this guide is designed to be accessible and easy to follow, ensuring that you achieve a professional and polished result.
Materials Needed
Before you start, gather all the necessary materials. You will need:
- Fabric (cotton, silk, or any other lightweight material)
- Elastic (1/4 inch wide, 7-8 inches long)
- Sewing machine or needle and thread
- Scissors
- Ruler or measuring tape
- Pins
- Safety pin (optional)
Selecting the right fabric is crucial. Cotton and silk are popular choices because they are soft and comfortable. The elastic should be strong enough to hold your hair securely without being too tight. Once you have everything, you’re ready to begin.
Cutting the Fabric
How to make a scrunchie? The first step in making a scrunchie is cutting the fabric. This is a crucial stage that sets the foundation for the rest of the project. Start by laying out your chosen fabric on a flat, stable surface. Ensure the fabric is smooth and free of wrinkles to make accurate measurements.
Measuring the Fabric:
Use a ruler or measuring tape to measure a strip of fabric. The standard dimensions for a scrunchie are 3-4 inches wide and 18-20 inches long. These dimensions will give you a scrunchie that is both functional and stylish.
Then, if you prefer a fuller, more voluminous scrunchie, you can cut a longer strip, up to 22-24 inches. For a more delicate and subtle look, a shorter strip, around 16-18 inches, will suffice.
Cutting the Fabric:
Once you have marked the dimensions, use sharp scissors to cut along the lines. Sharp scissors are essential for clean, precise cuts. Dull scissors can cause frayed edges and uneven lines, which will affect the final appearance of your scrunchie.
Take your time to ensure that the edges are straight and clean. This attention to detail will make a significant difference in the overall neatness and professional look of your finished scrunchie.
Using Additional Tools:
If you have access to a rotary cutter and a cutting mat, these tools can make the cutting process even easier and more precise. A rotary cutter allows for smooth, continuous cuts, and a cutting mat provides a safe and stable surface to work on.
Place the fabric on the cutting mat, align the ruler along the marked lines, and use the rotary cutter to cut through the fabric. This method is particularly useful if you are cutting multiple strips or working with slippery fabrics.
Preparing the Elastic
Next, prepare the elastic. Cut a piece of elastic that is 7-8 inches long. This length works well for most hair types, but you can adjust it if needed. To make threading the elastic easier, attach a safety pin to one end. This will help you guide the elastic through the fabric tube later.
If you don’t have a safety pin, you can use a small clip or even a needle. The key is to have something that can easily pass through the fabric. Once the elastic is prepared, set it aside and move on to the next step.
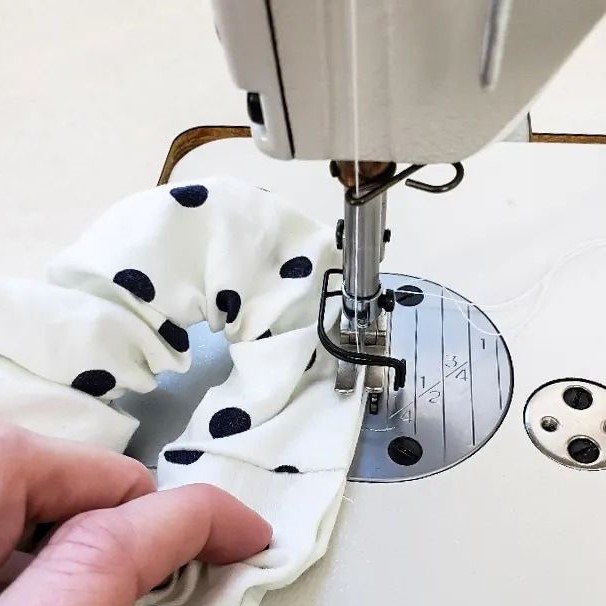
Sewing the Fabric Tube
Now, it’s time to sew the fabric into a tube. Take the fabric strip and fold it in half lengthwise, with the right sides facing each other. Pin the edges together to keep them in place. Using a sewing machine, stitch along the long edge, leaving about a 1/4-inch seam allowance. If you don’t have a sewing machine, you can hand-stitch the seam using a backstitch.
Once you’ve sewn the long edge, turn the fabric tube right side out. Use a pencil or a turning tool to push out the corners and make sure the tube is smooth. This will be the body of your scrunchie, so take your time to ensure it looks neat and even.
Threading the Elastic
With the fabric tube ready, it’s time to thread the elastic. Insert the safety pin (or whatever tool you’re using) into one end of the fabric tube. Push the pin through the tube, guiding the elastic as you go. Continue until the elastic comes out the other end.
Once the elastic is fully inside the tube, overlap the ends by about an inch. Secure the ends together with a few stitches, either by hand or with a sewing machine. This will form the stretchy part of the scrunchie. Make sure the elastic is not twisted inside the tube, as this can affect the final look and function of the scrunchie.
Closing the Scrunchie
Prepare the Fabric Tube:
Begin by folding the raw edges of the fabric tube inward. Next, this step is crucial for creating a clean and professional finish. Then, fold each edge about 1/4 inch (approximately 6 mm) towards the inside of the tube. This will hide the raw edges and prevent fraying.
Pin the Edges:
After that, use sewing pins to secure the folded edges together. Place the pins perpendicular to the edge, ensuring that they are evenly spaced and hold the fabric in place. Furthermore, make sure the edges are aligned properly to avoid any unevenness in the final product.
Stitch the Opening:
You can choose to stitch the opening closed either by hand or with a sewing machine, depending on your preference and the tools available.
If using a sewing machine, select a straight stitch and sew as close to the edge as possible. This will create a strong and durable closure.
If stitching by hand, use a needle and thread, and make small, even stitches along the edge. Ensure that the stitches are tight and close to the fold to prevent the seam from coming undone.
Secure the Closure:
As you stitch, make sure to backstitch at the beginning and end of the seam. This reinforces the stitches and prevents them from unraveling.
Double-check that the entire opening is securely closed, with no gaps or loose threads.
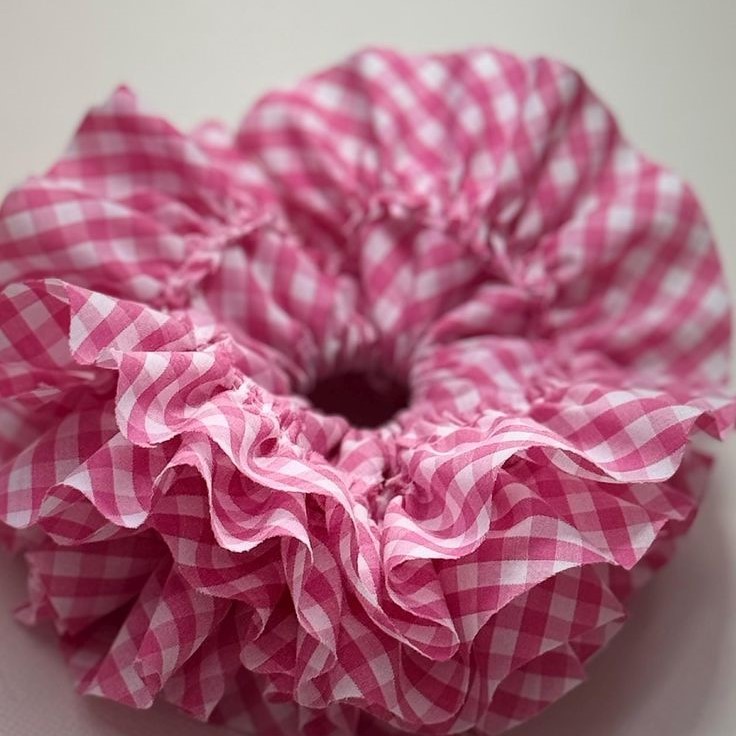
Distribute the Fabric:
Once the scrunchie is closed, give it a gentle tug to distribute the fabric evenly around the elastic. This step is important to achieve a full and puffy appearance.
Pull the fabric gently, working your way around the scrunchie to ensure that the gathers are uniform, and the fabric is not bunched up in one area.
Final Adjustments:
After distributing the fabric, inspect the scrunchie to make sure it looks even and balanced.
So, if necessary, make any final adjustments to the fabric distribution to ensure a smooth and attractive look.
Add Embellishments (Optional):
If you want to add a personal touch to your scrunchie, consider adding embellishments such as beads, sequins, or other decorative elements.
Sew the embellishments onto the scrunchie carefully, making sure they are securely attached and do not interfere with the elasticity of the scrunchie.
Completion:
Your scrunchie is now complete! Take a moment to admire your handiwork and try it on to see how it looks.
Then, store your new scrunchie in a safe place, or wear it immediately to show off your crafting skills.
By following these detailed steps, you can create a beautifully finished scrunchie that is both functional and stylish.
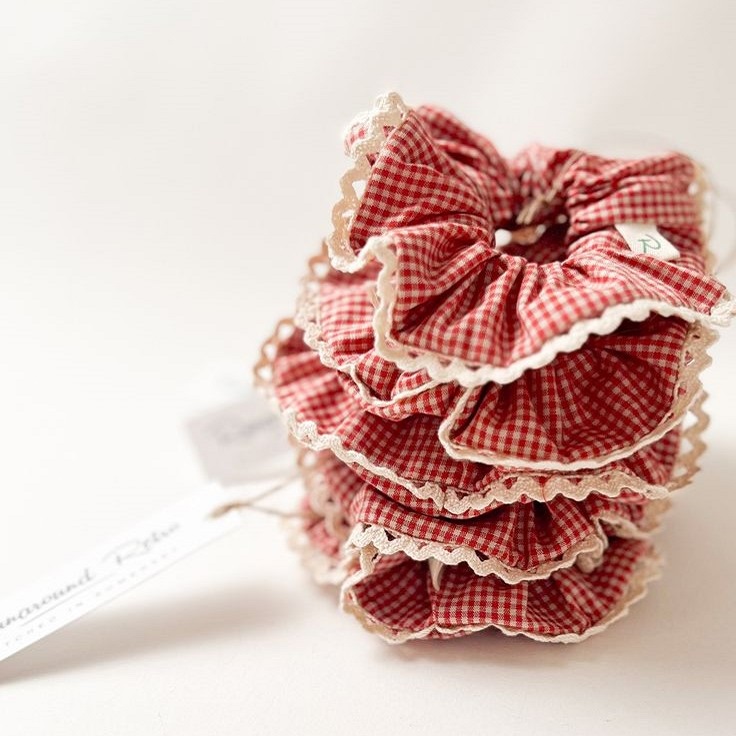
Tips and Variations
How to make a scrunchie? There are many ways to customize your scrunchie. Here are some tips and variations to consider:
- Fabric Choices: Experiment with different fabrics, such as velvet, lace, or even old t-shirts.
- Size Adjustments: For a smaller scrunchie, use a shorter strip of fabric and a shorter piece of elastic. For a larger scrunchie, use a longer strip and a longer piece of elastic.
- Embellishments: Then, add beads, sequins, or embroidery to make your scrunchie stand out.
- Color Coordination: Match the fabric to your favorite outfit or choose a color that complements your hair.
You can also make a double-layered scrunchie by sewing two fabric tubes together. This will give it a more luxurious look and feel. Additionally, you can make a reversible scrunchie by using two different fabrics, one for each side.

Conclusion
Learning how to make a scrunchie is a simple and enjoyable project that can yield beautiful results. Whether you’re making one for yourself or as a gift, the process is straightforward and rewarding. With the right materials and a little creativity, you can create a unique accessory that adds a personal touch to any outfit. So, grab your fabric and get started on your very own scrunchie today!