How Can You Customize Earrings for Different Age Groups as Gifts? Looking for a fun and meaningful way to celebrate the holidays? Diy christmas earrings are a charming craft that combines creativity with seasonal spirit. These handmade accessories let you express your personal style while spreading holiday cheer. Whether you’re making them for yourself, as gifts, or for a festive party look, crafting your own Christmas earrings adds a unique touch to your outfit.
The best part about diy christmas earrings is how easy they are to create. You don’t need advanced skills or expensive tools. With just a few basic supplies—like beads, wire, pliers, and themed charms—you can design stunning pieces in under an hour. From tiny snowmen to glittering stars, each pair reflects your imagination. Moreover, these earrings make thoughtful, budget-friendly presents. They show effort, love, and attention to detail. This guide walks you through everything—from essential materials to step-by-step designs and safety tips—so you can start crafting beautiful holiday jewelry today.
 Choosing the Right Materials for Your Project
What Supplies You’ll Need to Get Started
Before diving into diy christmas earrings, gather all necessary materials. Start with earring hooks or studs. Sterling silver, gold-plated, or hypoallergenic options work best. Choose based on skin sensitivity and color preferences.
Next, pick jump rings. These small metal loops connect charms to posts. Use 6mm or 8mm sizes. Always open and close them with pliers—not fingers—to avoid weakening the metal.
Earring backs or stoppers keep pieces secure. Silicone or rubber ones prevent loss. For dangle styles, choose fishhook wires with built-in closures.
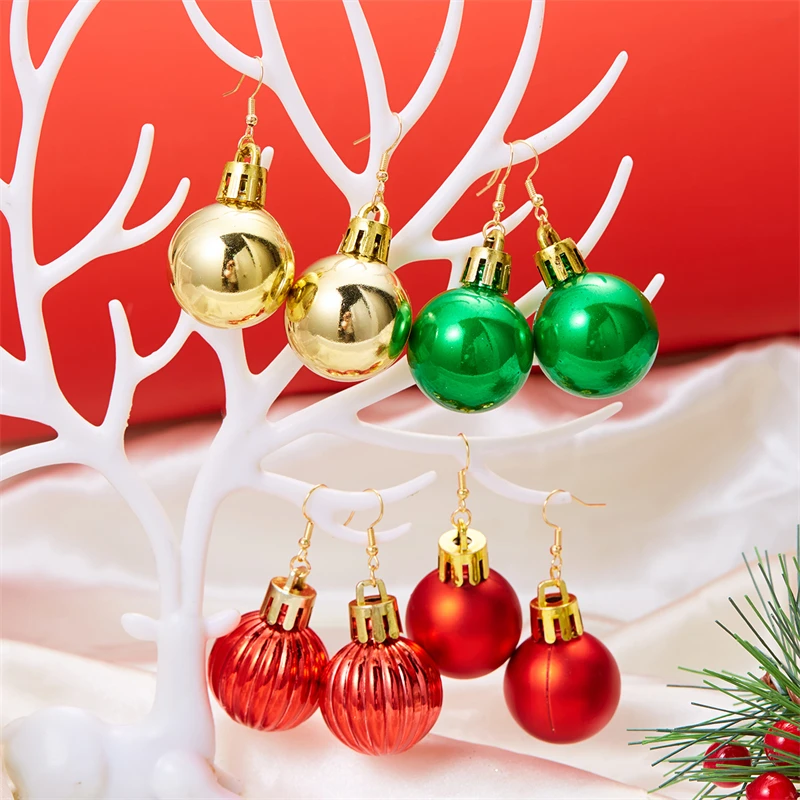
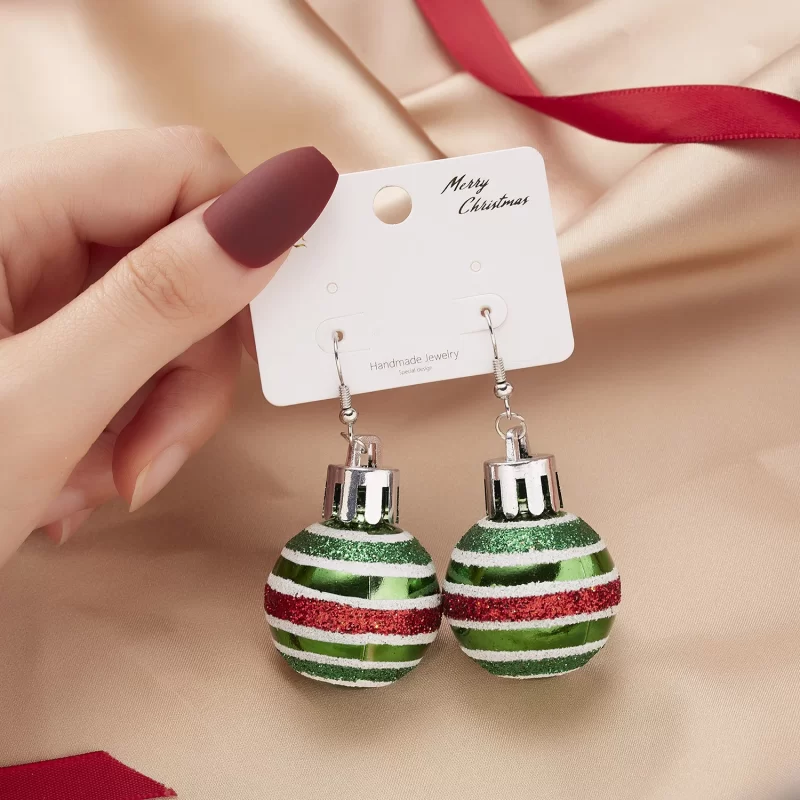
Now, select decorative elements. Miniature ornaments like tiny bells, snowflakes, or candy canes add instant holiday charm. Look for lightweight resin, wood, or acrylic versions. Heavy charms may pull on ears.
Beads enhance texture and color. Use red, green, white, silver, or gold beads for a classic look. Mix matte and shiny finishes for depth. Seed beads work well for filling space.
Glue may be needed for attaching layers. E6000 or jewelry adhesive holds strong. Apply in a well-ventilated area. Let dry completely before wearing.
Finally, organize your workspace. Use a tray or mat to keep small parts from rolling away. Keep pliers, cutters, and tweezers within reach.
Having everything ready makes crafting faster and more enjoyable.
Essential Tools for Assembling DIY Christmas Earrings
Pliers, Cutters, and Other Must-Have Items
To build diy christmas earrings safely and efficiently, you need proper tools. Round-nose pliers shape wire loops and bend jump rings. Use them to form eye pins or attach findings.
Flat-nose pliers grip small parts without slipping. They hold charms steady during assembly. Also useful for opening and closing jump rings smoothly.
Chain-nose pliers offer precision. Their tapered tips fit into tight spaces. Great for adjusting fine details.
Wire cutters trim excess headpins or eyepins. Never use scissors—they damage both tool and wire. A clean cut prevents jagged edges.
A ruler or measuring tape ensures balance. Match left and right earrings in length and design. Symmetry looks professional.
A magnifying lamp helps if you have trouble seeing small parts. It reduces eye strain and improves accuracy.
Keep a lint-free cloth nearby. Wipe down metal parts after handling. Oils from skin can dull shine over time.
Use a bead mat to prevent rolling. Felt pads keep beads contained. Avoid working on smooth surfaces.
Store extra pieces in labeled containers. Sort by color, size, or type. This saves time during future projects.
Good tools last years. Invest in quality brands. They reduce frustration and improve results.
 Simple DIY Christmas Earrings for Beginners
Easy Projects to Build Confidence
If you’re new to jewelry making, try simple diy christmas earrings first. One beginner-friendly idea is the “snowflake stud.” Attach a small silver snowflake charm to a post earring. Secure it with a glue dot or tiny jump ring. Done in minutes.
Another option is the “candy cane hook.” Slide a miniature red-and-white striped bead onto an eyepin. Create a loop at the top using round-nose pliers. Attach it to a fishhook wire. Instant festive flair.
Try the “jingle bell dangle.” Open a jump ring, slide on a tiny golden bell, then connect it to a leverback earring. The soft sound adds whimsy.
For a classic look, use red and green seed beads. String three or five onto a headpin. Form a loop above the last bead. Attach to ear wires. Repeat for symmetry.
Mini pom-poms also work. Choose red, white, or green fuzzy balls. Glue them to flat-back studs. Seal with clear nail polish for durability.
These quick ideas require minimal steps. They help you learn techniques without pressure.
Practice increases skill. Start with one pair. Then expand to more complex styles.
Beginner projects make great stocking stuffers. Kids enjoy them too.
Intermediate Designs for More Creative Expression
Adding Movement, Layers, and Sparkle
Once comfortable, explore intermediate diy christmas earrings. Try multi-strand drops. Use two or three headpins with different-sized beads. Connect them to a single ear wire. This creates fullness and movement.
Incorporate wire wrapping. Wrap floral wire around beads to form vines or holly leaves. Add red beads as berries. This handmade touch stands out.
Use transparent charms filled with glitter or fake snow. Known as “snow globes,” these are available in earring size. Attach them with jump rings. Shake gently to see the magic.
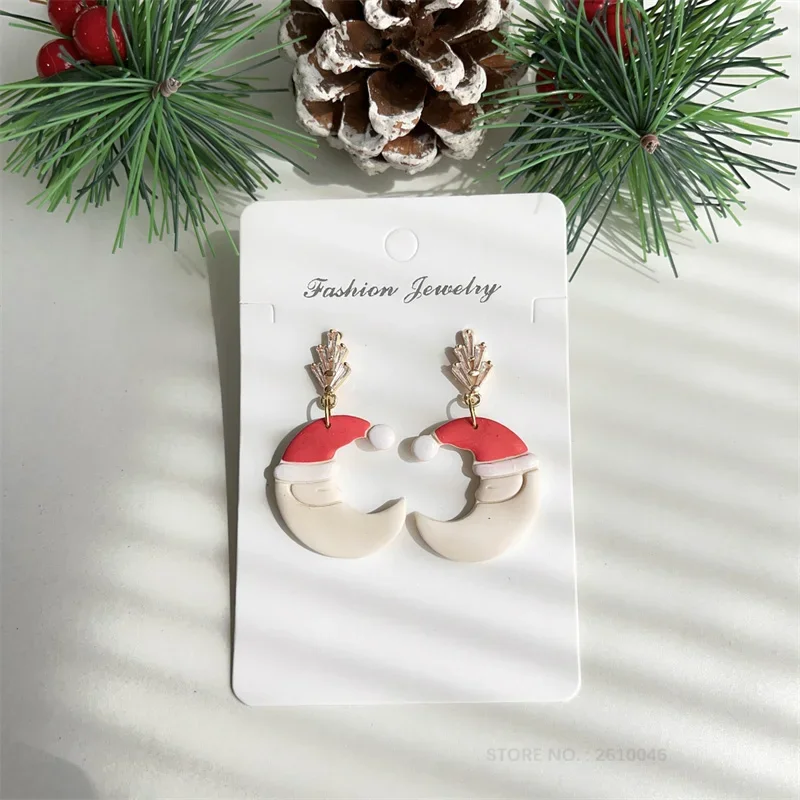
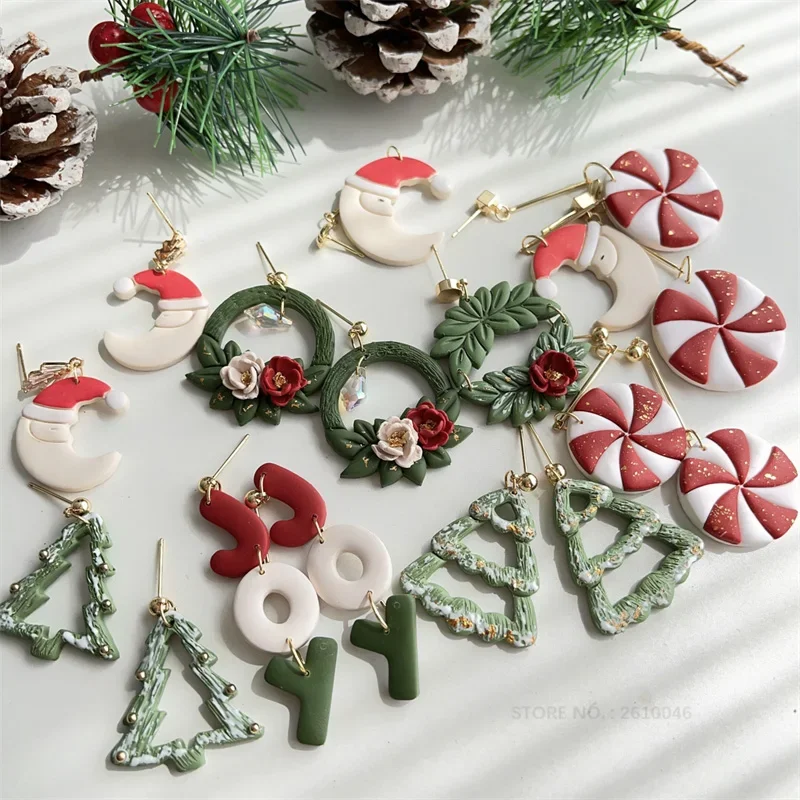
Try layered shapes. Stack small star, tree, and heart charms vertically. Space them with spacer beads. Creates a mini holiday scene.
Add sparkle with rhinestones. Glue tiny gems around a plain base. Use tweezers for control. Cover a circular back with shimmer.
Experiment with chains. Cut short lengths of delicate chain. Hang a charm at the end. Gives motion and elegance.
Try asymmetrical designs. Wear different charms on each side—like a reindeer on one, a gift on the other. Shows personality and humor.
Intermediate styles allow deeper customization. They suit parties, photos, or gifting.
Always test wearability. Ensure weight stays light. Comfort matters most.
 Advanced Craft Techniques for Unique Looks
Elevating Your Holiday Jewelry Game
For experienced crafters, advanced diy christmas earrings open new possibilities. Try polymer clay sculpting. Shape tiny trees, angels, or Santa hats. Bake according to package directions. Drill a small hole for hanging. Finish with glaze.
Resin casting offers custom shapes. Pour tinted resin into silicone molds. Add glitter, dried flowers, or micro-beads. Wait for curing. Attach to earring posts. Each piece becomes one-of-a-kind.
Metal stamping lets you personalize. Stamp names or words like “Joy” or “Noel” onto aluminum blanks. Oxidize letters for contrast. Turn them into pendants or studs.
Embroidery floss art works for boho styles. Braid or knot threads into tassels. Dye them holiday colors. Attach to ear wires. Soft, textured look.
Soldering allows permanent joins. Not recommended for beginners. Requires torch, flux, and safety gear. Best done in a ventilated studio.
Laser-cut wood pieces bring modern flair. Buy pre-cut holiday shapes online. Paint or stain them. Add metallic accents. Lightweight and stylish.
Upcycle old jewelry. Remove unwanted stones or charms. Reuse them in new holiday pairs. Reduces waste and costs.
Advanced methods take time. But the results feel professional and artistic.
Showcase your work on social media. Inspire others to create.
Safety Tips When Making Holiday Earrings
Protecting Yourself During Crafting
Even simple diy christmas earrings require safety awareness. Always work in a well-lit, ventilated area. Chemical fumes from glue or paint can cause headaches. Open a window or use a fan.
Wear safety glasses when cutting wire. Tiny metal fragments may fly. Small beads can pop off when pressed. Eye protection is essential.
Keep tools out of reach of children. Pliers, cutters, and needles are sharp. Supervise kids closely if they join the activity.
Use gloves when handling strong adhesives. Some glues irritate skin. Wash hands after crafting.
Avoid eating or drinking near your workspace. Beads or tools may fall into food. Clean up before meals.
Check for allergies. Nickel-based metals may cause rashes. Choose hypoallergenic posts for sensitive skin. Test on a small area first.
Don’t rush. Take breaks. Repetitive motions strain fingers. Stretch often.
Store unfinished projects securely. Pets may chew on loose beads. Use sealed containers.
Clean your tools after use. Wipe pliers with a dry cloth. Prevent rust and buildup.
Safety ensures fun and injury-free crafting.
 Gifting and Packaging Ideas
Presenting Your Earrings with Holiday Flair
Handmade diy christmas earrings become even more special when packaged thoughtfully. Start with small gift boxes. Use red, green, or gold ones with magnetic lids. Line them with cotton or felt.
Wrap in cellophane and tie with ribbon. Add a handwritten tag. Write the recipient’s name and a short message like “Merry & Bright.”
Attach the earrings to a festive card. Punch a hole in the corner. Slide in the hook. Place inside an envelope. Include a note explaining the design.
Create a themed set. Pair earrings with matching keychains or hair clips. Bundle them in a drawstring bag made of velvet or burlap.
Use ornament boxes. Clear plastic domes with bases double as display cases. The gift doubles as decor.
Include care instructions. Remind recipients to avoid water, perfume, or sleeping in them. Helps preserve your work.
Personalize packaging. Stamp tags with snowflakes or hand-draw borders. Add real pine sprigs or cinnamon sticks for scent.
Give multiple pairs. Offer a “holiday collection” with different themes—red/green, winter blues, gold/silver.
Packaging shows extra care. It turns a simple craft into a memorable present.
Frequently Asked Questions
Solving Common DIY Earring Concerns
Can I make diy christmas earrings without tools? Basic versions are possible. Use sticky backs or glue-on studs. However, tools improve quality and security.
Are these safe for kids to wear? Yes, if lightweight and securely fastened. Avoid long dangles for toddlers.
How do I store leftover supplies? Use compartment trays. Label sections. Keep in a dry, cool place.
Can I wash my hands with them on? No. Remove before washing. Moisture weakens glue and tarnishes metal.
What if a jump ring opens? Close it with pliers. Do not pull sideways. Bend it open and shut correctly.
Where can I buy affordable materials? Craft stores, Amazon, Etsy, or local hobby shops carry kits. Search “diy christmas earrings supplies.”
Can I sell what I make? Yes. Follow copyright rules. Avoid branded characters like Santa or Disney.
How long do they last? Months to years. Store in boxes. Avoid humidity and rough handling.
 Final Thoughts
Celebrating the Season Through Handmade Joy
What Are the Coziest DIY Earring Ideas for Winter Parties? Creating diy christmas earrings brings joy beyond the final product. It connects you to the season through color, creativity, and care. Each pair tells a story—of time spent, love given, and personal expression.
Whether simple or elaborate, these earrings reflect your spirit. They cost little but mean so much. Wear them proudly. Gift them freely. Share the tradition.
As you grow in skill, experiment with new materials and styles. Invite friends to craft together. Turn it into a cozy holiday ritual.
Ultimately, handmade jewelry carries emotion. It says, “I made this for you.” In a world of mass production, that means everything. So grab your pliers, pick your colors, and start designing. Because the best part of the holidays isn’t buying—it’s making. And with diy christmas earrings, you’re already on your way.