How to Choose a Headband Pattern That Matches Your Skill Level? Creating your own accessories is both fun and practical. If you’ve ever wondered how to make headbands, you’re not alone. This simple craft has gained popularity because it allows personal expression while being easy on the budget. Whether you’re making headbands for daily wear, gifts, or even to sell online, knowing how to make headbands opens up a world of creative possibilities.
Moreover, handmade headbands are lightweight, comfortable, and customizable. You can match them to any outfit or mood. In addition, many people choose this DIY project because it requires minimal tools and materials. As a result, it’s perfect for beginners. With just a little time and effort, you’ll be able to design stylish pieces that stand out.
 Why Making Your Own Headbands Is Worth the Effort
Benefits Beyond Style and Savings
Making your own headbands offers more than just fashion benefits. First, you gain full control over the materials used. For instance, if you have sensitive skin, you can select hypoallergenic fabrics. Similarly, eco-conscious crafters can use sustainable textiles like organic cotton or recycled ribbons. This level of customization simply isn’t possible with store-bought options.
Additionally, creating headbands helps reduce waste. Many commercial products come with excess packaging or low-quality construction. By contrast, homemade versions last longer and generate less trash. Furthermore, you avoid supporting fast fashion trends. Instead, you promote mindful consumption.
Another major advantage is cost savings. While a single branded headband might cost 10ormore,DIYversionsoftencostunder2 to produce. Over time, this adds up. Also, once you master how to make headbands, you can create dozens using leftover scraps. Therefore, it becomes an economical habit.
Finally, crafting improves mental well-being. Studies show that repetitive motions in sewing or knitting reduce stress. Thus, working on headband projects can serve as a calming activity. It encourages focus and mindfulness. Consequently, many people find joy in the process itself—not just the final product.
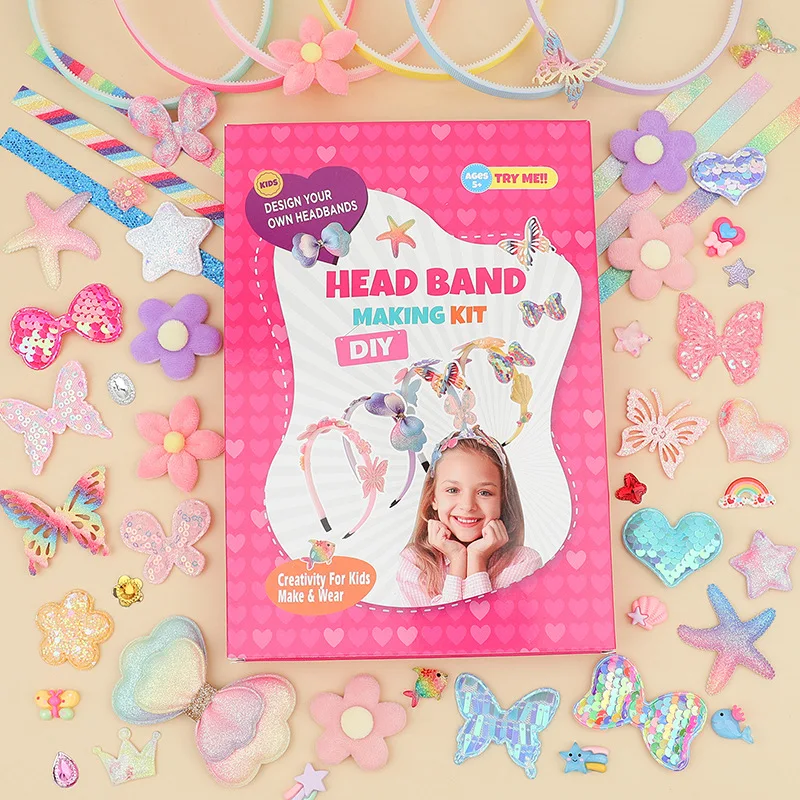
Essential Tools and Materials You’ll Need
Gathering Supplies Before You Begin
Before you start learning how to make headbands, gather all necessary supplies. First, choose your fabric type. Cotton, spandex, velvet, and satin are popular choices. Each offers different textures and stretch levels. For example, cotton is breathable but less elastic, while spandex provides excellent grip.
Next, collect basic sewing tools. You’ll need sharp scissors, pins, measuring tape, and thread that matches your fabric. A sewing machine speeds up the process, but hand-sewing works too. If you plan to add embellishments, include buttons, beads, or lace. These small details elevate your design.
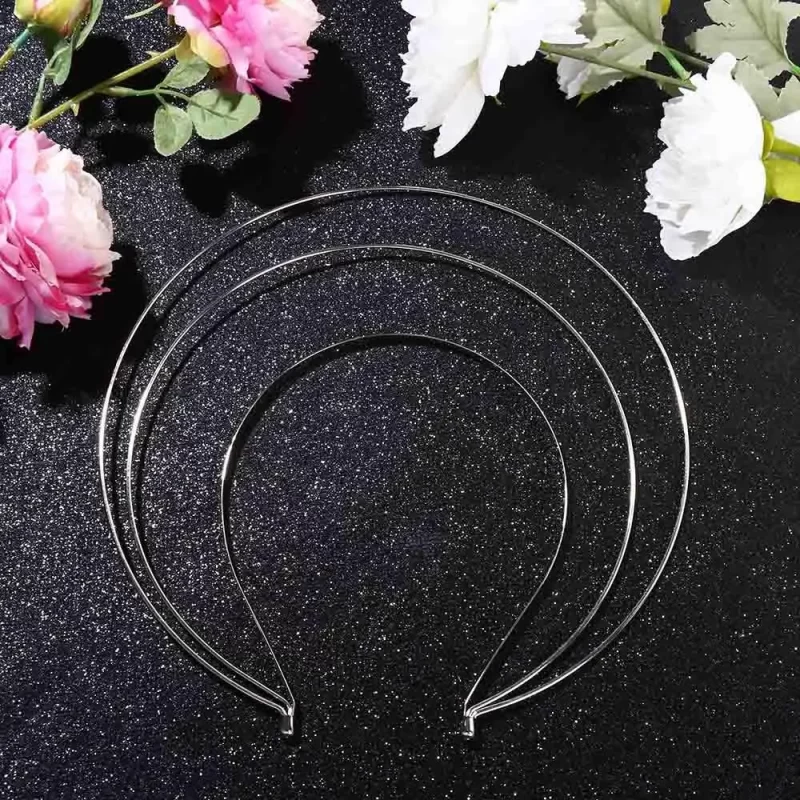
Don’t forget the headband base. Some styles use plastic or metal headband frames wrapped in fabric. Others rely solely on fabric strips sewn into loops. Elastic bands also work well for no-slip comfort. Choose based on your preferred fit and style.
Also, prepare an iron and ironing board. Pressing seams ensures clean lines and professional results. Meanwhile, having clips or binder rings helps hold layers together during assembly. Finally, keep a thimble handy if sewing by hand. All these items make the process smoother. As a result, your first attempt will feel less overwhelming.
 Different Types of Headbands You Can Create
Exploring Popular Styles and Their Uses
There are several types of headbands you can make at home. One common option is the wrap-style headband. It uses long fabric strips tied behind the head. This design suits casual looks and works well with thick hair. Plus, it’s adjustable for different head sizes.
Another favorite is the elastic loop headband. Made from stretchy fabric, it slips on easily and stays in place. Athletes often prefer this type because it absorbs sweat during workouts. Moreover, it pairs nicely with gym clothes or loungewear.
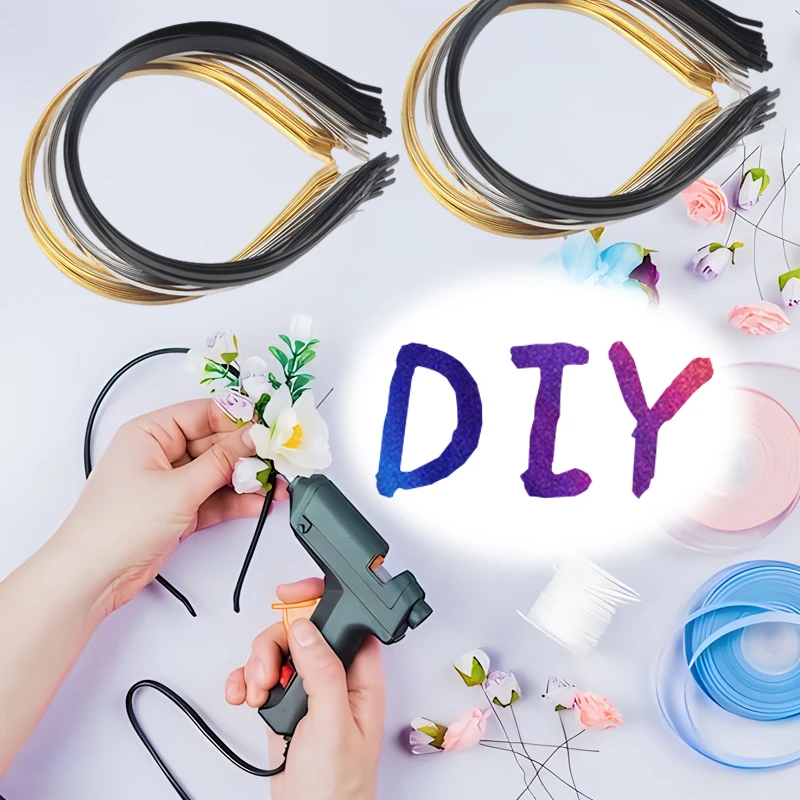
Fabric-covered wire headbands offer structure and flair. They maintain shape while allowing slight bending for custom fitting. Often seen in bridal or formal events, they look elegant when decorated with pearls or flowers.
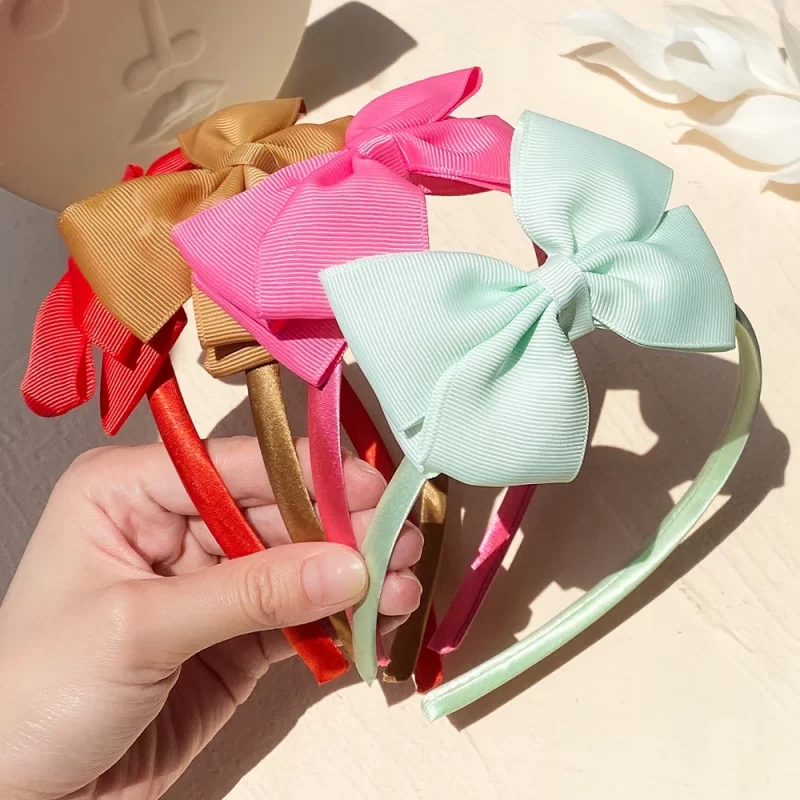
Then there’s the knot headband, which features a front bow or twist. It adds visual interest without extra hardware. Children love this playful version. Similarly, scrunchie-style headbands combine functionality with charm. They double as wrist cuffs when not in use.
Each type serves a unique purpose. Therefore, experiment with various designs. Eventually, you’ll discover which ones suit your lifestyle best. Learning how to make headbands means embracing variety.
Step-by-Step Instructions for Sewing a Basic Headband
Follow These Simple Stages to Get Started
Begin by measuring your head. Use a soft tape to find the circumference just above the ears. Then subtract 1 inch to ensure a snug fit. This measurement determines your fabric length. Cut two strips accordingly—one for the outer layer, one for lining.
Now, place the two pieces together with the right sides facing. Pin along the long edges to prevent shifting. Next, sew a straight stitch down both sides, leaving the ends open. Use a ¼-inch seam allowance for neat results.
After stitching, turn the tube right side out. Use a safety pin or turning tool to push out corners gently. Once flipped, press the entire piece flat with an iron. This step creates crisp edges and prepares it for finishing.
Then fold the raw ends inward about half an inch. Pin them shut so no fraying occurs. Sew across each end securely. Alternatively, overlap the ends slightly and stitch in a rectangle for added strength.
Finally, try it on. Adjust placement until it feels balanced. Notice how comfortably it rests against your scalp. Now you’ve successfully learned how to make headbands using basic techniques. Practice makes perfect—repeat the steps to build confidence.
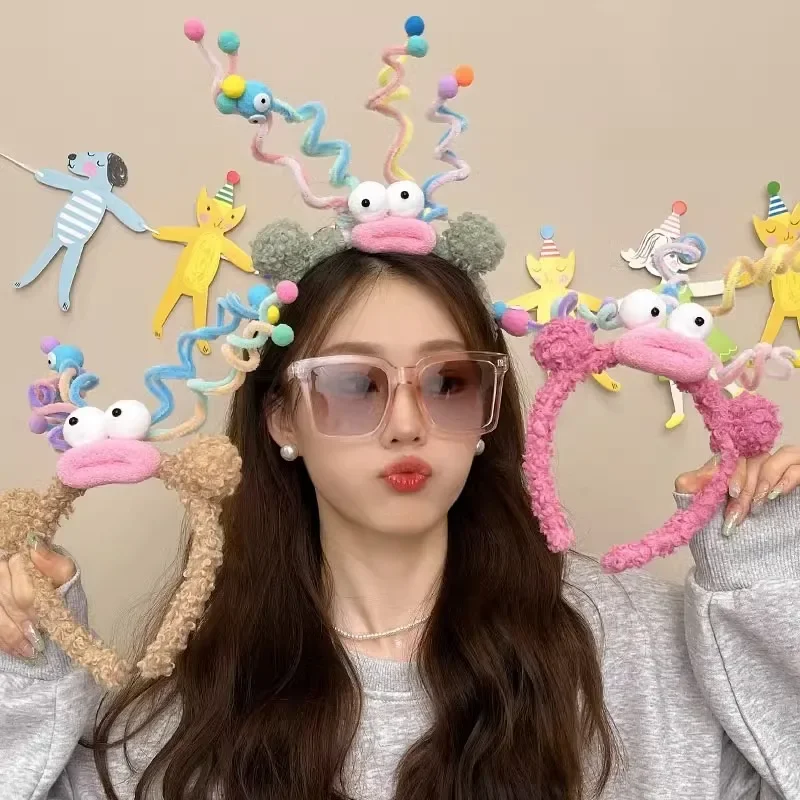
 Adding Creative Embellishments to Personalize Your Design
Ways to Customize Without Compromising Comfort
Once you’ve mastered the basics, personalize your headbands. Start with ribbon accents. Attach a small bow to the side or center front for a feminine touch. Use contrasting colors to make it pop.
You can also glue on fabric flowers. Purchase pre-made ones or cut petals from scrap material. Layer them for dimension. Secure each piece with strong fabric adhesive. Let dry completely before wearing.
Another idea is to sew on beads or sequins. Space them evenly along the edge for subtle sparkle. Be careful not to overload one area. Too much weight may cause slipping.
For bohemian flair, braid three fabric strips together before attaching them to a base. This method produces a textured look ideal for festivals or beach days. Alternatively, dip the ends in fabric paint for ombre effects.
If you enjoy embroidery, add tiny stitched words or symbols. “Joy,” “Love,” or initials make thoughtful gifts. Even simple dots or swirls enhance plain designs.
Always consider comfort. Avoid bulky items that dig into the scalp. Test wearability after each addition. That way, you balance beauty with function. After all, the best headbands feel as good as they look.
No-Sew Methods for Quick and Easy Projects
Alternatives for Those Without Sewing Skills
Not everyone owns a sewing machine—or knows how to use one. Fortunately, you can still learn how to make headbands without stitching. One simple method uses hot glue and fabric strips. Just wrap a plain headband base with ribbon or knit fabric. Cover every inch tightly. Seal the end with glue to prevent unraveling.
Another option involves elastic tubing and fleece. Cut a strip about 18 inches long and 2 inches wide. Slide it into a heat-shrink tube or use a hair tie as a connector. Tie the ends together firmly. The natural stretch holds it in place.
You can also repurpose old t-shirts. Cut horizontal strips from the bottom hem. These pieces have built-in stretch. Tie two together in a knot, then link the loose ends around your head. Trim excess for a clean finish.
For kids, pipe cleaners covered in yarn work well. Wrap colored yarn around the wire until fully concealed. Bend the ends to fit the head shape. Add googly eyes or pom-poms for fun.
These no-sew ideas are great for classrooms or family activities. They require minimal setup and cleanup. Besides, they allow instant gratification. As a result, beginners stay motivated to try more complex versions later.
 Tips for Choosing the Right Fabric and Fit
Matching Material to Purpose and Preference
Selecting the correct fabric makes a big difference in comfort and durability. For everyday wear, cotton blends are breathable and soft. However, they may slip more easily. To counteract this, add non-slip silicone strips inside.
Athletic headbands need moisture-wicking properties. Look for polyester-spandex mixes commonly found in sportswear. These fabrics cling gently and resist odor buildup. They’re also machine washable, which is convenient.
For special occasions, consider satin or silk. These smooth materials prevent hair breakage and frizz. They’re especially helpful for overnight sleep caps or bridesmaid gifts. Handle them carefully during washing.
Stretch is another key factor. Low-stretch fabrics require precise measurements. High-stretch ones forgive minor sizing errors. Always test the band on your head before finalizing.
Pay attention to seam placement too. Seams at the back tend to lie flatter. Front seams can press uncomfortably unless padded. Try different positions to see what feels best.
Ultimately, the right fit prevents headaches and slippage. A well-chosen fabric enhances both appearance and usability. Hence, take time during selection.
Frequently Asked Questions About Making Headbands
Can I wash handmade headbands? Yes, most can be washed. Check fabric care labels first. Machine wash delicate types in a mesh bag. Air drying preserves elasticity better than heat.
What size should a headband be? Adult bands typically range from 20 to 22 inches in length. Subtract 1 inch for stretchy styles. Kids’ sizes vary by age—measure directly for accuracy.
Do I need a sewing machine? No, you don’t. Many successful headbands are made by hand or with glue. Sewing machines save time but aren’t mandatory.
How do I stop my headband from slipping? Use grippy materials like silicone dots or rubberized fabric. Wider bands also stay put better than thin ones.
Can I sell the headbands I make? Yes, as long as you follow copyright rules. Avoid trademarked patterns or logos. Original designs are safe to sell online or at markets.
Are there kid-friendly methods? Absolutely. No-sew crafts using fabric glue or t-shirt yarn are perfect for children. Supervise closely when using scissors or hot glue.
How long does it take to make one? Simple styles take 15–30 minutes. Complex ones with decorations may require an hour. Speed increases with practice.
Where can I find inspiration? Browse Pinterest, Etsy, or Instagram. Search hashtags like #diyheadband or #handmadehairaccessories. Save images that inspire you.
 Final Thoughts on Mastering How to Make Headbands
What Are the Best Materials for Beginner-Friendly Headband Projects? Learning how to make headbands is a rewarding skill that combines creativity with practicality. From choosing fabrics to adding unique touches, each step lets you express individuality. Whether you sew, glue, or tie your way to success, the process builds confidence.
Over time, you’ll develop preferences for certain styles and techniques. Some may favor sleek athletic bands, while others enjoy ornate wedding designs. Regardless of taste, the ability to craft your own accessories empowers you.
Furthermore, sharing your creations strengthens connections. Handmade gifts carry emotional value. Giving a personalized headband shows thoughtfulness. Likewise, teaching others multiplies the joy.
As you continue exploring, remember that mistakes are part of growth. A crooked seam or loose bead doesn’t ruin the whole project. Instead, view them as learning moments.
Eventually, you’ll refine your approach and speed. New ideas will emerge naturally. Most importantly, you’ll always know how to make headbands—no matter the occasion. So pick up your materials and begin today.