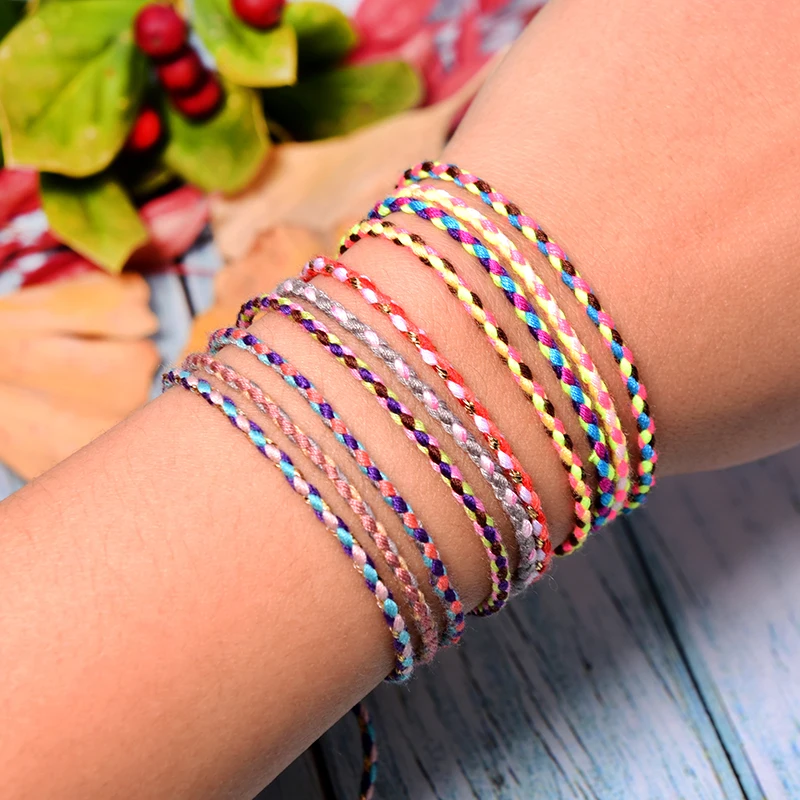
What materials do I need to make colorful embroidery floss bracelets? Embroidery floss bracelets have become a beloved craft project for children, teens, and adults alike. These colorful accessories are made from strands of thread typically used in cross-stitch or needlework. Their vibrant hues and soft texture make them ideal for creating personalized jewelry. As a result, embroidery floss bracelets stand out as both fun to make and meaningful to wear.
In addition, they require minimal supplies and no special tools. Anyone can start with just scissors, thread, and a clipboard or safety pin. Because the technique is easy to learn, beginners feel confident right away. Over time, more complex patterns emerge through practice. Whether making them for friends, family, or personal use, embroidery floss bracelets carry emotional value.
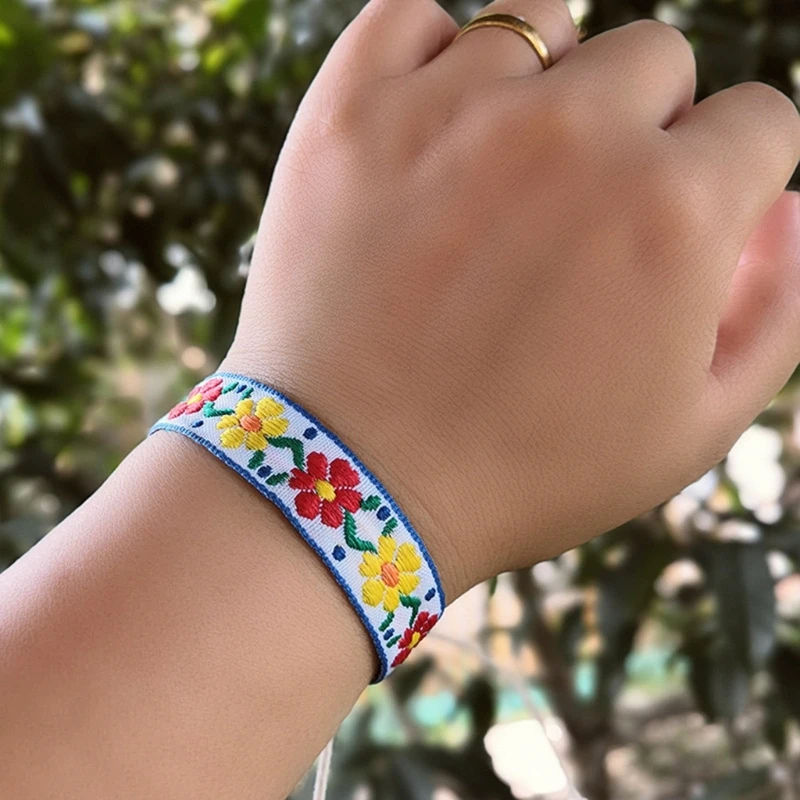
 What Are Embroidery Floss Bracelets?
Embroidery floss bracelets are a type of handmade accessory. They are crafted using colorful threads known as embroidery floss. These bracelets are popular for their vibrant designs and versatility. They are often worn as personal decorations or shared as meaningful gifts.
A Brief History of Embroidery Floss Bracelets
The tradition of making embroidery floss bracelets has roots in ancient cultures. Similar thread-based crafts date back to indigenous communities worldwide. These handcrafted items often symbolized friendship, spirituality, or cultural identity. Over time, the practice evolved into modern friendship bracelets. In the 1970s, these bracelets gained widespread appeal, especially among youth. They became a popular symbol of friendship and personal expression.
Today, embroidery floss bracelets reflect both tradition and creativity. They celebrate individuality while honoring their rich cultural heritage.
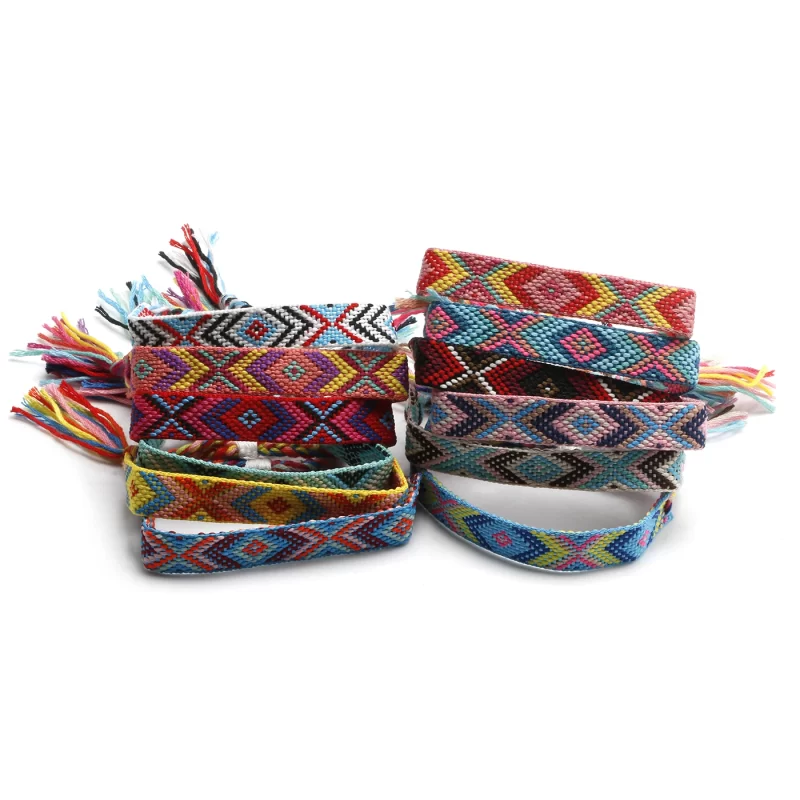
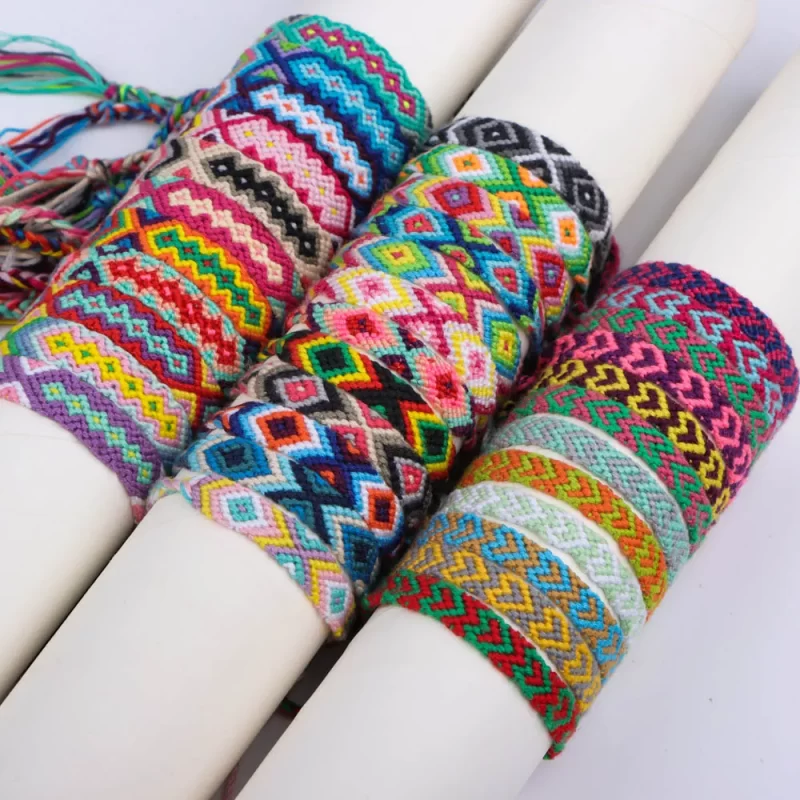
Popularity and Uses of These Bracelets
Embroidery floss bracelets remain popular in fashion and craft communities. They allow people to showcase their creativity and style. These bracelets are often exchanged as tokens of friendship and goodwill. Many crafters sell them as handmade items to share their designs.
In addition to friendship, people wear these bracelets as fashion statements. Their colorful patterns can match various outfits and moods. Beyond fashion, crafting these bracelets is a relaxing activity. It encourages mindfulness and builds creative skills.
Overall, embroidery floss bracelets are more than just accessories. They carry historical significance, promote creativity, and foster connection among people.
 Essential Materials You?ll Need
To make beautiful embroidery floss bracelets, gathering the right materials is crucial. The quality and selection of materials directly impact the final outcome. Below are the essential items you’ll need for crafting stunning bracelets.
Selecting the Right Type of Embroidery Floss
Choosing the right embroidery floss is the first step. High-quality floss ensures durability and vibrant colors. Here’s what to consider:
- Material: Cotton floss is the most common choice for bracelet making. It’s strong and smooth.
- Thickness: Choose floss with six-strand thickness. It’s ideal for easy knotting and patterns.
- Color Variety: Get a wide range of colors to create unique designs. Variegated floss can add extra flair.
- Brand: Trusted brands like DMC or Anchor are excellent options for consistent quality and vibrant hues.
Always check the floss for smoothness and color consistency before purchasing. This minimizes knots and breaks while crafting.
Additional Tools and Supplies
Aside from embroidery floss, you’ll need some handy tools. These ensure precision and ease of crafting. Below is the list of essential supplies:
- Scissors: Sharp scissors help cut clean, precise lengths of floss.
- Tape or Clamp: Use tape or a clip to hold your work while you knot.
- Ruler or Measuring Tape: For accurate lengths, measuring tools are necessary.
- Clipboard: A clipboard keeps your floss secure while crafting.
- Optional Beads: Beads add texture and personality to your bracelet designs.
- Needles: Small needles are useful for threading beads or making intricate patterns.
Gathering the right materials guarantees a smooth and enjoyable crafting process. With these essentials ready, you can craft remarkable embroidery floss bracelets that reflect your style and creativity.
Preparing Your Floss for Bracelet Making
Getting your embroidery floss ready is an important step before crafting. Proper preparation ensures smooth crafting and neat results. It also helps you avoid mistakes or wasting materials. Follow these steps to prepare your floss perfectly.
Measuring and Cutting the Floss
Accurate measuring and clean cutting are crucial for every bracelet. Here’s how to do it:
- Decide on the Bracelet Length: Plan the finished bracelet length first. Factor in tying knots and securing ends.
- Cut the Floss: Use a ruler or measuring tape to cut each strand. For simple designs, 2-3 times the wrist size works well. For detailed patterns, cut longer strands.
- Cut Multiple Strands: If your design has multiple colors, cut each color to the same length.
- Use Sharp Scissors: Always use sharp scissors for clean, fray-free cuts. This makes handling easier.
Remember to leave extra length to allow room for knots or mistakes. It’s better to have too much than too little.
Organizing Colors for Your Design
Organizing your colors saves time and avoids confusion while crafting. Here’s how to organize effectively:
- Choose a Color Scheme: Select colors that match your design vision. Think about contrasts and blends.
- Arrange in Order: Lay the strands out in the order you’ll use them. This avoids mix-ups.
- Secure the Floss: Use a clip, tape, or clipboard to secure and keep the strands in place.
- Use Label Tags: If you’re using many colors, label each strand with its position in the pattern.
Taking time to prepare your floss creates a smoother workflow. You’ll spend less time untangling and more time crafting. With measurements precise and colors organized, you’re ready to start your bracelet!
 Step-by-Step Guide to Making Basic Embroidery Floss Bracelets
Making embroidery floss bracelets is a fun and creative activity. Below are simple guides to three popular styles. Follow these steps for beautiful designs, whether you’re crafting for yourself or as gifts.
The Simple Knot Bracelet
The simple knot bracelet is perfect for beginners. This design uses basic knots and vibrant colors. Start with these easy steps:
- Prepare Your Materials: Gather embroidery floss in your desired colors, scissors, and tape or a clipboard.
- Cut Strands: Cut each floss strand to 2-3 times your wrist size. Cut multiple strands for added thickness.
- Tie a Starting Knot: Knot all strands together at the top, leaving an extra tail.
- Secure Your Work: Tape or clamp the knot to your workspace.
- Begin Knotting: Take one strand and knot it around the rest. Repeat with the next strand in order.
- Keep Knotting: Continue tying knots until you’ve reached the desired length.
- Finish and Secure: Tie a final knot and trim excess floss. Leave a tail for fastening.
The Chevron Pattern Bracelet
The chevron pattern adds a stylish design to your bracelet. It’s slightly more advanced but still easy to learn:
- Choose Colors: Pick at least three different colors for bold contrast.
- Cut Strands: Measure your wrist and cut each floss strand to four times the wrist length.
- Arrange Strands: Lay the strands in a mirrored color order (e.g., ABC-CBA).
- Secure the Top: Knot all strands together at the top. Tape or clamp the knot.
- Start Knotting: Take the first strand on the left and make two forward knots on the adjacent strand. Work toward the center.
- Repeat on the Right: Use the strand furthest on the right and make backward knots toward the center.
- Create Chevron Rows: Repeat this knotting pattern to form rows of chevron designs.
- Finish and Tie Off: Knot the end and trim excess strands.
The Braided Bracelet Design
Braided bracelets create a simple yet stylish look. This design is quick and requires minimal effort:
- Select Colors: Use at least three colors for the braid. More strands add volume.
- Cut and Knot: Cut floss strands to your desired length and tie them together at one end.
- Secure the Knot: Tape or clamp the knot firmly.
- Divide Strands into Groups: Separate strands into three equal groups.
- Start Braiding: Cross the right group over the middle. Then cross the left group over the new middle.
- Continue the Braid: Repeat this process until the bracelet reaches your desired length.
- Finish Securely: Tie a knot at the end and trim extra floss.
These designs are easy and fun to make. Use your creativity with different colors, patterns, and textures. Enjoy crafting beautiful embroidery floss bracelets!
Advanced Techniques and Designs
Learning advanced techniques can take your embroidery floss bracelets to the next level. These designs demand more skill and attention but produce stunning results. Below, we’ll look at two challenging yet rewarding styles.
The Alpha Pattern Technique
The alpha pattern allows for creating pictures, letters, or detailed designs. It requires practice but offers endless possibilities.
- Prepare the Base Strings: Cut several strands of one color for the base. These strands stay in place during crafting.
- Choose a Detailed Design: Sketch or print out a pattern. Use graph paper to assign colors.
- Use a Knotting String: Select a contrasting color for your knots. The knotting string creates the actual design.
- Create Forward Knots: Wrap the knotting string around each base string. Form a row by knotting along the base.
- Switch Colors: Introduce different colors as your design requires. Tie separate knots with each color string.
- Maintain Regular Tension: Keep your knots tight and uniform for smooth and clean lines.
- Finish the Design: Complete the pattern, tie a secure knot at the end, and add a fastener.
Alpha patterns offer flexibility to showcase unique designs such as names, symbols, or creative graphics. Experiment with colors and patterns to create something truly personal.
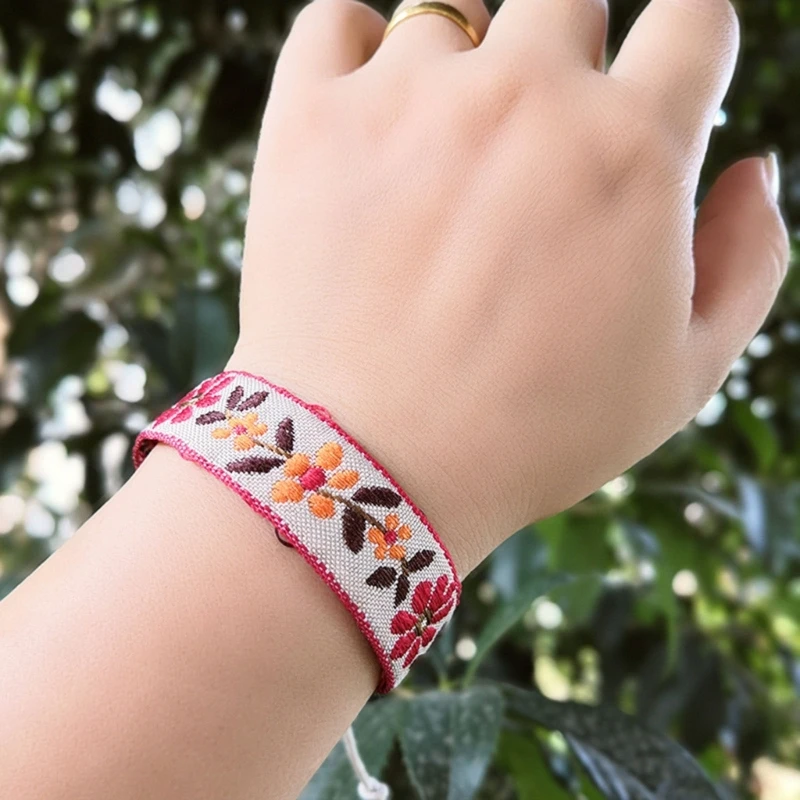
Creating Intricate Beaded Patterns
Adding beads can enhance your bracelet’s design. It adds texture, sparkle, and uniqueness.
- Choose Small Beads: Use beads with a size that matches your floss thickness.
- Plan Your Pattern: Decide how often beads will appear and their colors or arrangement.
- Thread Beads onto Floss: String beads onto your chosen floss before you begin knotting.
- Incorporate Beads in Knots: Slide a bead into position while tying your knots. Ensure it remains secure.
- Vary Bead Placement: Experiment with spacing to create different styles, such as alternating or clustered beads.
- Secure the Ends: Use knots to ensure beads don’t slide off at the ends of your bracelet.
Beads can transform simple designs into elegant accessories. From bold statement pieces to delicate accents, the possibilities are limitless.
Mastering these advanced designs may take time but is incredibly rewarding. Dive into these techniques to make personalized and stunning embroidery floss bracelets!
 Tips and Tricks for Perfecting Your Bracelets
Creating stunning embroidery floss bracelets takes practice and attention to detail. Here are essential tips to ensure your bracelets look flawless.
Preventing Tangling of Floss
Embroidery floss tangles can disrupt the crafting process. Follow these steps to avoid tangling:
- Use Short Strands: Cut floss into manageable lengths, around 70–80 cm. This reduces tangling.
- Organize Your Floss: Keep colors separated and untangled by using bobbins or wrapping them neatly.
- Work Slowly: Knot your floss carefully, avoiding rushed or messy movements.
- Untangle Immediately: If knots happen, fix them immediately with a pin or needle.
- Condition the Floss: Wax your floss using a thread conditioner or light beeswax. It prevents excessive fraying.
Proper floss handling ensures a hassle-free crafting experience with smooth, clean designs.
Achieving Uniform Knot Tension
Consistent knot tension adds a polished look to your bracelet. Follow these tips for uniform tension:
- Practice On Scrap Floss: Practice knots on spare floss until you develop consistent tension.
- Use Even Pressure: Pull your knots tightly but gently. Avoid pulling too hard, which distorts designs.
- Maintain Hand Position: Hold the floss the same way each time you knot.
- Pause and Check: Every few knots, check for uniformity. Adjust tension if necessary.
- Clamp Your Work: Use a clipboard or tape to stabilize the floss for even knotting.
Achieving a uniform tension takes practice and focus. It transforms your bracelet into a professional-looking accessory.
Master these tips as you craft embroidery floss bracelets. They ensure a smooth crafting process and beautiful outcomes.
Caring for and Preserving Your Finished Bracelets
Proper care keeps your embroidery floss bracelets vibrant and long-lasting. Addressing cleaning and storage ensures they remain beautiful.
Washing and Cleaning Your Bracelet
Regular cleaning is essential for maintaining the beauty of your bracelet. Follow these simple steps:
- Use Mild Soap: Mix a small amount of soap with warm water.
- Hand Wash: Dip the bracelet gently in the soapy water.
- Avoid Harsh Scrubbing: Use your fingers to remove dirt without damaging the threads.
- Rinse Thoroughly: Wash off all soap with clean water.
- Pat Dry: Use a soft towel to absorb excess moisture.
- Air Dry Completely: Let the bracelet sit in a shaded area until it’s fully dry.
Avoid soaking your bracelets for long periods. For delicate designs or beads, spot cleaning works best.
Storage Tips to Keep Them Looking Beautiful
Proper storage helps bracelets retain their shape and prevent tangling. Use these methods:
- Choose a Dry Space: Keep them away from moisture and direct sunlight.
- Use Ziplock Bags: Store each bracelet in a separate bag to avoid tangling.
- Organize by Color: Arrange bracelets according to their colors or designs for easy selection.
- Avoid Overcrowding: Limit how many bracelets you keep together to prevent damage.
- Utilize Jewelry Boxes: Use boxes with dividers for neat and safe storage.
Taking these steps ensures your embroidery floss bracelets stay clean and beautiful over time.
Frequently Asked Questions
Common Concerns Answered Clearly
Can I wash my embroidery floss bracelet? Spot clean only. Avoid soaking or machine washing. Water weakens the thread and causes fading.
Are they safe for kids? Yes, with supervision. Scissors and small parts require caution. Teach proper handling early.
How long does it take to make one? Between 30 minutes to a few hours. Complexity and length affect timing. Beginners may take longer.
What age can start making them? Most children aged 7+ can try with help. Fine motor skills improve with practice.
Do they stretch out over time? Slightly, but good tension prevents excessive loosening. Avoid pulling too hard during wear.
Can I add beads? Yes, slide them onto strands before knotting. They act as accents or closures.
Where can I find free patterns? Online craft sites, YouTube tutorials, and forums offer many. Search by skill level and style.
How do I prevent tangling? Work on a clipboard or board. Keep unused thread coiled and clipped.
 Final Thoughts
More Than Just Jewelry — A Craft That Connects People
How can I create embroidery floss bracelets in under 5 minutes? Creating embroidery floss bracelets brings joy beyond the finished product. Each piece carries time, effort, and emotion. Whether gifted or worn personally, it represents connection.
Over time, this simple craft builds confidence and creativity. It introduces basic techniques that lead to more advanced projects. Knitting, weaving, or macramé may follow naturally.
The process itself is calming. Repetitive motions reduce stress and encourage mindfulness. Many adults use it as a form of relaxation.
Communities grow around shared interest. Online groups, local clubs, and school events unite people through making. Ideas flow freely and friendships form.
To conclude, embroidery floss bracelets remain timeless for good reason. They combine art, function, and heart in one small band.
Whether new to crafting or looking to reconnect with a childhood favorite, now is the perfect time to begin. With just a few strands, endless possibilities unfold. Embrace the charm of embroidery floss bracelets today.