Are glass, wood, or plastic beads best for first-time bracelet makers? Learning how to make bracelets with beads is a rewarding hobby that combines creativity, focus, and personal expression. Whether you’re crafting for yourself, making gifts, or starting a small business, this skill opens many doors. Beaded bracelets are versatile, stylish, and relatively simple to create once you understand the basics. With just a few supplies and some patience, anyone can design beautiful pieces.
Moreover, people of all ages enjoy this craft. Children learn fine motor skills. Teens express their style. Adults find it relaxing and therapeutic. Because there are so many patterns, colors, and techniques, no two projects need to look the same. As a result, knowing how to make bracelets with beads brings endless possibilities.
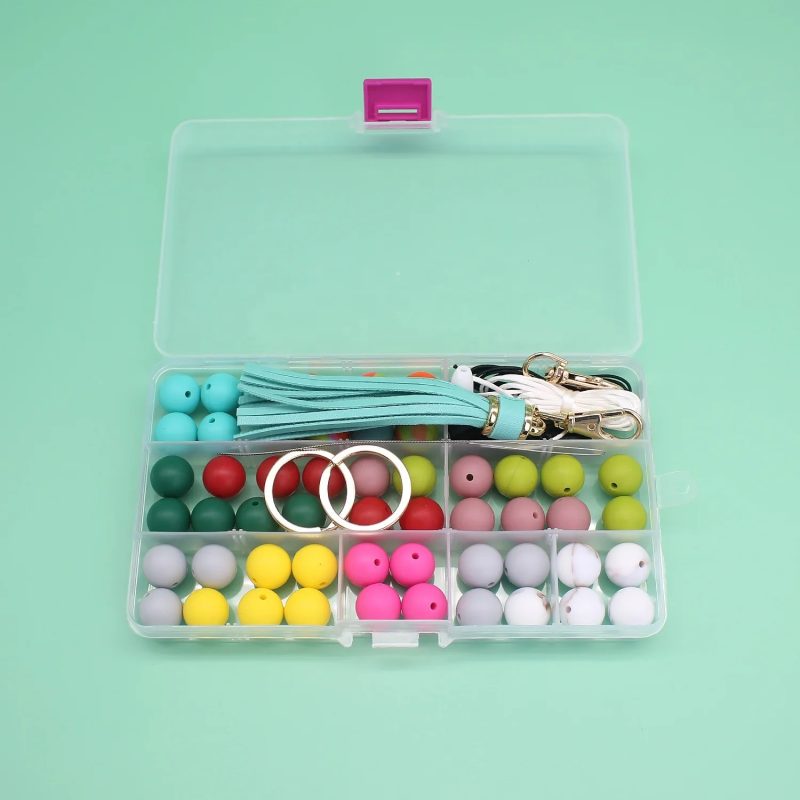
 Materials and Tools Needed for Beaded Bracelets
How to make bracelets with beads? Making beaded bracelets requires specific materials and tools. Choosing the right beads and tools is essential for creating beautiful designs. In this section, we will guide you on the types of beads to use and essential tools required.
Types of Beads to Use
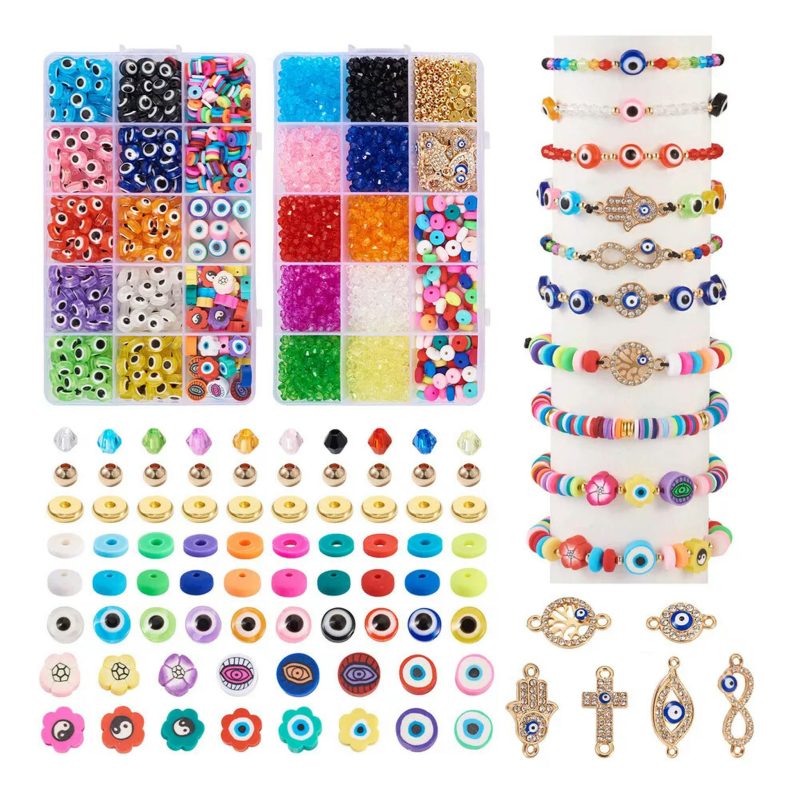
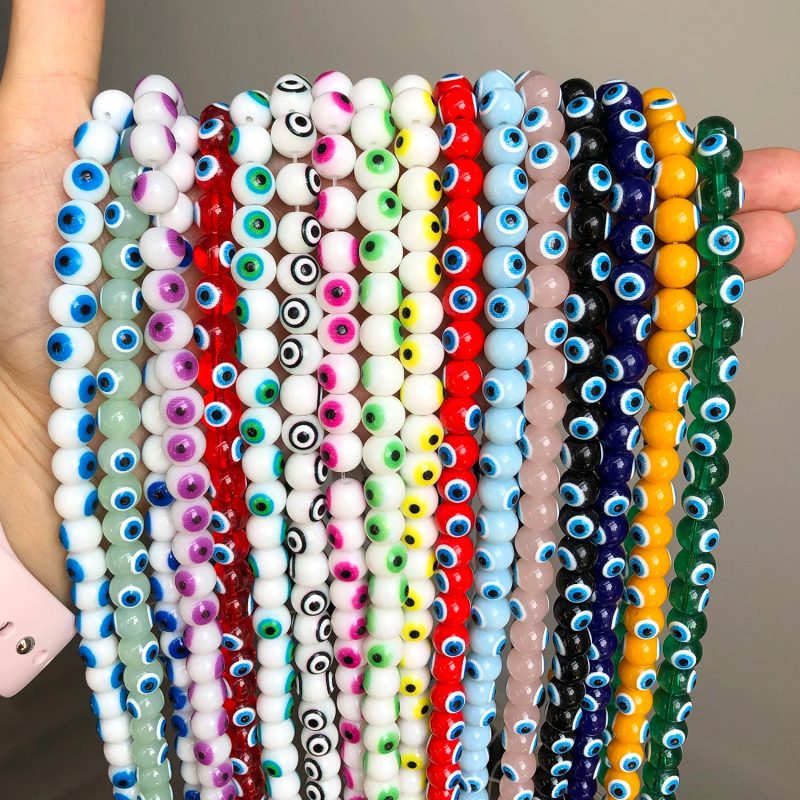
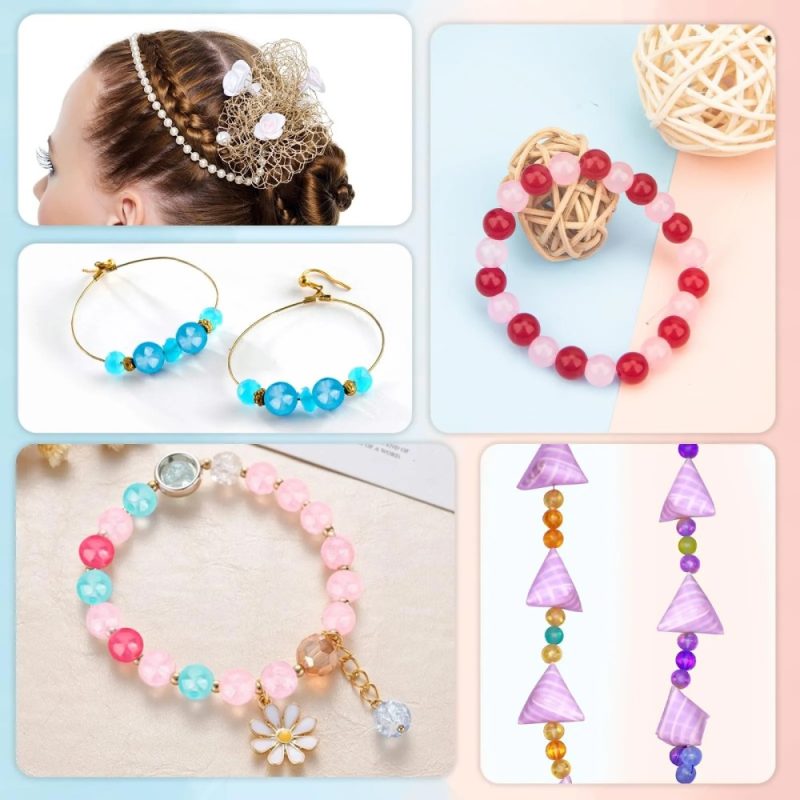
Beads come in various types, shapes, and materials. Choosing the right beads is important for your bracelet design. Here are some common bead types:
- Glass Beads: Durable and available in many colors and finishes.
- Clay Beads: Lightweight and great for adding texture.
- Wooden Beads: Perfect for natural and rustic bracelet designs.
- Gemstone Beads: Add elegance and a touch of luxury to your creations.
- Acrylic Beads: Budget-friendly and ideal for colorful designs.
- Seed Beads: Small and versatile, ideal for intricate patterns and details.
Selecting beads depends on your design goals and the occasion. Experiment with different bead types to discover combinations that work best for you.
Essential Tools for Bracelet Making
To make bracelets with beads, you need specialized tools. Below are the essential tools:
- Beading Thread or Elastic Cord: Used to string beads and create flexible bracelets.
- Needle: Helps string small beads precisely.
- Scissors or Wire Cutters: Used to cut cords or wires neatly.
- Beading Mat: Prevent beads from rolling away while you work.
- Clasps and Closures: Provide an easy way to secure the bracelet.
- Crimp Beads: Help secure the ends of the bracelet.
- Pliers: Useful for attaching clasps or adjusting wires.
Having the right tools and beads will simplify the process and ensure quality results. Prepare all materials before you start to make bracelet-making more efficient.
 Designing Your Beaded Bracelet
Designing your beaded bracelet is an exciting and creative process. A well-thought-out design can make your bracelet both beautiful and unique. This section will help you choose a color scheme and plan patterns or layouts for your beads effectively.
Choosing a Color Scheme
Selecting the right color scheme is essential for creating an attractive bracelet. Follow these tips:
- Complementary Colors: Choose colors opposite on the color wheel for a vibrant contrast. For example, blue and orange.
- Monochromatic Colors: Use different shades of the same color for a subtle and cohesive look.
- Seasonal Colors: Pick colors that match the current season. Pastels for spring or deep reds for winter.
- Metallic Accents: Add metallic beads, like silver, gold, or bronze, to enhance the overall design.
- Theme-Based Colors: Choose colors based on a particular theme, like beachy blues or earthy tones.
Refer to the occasion or your personal preference for inspiration. Feel free to mix and match until you find a combination you love.
Patterns and Layouts for Beads
Planning the bead pattern helps achieve a polished look. Try these ideas:
- Uniform Patterns: Use the same bead type in repetition for a simple, elegant design.
- Alternating Patterns: Alternate between two or more bead types for a balanced style.
- Symmetry: Create a design that mirrors itself for a classic and neat appearance.
- Random Layouts: Mix different beads for a playful and creative design. Ensure it still feels cohesive.
- Focal Beads: Add a standout bead in the center for a focal point in your bracelet.
- Spacer Beads: Use smaller, neutral beads to separate larger beads, adding definition to the pattern.
Before stringing the beads, arrange them on a flat surface. This will help you visualize the layout and make adjustments easily. Experiment with different ideas to create a beaded bracelet that perfectly suits your style and occasion.
Techniques for Making Beaded Bracelets
Mastering techniques for making beaded bracelets can elevate your jewelry creation skills. This section covers three essential techniques: stringing beads, using elastic cord, and adding clasps and closures. These methods are easy to follow and crucial for beginners and advanced creators alike.
Stringing Beads
Stringing beads is the foundation of bracelet making. Follow these steps to get started:
- Select the Right Thread or Wire: Choose beading thread, elastic cord, or jewelry wire based on your design goals.
- Prepare Beads and Pattern: Lay out your beads in the desired pattern on a flat surface.
- Use a Needle for Precision: If using small beads, thread them onto a needle for better accuracy.
- String Beads Carefully: Thread each bead onto the cord, ensuring consistent spacing and alignment.
- Double-Check the Design: Review the design layout before finishing.
Take your time to create a balanced and polished bracelet. Stringing beads correctly ensures durability and enhances the appearance.
Using Elastic Cord
Elastic cord is perfect for stretch bracelets and easy wear. Here’s how to work with it:
- Choose High-Quality Elastic Cord: Select durable elastic like clear or colored cords for your bracelet.
- Cut the Cord to Size: Measure your wrist and add extra for tying knots later.
- Secure the End: Tie a temporary knot or use a clip to keep beads from sliding off.
- String Beads Like a Pro: Follow your planned pattern and thread beads onto the elastic.
- Tie Secure Knots: Use a surgeon’s knot or double knots for extra strength.
- Test the Fit: Try the bracelet to ensure it fits comfortably.
Elastic cord bracelets are simple to make and ideal for casual or everyday wear.
Adding Clasps and Closures
Clasps and closures provide a secure and elegant finishing touch. Learn the steps below:
- Select the Right Clasp Type: Pick lobsters, toggles, or magnetic clasps to match your design.
- Attach Jump Rings and Clasps: Use pliers to open jump rings and connect them securely to the ends of the cord.
- Secure with Crimp Beads: Add crimp beads to fasten the cord tightly.
- Test Durability: Tug gently to ensure the clasps stay attached and function correctly.
- Match Closure to Style: Opt for fine metals or decorative closures for a polished look.
Adding clasps and closures enhances the bracelet’s functionality and complements its design.
By mastering these techniques, you can create professional-quality beaded bracelets that suit any style or occasion.
 Advanced Beading Methods
Advanced beading techniques add elegance and versatility to your bracelet designs. By mastering these methods, you can elevate your jewelry-making skills further. This section covers multi-strand bracelets and incorporating charms and pendants for unique creations.
Creating Multi-Strand Bracelets
Multi-strand bracelets are sophisticated and visually appealing. Follow these steps to create them:
- Plan Your Layers: Decide the number of strands based on your design and bracelet size.
- Choose Coordinating Beads: Select beads that complement each other for a harmonious look.
- Prepare Multiple Cords: Cut cords or threads for each strand, ensuring they are the same length.
- String Beads: Follow a pattern or use different designs on each strand.
- Attach Strands Together: Use a connector or clasp to secure all strands neatly.
- Ensure Balance: Arrange strands evenly for consistent appearance and comfort.
Multi-strand bracelets work best for elegant occasions but also suit casual styles when simplified.
Incorporating Charms and Pendants
Adding charms and pendants gives your bracelet personal character. Here’s how to include them:
- Select Suitable Charms: Choose charms representing themes or meaningful symbols.
- Attach Jump Rings: Use pliers to secure jump rings to each charm or pendant.
- Position Thoughtfully: Place charms evenly or create focal points in the design.
- Combine with Beads: Pair charms with complementary beads for a cohesive appearance.
- Use Spacer Beads: Separating beads with spacers ensures the charm stands out.
- Test Durability: Ensure charms and pendants are securely attached to avoid damage.
Incorporating charms and pendants makes bracelets unique and personalized, perfect for gifting or special occasions.
Advanced beading methods add depth and personality to your projects. Experiment with designs to discover endless creative possibilities.
Tips for a Perfect Finish
Perfecting the finish of your beaded bracelet ensures its durability and visual appeal. Taking time to secure knots and clasp connections, as well as maintaining the bracelet properly, is key.
Securing Knots and Clasps
Properly securing knots and clasps is crucial for keeping your bracelet intact. Follow these simple steps:
- Tie Knots Firmly: Use strong knots like double knots or surgeon’s knots for better hold.
- Test Knot Tightness: Tug gently to ensure knots won’t unravel.
- Seal Knots with Glue: Apply a small drop of jewelry glue for extra security.
- Attach Clasps Securely: Use pliers to tighten jump rings or crimp beads properly.
- Check Placement: Make sure the clasp is aligned with the bracelet design.
- Test the Closure: Open and close the clasp to ensure it functions smoothly.
Securing knots and clasps effectively makes your bracelet more reliable and comfortable to wear.
Polishing and Maintenance of Beaded Bracelets
Regular polishing and maintenance keep your bracelet beautiful and long-lasting. Protect it with these tips:
- Wipe After Use: Clean beads gently with a soft cloth to remove oils and dirt.
- Avoid Water and Chemicals: Keep your bracelet away from water, perfumes, and cleaning agents.
- Store Properly: Place it in a jewelry box or pouch to prevent scratches and tangles.
- Polish for Shine: Use a jewelry cleaning cloth to bring out the beads’ shine.
- Inspect for Damage: Check regularly for loose beads or weakened knots.
- Repair Promptly: Fix issues immediately to avoid further damage.
Maintenance ensures your bracelet stays vibrant and secure for a long time. Follow these steps to preserve its charm.
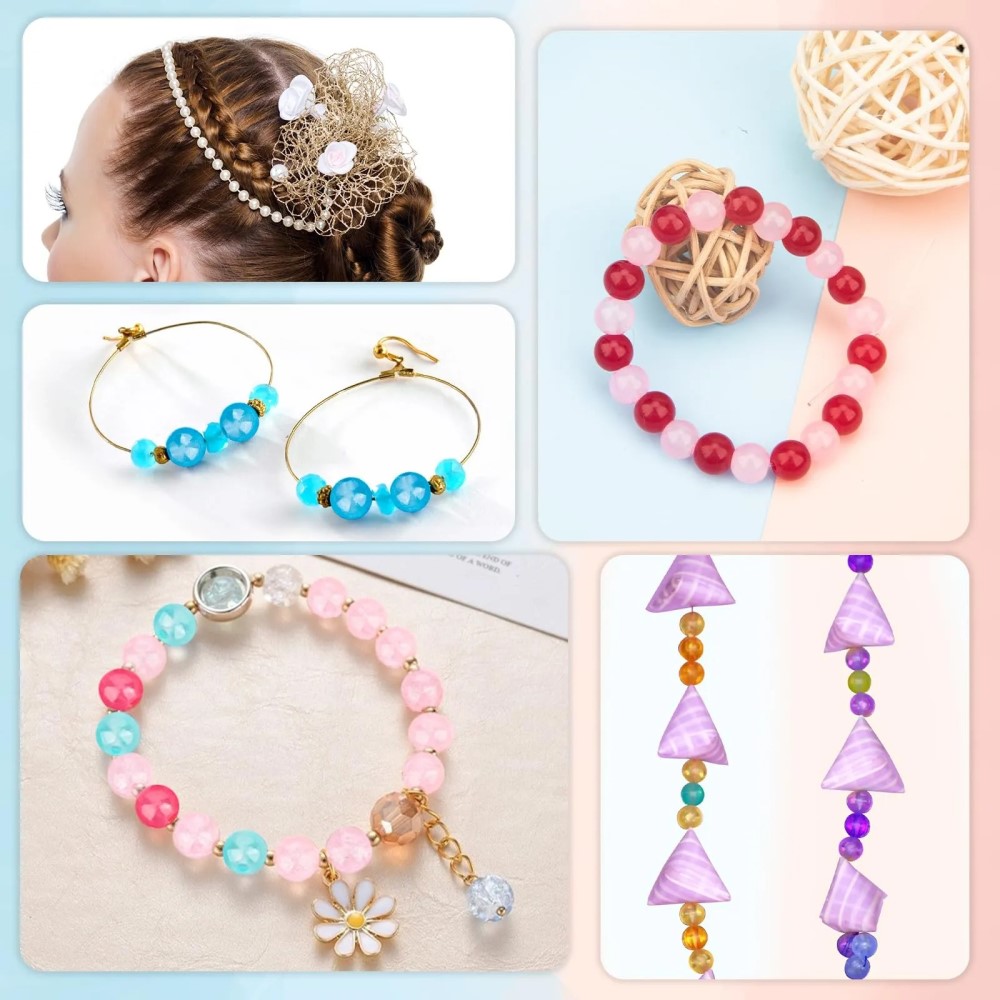
 Inspiring Beaded Bracelet Ideas
Finding inspiring ideas for beaded bracelets can unleash your creativity in crafting unique designs. Different styles and trends, along with seasonal and thematic designs, offer endless possibilities.
Popular Styles and Trends
Popular styles and trends in beaded bracelets evolve over time, offering fresh opportunities for creators:
- Minimalistic Designs: Use small beads and simple patterns for a sleek and elegant look.
- Boho Chic: Incorporate wooden beads, gemstones, and earthy tones for a free-spirited vibe.
- Stackable Bracelets: Create sets of bracelets with coordinated colors and patterns for layering.
- Personalized Bracelets: Add letter beads or charms to make customized creations.
- Chunky Beads: Use large, bold beads to create statement pieces that stand out.
- Mix-Material Designs: Combine beads with leather cords, fabric, or even chains for modern styles.
Stay updated with jewelry trends to create pieces that align with current fashion preferences. Experiment with combinations to achieve innovative results.
Seasonal and Thematic Bracelet Designs
Seasonal and thematic designs add special meaning to bracelets, making them perfect for specific occasions:
- Spring Pastels: Use soft pinks, blues, and greens to reflect the freshness of spring.
- Summer Brights: Choose vibrant yellows, oranges, and turquoise for a sunny, cheerful look.
- Autumn Warmth: Use earthy tones like brown, red, and gold to capture fall vibes.
- Winter Elegance: Incorporate silver, white, and dark reds for chic winter designs.
- Holiday Themes: Add charms or beads shaped like snowflakes, pumpkins, or hearts for festive vibes.
- Nature-Inspired Designs: Use beads resembling leaves, flowers, or seashells for outdoor-themed bracelets.
Plan ahead for special occasions, holidays, or themes to create bracelets that evoke emotional connections. These designs are perfect for gifting and showcasing purposeful creativity.
By exploring inspiring styles and designs, you can craft beaded bracelets that resonate with personality and occasion. Let your imagination guide you through creative paths to make truly unique pieces.
Frequently Asked Questions About How to Make Bracelets with Beads
What kind of beads are best for beginners?
Large plastic or wooden beads work well. They’re easy to handle and affordable. Avoid tiny seed beads at first.
Can I wash beaded bracelets?
Most should be spot-cleaned only. Avoid soaking unless materials are waterproof. Remove glued parts before washing.
How do I prevent elastic from breaking?
Don’t overstretch during assembly. Tie strong knots. Use fresh cord. Add glue for reinforcement.
Are beaded bracelets safe for young children?
Only if made carefully. Avoid small detachable beads that could pose choking hazards. Use non-toxic glue.
How long does it take to make one bracelet?
Simple styles take 10–20 minutes. Detailed ones may need an hour or more. Speed improves with practice.
Can I make bracelets without a needle?
Yes. Use thick cord or elastic with large-hole beads. String directly by hand.
Where can I find free patterns?
Search online for printable beading charts. Craft blogs and YouTube videos offer tutorials.
Do I need special tools?
Basic scissors and glue are enough. Pliers help with clasps. A needle is useful for small beads.
 Final Thoughts on the Joy of Learning How to Make Bracelets with Beads
How can beginners make beaded bracelets without advanced tools? Learning how to make bracelets with beads is more than just a craft. It builds patience, creativity, and confidence. Each completed piece reflects personal growth and artistic choice.
From simple stretch bands to intricate woven designs, the options never end. Families craft together. Friends trade creations. Entrepreneurs launch businesses.
These bracelets become keepsakes, gifts, or fashion statements. They carry stories, emotions, and memories.
With basic tools and a little guidance, anyone can start. Mistakes happen. Progress follows.
Ultimately, the journey matters as much as the result. Every bead added brings joy. Every knot tied builds skill.
For anyone seeking a fulfilling, hands-on activity, how to make bracelets with beads remains a timeless and rewarding choice.