Can you make loom bracelets without a loom machine? Learning how to make loom bracelets has become a popular hobby for kids and adults alike. These vibrant accessories are fun to craft and easy to customize. Using small rubber bands and a weaving tool, anyone can create stylish patterns in minutes. The process is simple, creative, and satisfying. As a result, more people are exploring how to make loom bracelets at home or in classrooms.
Moreover, this activity encourages focus, hand-eye coordination, and artistic expression. Children improve fine motor skills while having fun. Parents enjoy bonding over shared projects. Teachers use it to teach colors, sequences, and patience. Because of its wide appeal, the trend continues to grow across age groups and cultures.
 Introduction to Loom Bracelets
How to make loom bracelets? Loom bracelets are a fun and creative craft that has captured the hearts of many. They are made by interweaving colorful rubber bands into unique patterns using a loom kit. These bracelets are not only stylish but also easy to create, making them a great activity for kids and adults alike. Let’s dive deeper into their charm and enduring appeal.
What are Loom Bracelets?
Loom bracelets are handmade accessories created using small, colorful rubber bands. With the help of a loom tool or even just fingers, bands are looped and linked to form intricate designs. The bracelets come in various patterns, including simple chains and complex creations. They are perfect for expressing personality through color and design.
Loom bracelets are not restricted to bracelets alone. You can also use the same techniques to create rings, necklaces, or other crafts. This versatility makes them a favorite pastime for many craft enthusiasts.
Origins and Popularity of Loom Bracelets
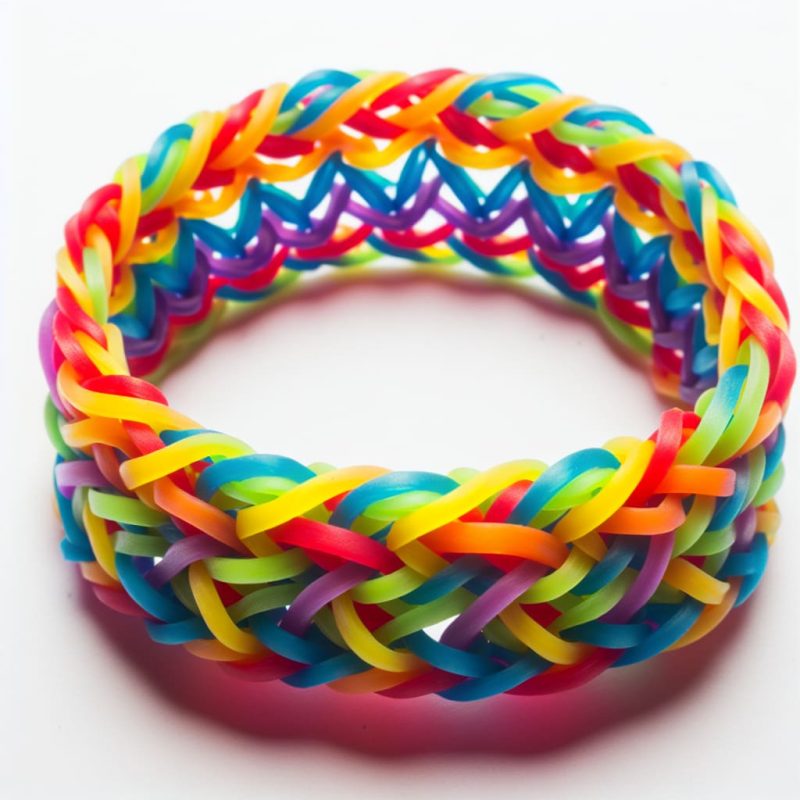
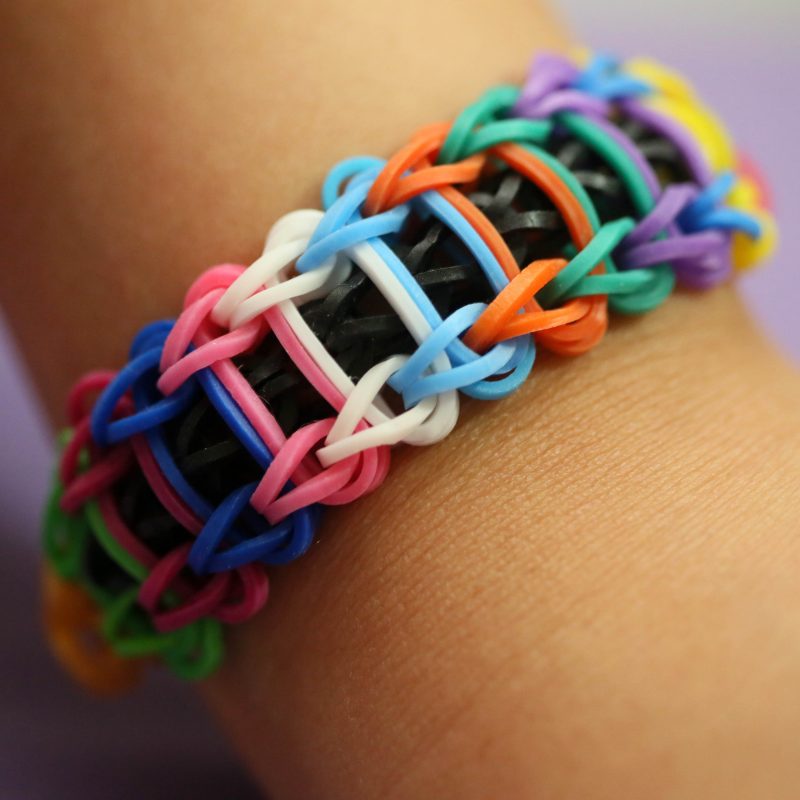
The concept of loom bracelets became globally popular around 2010 with the launch of the Rainbow Loom. This invention sparked a crafting craze among kids and adults alike. Parents loved it as it encouraged creativity and kept kids productively engaged.
What makes loom bracelets so special is their simplicity and accessibility. They require minimal tools, making them easy for beginners. Their colorful and customizable nature has made them an ongoing trend, especially among young crafters.
Online tutorials and social media further contributed to their popularity. Crafting communities shared countless patterns, ideas, and tips, inspiring people worldwide. Today, loom bracelets remain a symbol of creativity and self-expression, cherished by all ages.
Materials Needed for Loom Bracelets
Creating loom bracelets is simple when you have the right materials. Having the proper tools and supplies makes the process easier and more enjoyable. Here’s everything you need to get started.
Types of Loom Kits
Loom kits are essential for making bracelets. They usually have a plastic frame and hooks for weaving rubber bands. Common types include:
- Standard Loom Kit: Great for beginners, these kits include basic tools for simple designs.
- Extended Loom Kit: Perfect for larger or more intricate patterns, providing enhanced flexibility.
- Travel Loom Kit: Compact and lightweight options, ideal for crafting on the go.
Each kit type comes with unique advantages. Choose one based on your skill level and desired patterns.
Essential Tools and Accessories
To craft beautiful loom bracelets, you need more than just a loom kit. Essential tools include:
- Hook or Crochet Needle: Used to grab and loop rubber bands efficiently.
- Clips or Clasps: These secure your bracelet once completed.
- Organizer Box: Keeps your bands sorted by color for easy crafting.
Accessories like bead embellishments or charms can enhance the final look of your bracelets.
Different Types of Bands and Their Uses
Rubber bands are the key component of loom bracelets. Various types work for different designs:
- Basic Bands: Lightweight bands ideal for simple bracelets and beginner-friendly projects.
- Glow-in-the-Dark Bands: Perfect for creating unique designs with a glowing effect.
- Glitter Bands: Adds sparkle to your creations, making them stand out.
- Jelly Bands: Transparent bands for softer, elegant patterns.
Choose bands that match your design goals and personal style. Sorting them by type or color makes crafting faster and smoother.
With these materials ready, you’re all set to create colorful masterpieces! Start with simple projects and explore complex designs as your skills grow.
 Basic Techniques for Making Loom Bracelets
Learning the basic techniques is essential to start creating loom bracelets. Once you master them, you can experiment with creative patterns and designs. Let’s explore key techniques, including setting up the loom, placing bands, and making a basic single chain bracelet.
Understanding Loom Setup
Correct loom setup ensures smooth weaving. Follow these steps:
- Position the Plastic Frame: Place it on a flat surface for stability while working.
- Adjust Pegs If Necessary: Some looms allow peg adjustments to suit different designs.
- Ensure Proper Hook Placement: Align hooks on the loom to make weaving easier.
Starting with a proper setup avoids confusion and helps maintain pattern consistency.
How to Place the Bands Correctly
Placing bands correctly is essential for creating neat and durable bracelets. Follow this method:
- Choose Your Bands: Select colors and types based on your desired design.
- Start from One End: Place the first band around the starting peg.
- Follow the Desired Pattern: Add bands according to your selected design, ensuring they are looped tightly.
- Check Symmetry: Ensure even placement for uniform bracelet structure.
Precise placement minimizes mistakes and enhances the bracelet’s overall appearance.
Creating a Basic Single Chain Bracelet
A single chain bracelet is perfect for beginners. Here’s how you make it:
- Setup Bands on the Loom: Place rubber bands in a simple, straight chain pattern.
- Use the Hook Tool: Grab and pull the lower band over the peg to the next one.
- Repeat the Process: Continue until all bands are neatly linked.
- Secure the Bracelet: Attach a clip or clasp to finish the ends.
This straightforward design builds your confidence and prepares you for more intricate projects.
Mastering these techniques is your first step toward endless loom bracelet possibilities! Practice these basics before moving to complex patterns.
Popular Loom Bracelet Patterns
Now that you’ve mastered the basic techniques, it’s time to explore exciting patterns. These designs add variety and flair to your loom bracelet collection. Let’s look at some popular patterns loved by crafters worldwide.
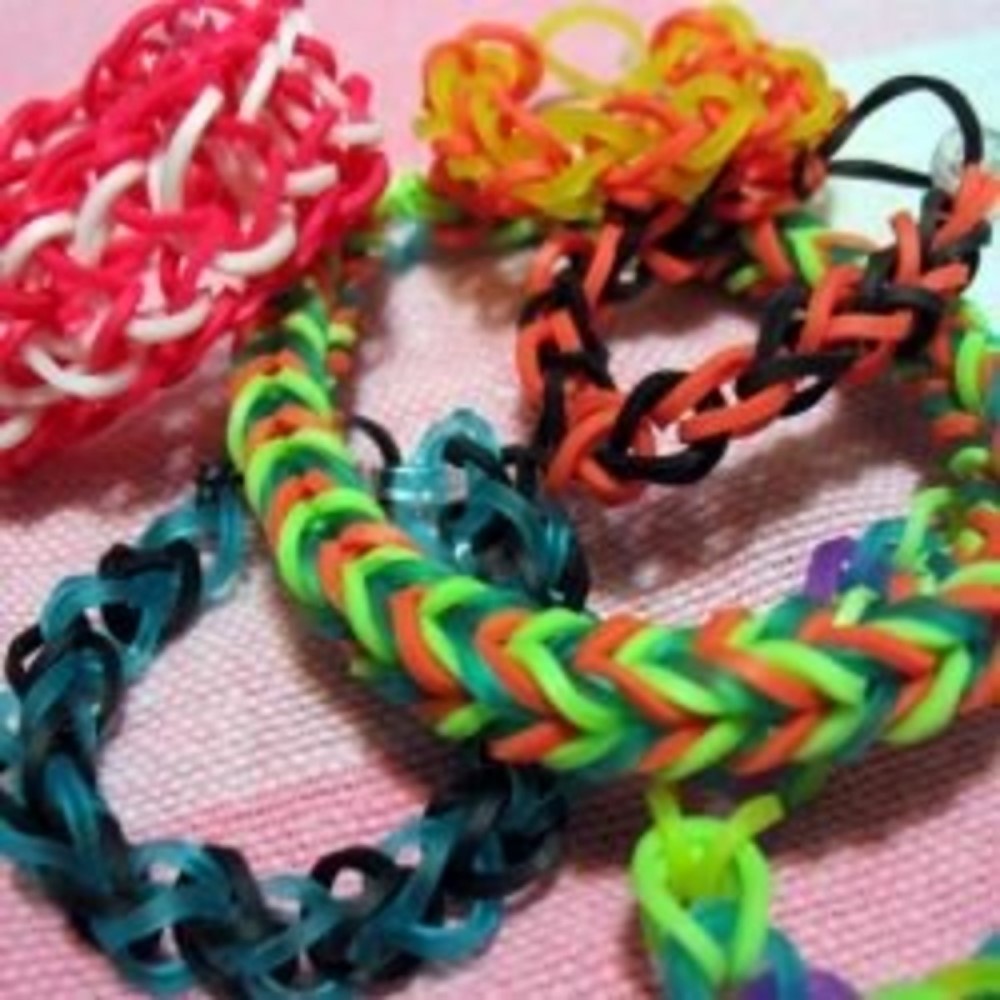
Fishtail Pattern
The fishtail pattern is a classic and elegant design. It’s simple yet visually striking.
- Band Placement: Arrange bands in an alternating color sequence.
- Weaving Process: Loop the bands over each other in pairs using the hook tool.
- Repeat: Continue linking bands until the desired bracelet length is achieved.
- Finish: Attach a clasp or clip to secure the bracelet ends.
This style is perfect for creating two-tone bracelets that suit casual or formal outfits.
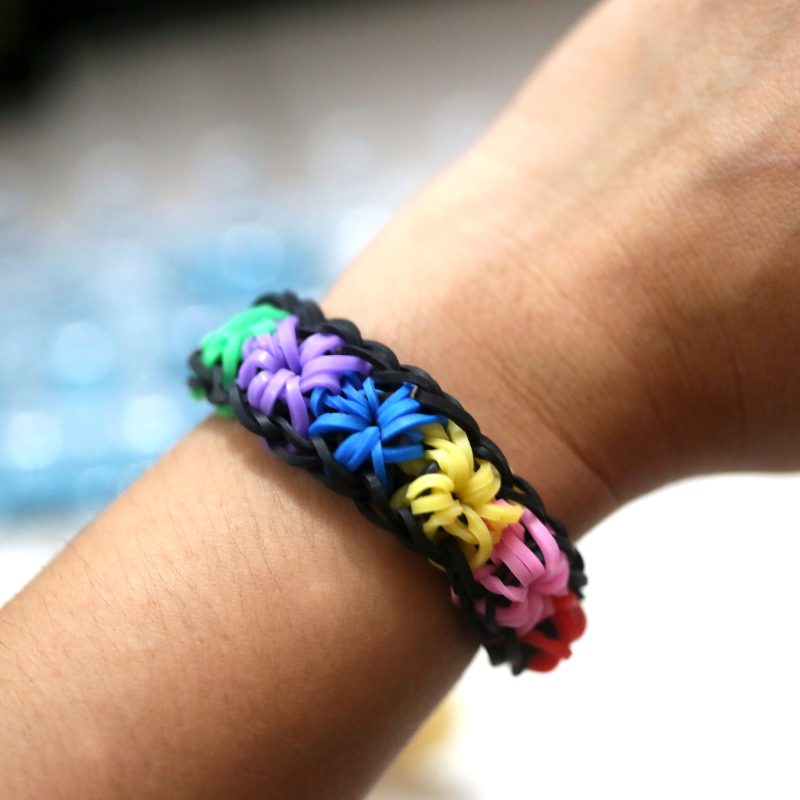
Starburst Pattern
The starburst pattern is vibrant and unique, resembling a burst of light.
- Setup: Position bands in circular formations across the loom pegs.
- Weaving: Connect the center of each burst by pulling bands through using the hook.
- Outer Loops: Link outer loops to the bursts to create a cohesive design.
- Final Touch: Secure with clips or clasps to complete the bracelet.
Choose bright or contrasting colors to make your starburst bracelets stand out.
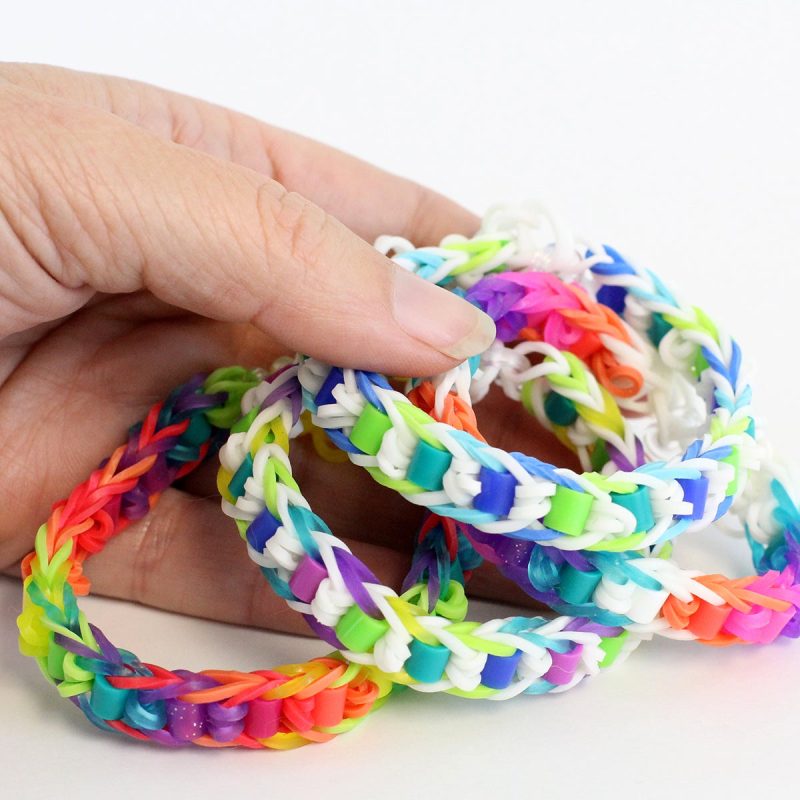
Ladder Design
The ladder design offers a structured and symmetrical look.
- Band Layout: Place bands straight down the sides of the loom.
- Middle Rung: Add bands horizontally to form ladder-like steps.
- Weaving Technique: Pull the middle bands over the edges for a tightly woven effect.
- Finish Off: Attach clasps to secure the completed bracelet.
This pattern works beautifully with subtle or pastel color combinations.
Dragon Scale Bracelet
The dragon scale bracelet creates a textured, layered effect resembling scales.
- Band Setup: Arrange multiple bands in rows across the loom.
- Layering Process: Overlap the bands carefully to form the scale-like texture.
- Repeat Steps: Continue layering until the bracelet length is sufficient.
- Secure Ends: Fasten with clasps for durability.
This intricate design is perfect for advanced crafters seeking a challenge.
Master these popular patterns to expand your creative crafting skills and showcase unique designs!
 Advanced Loom Bracelet Designs
Creating advanced loom bracelet designs allows you to showcase your creativity and craft intricate patterns. These designs require more techniques and effort but offer unique and stunning results. Let’s dive into these captivating designs.
Rainbow Loom Charms
Rainbow Loom charms are a fun addition to your bracelets. They add a playful and personal touch. Here’s how to incorporate them:
- Choose Small Rubber Bands: Select vibrant colors for charm designs.
- Shape the Charm: Create simple shapes like stars, hearts, or animals.
- Attach to Bracelet: Use the hook or clasps to secure charms on your bracelet.
- Coordinate Colors: Match charm colors with the bracelet’s pattern.
Charms enhance the overall look of your bracelet, making it unique and engaging.
Intricate Multi-Band Designs
Multi-band designs use multiple rubber bands to craft detailed and layered bracelets. They bring depth and complexity to your creations. To make these designs:
- Layer Bands on the Loom: Use several bands for rows or layers.
- Weaving Technique: Intertwine bands to form textured patterns.
- Experiment with Colors: Combine complementary or contrasting colors.
- Secure Ends Properly: Attach clasps tightly for durability.
These designs are perfect for showcasing your skills and creativity.
Adding Beads and Embellishments
Beads and embellishments elevate loom bracelets to a more sophisticated level. Here’s how to integrate them:
- Choose Beads: Select beads of appropriate size and color.
- Thread Beads on Bands: Place beads onto rubber bands before weaving.
- Position Strategically: Arrange beads for a balanced and appealing design.
- Secure with Clasps: Ensure the beads stay in place after the bracelet is finished.
Embellishments like glitter bands or charms add elegance and make your loom bracelets stand out.
Crafting these advanced designs pushes your creative boundaries and introduces fresh ideas. Experiment with these techniques to make stunning bracelets that hold a personal touch.
Tips and Tricks for Success
Creating loom bracelets can be enjoyable and rewarding. However, success lies in proper techniques and preparation. Let’s explore some tips to enhance your crafting experience and improve your results.
Common Mistakes to Avoid
To craft perfect loom bracelets, steer clear of these frequent errors:
- Incorrect Band Placement: Ensure bands are placed according to your chosen pattern.
- Overstretching Bands: Avoid pulling bands too tight, which can cause them to snap.
- Skipping Pegs: Always follow the loom’s sequence to maintain uniformity.
- Rushing the Process: Take your time to avoid mistakes and enhance bracelet quality.
Stay attentive to each detail for neat and durable bracelets.
How to Keep Your Bands from Breaking
Preventing breaks is crucial for smooth crafting. Follow these tips:
- Use High-Quality Bands: Invest in durable rubber bands for long-lasting bracelets.
- Handle Bands Gently: Avoid excessive force to prevent overstretching.
- Check for Defects: Inspect bands before using them to avoid weak spots.
- Store Bands Properly: Keep them in cool, dry places to maintain elasticity.
Good care ensures bands stay intact throughout your project.
Organizing Your Materials for Efficient Crafting
Organized tools and supplies improve your efficiency. Use these strategies:
- Sort Bands by Color: Group bands for quick access during crafting.
- Use an Organizer Box: Store tools and bands neatly to prevent misplacement.
- Label Containers: Mark sections for easy identification of band types.
- Keep Tools Handy: Ensure hooks, clips, and clasps are within reach.
Proper organization saves time and reduces frustration during crafting sessions.
By avoiding mistakes, caring for materials, and staying organized, you set yourself up for loom bracelet success. Practice these methods to create flawless and stylish bracelets effortlessly!
 Final Touches and Customization Ideas
Personalizing Your Loom Bracelets
Personalizing your loom bracelets makes them more unique and special. Here are some fun ideas:
- Use Custom Colors: Choose colors that represent your personality or match specific themes.
- Add Charms: Attach small charms like stars, hearts, or initials for a personal touch.
- Play with Patterns: Mix and match different patterns for a one-of-a-kind design.
- Incorporate Beads: Thread beads onto your bands for an extra decorative element.
- Engrave Clasps: Use engraved clasps with names or meaningful words for added uniqueness.
Experiment with these ideas to make bracelets that express your style and creativity.
Packaging Ideas for Gift Giving
Beautiful packaging enhances your bracelets when gifting. Consider these ideas:
- Use Decorative Boxes: Place bracelets in small, colorful boxes lined with soft fabric.
- Wrap in Tissue Paper: Wrap your bracelets in patterned tissue paper for a simple yet elegant look.
- Include Personalized Tags: Add handwritten tags with special messages or the recipient’s name.
- Craft Your Own Pouch: Create a handmade fabric pouch as a reusable gift bag.
- Try Thematic Packaging: Match the packaging to holiday or event themes for added charm.
Thoughtful packaging leaves a lasting impression and makes your gift even more memorable.
Frequently Asked Questions
Do I need a loom board to start? No. You can use your fingers or a pencil. Boards just make patterns easier.
Can adults enjoy this too? Yes. Many adults find it relaxing. It’s a great screen-free activity.
How long does one bracelet take? Around 10–20 minutes for beginners. Experts finish faster.
Are rubber bands safe for sensitive skin? Most are latex-free. Always check packaging if allergies exist.
What if my bracelet breaks while making it? Restart calmly. Breaks happen often at first. Learn from mistakes.
Can I wash loom bracelets? Not recommended. Water weakens bands. Avoid soap and moisture.
Where can I find free patterns? YouTube, Pinterest, and craft blogs offer many. Search by difficulty level.
How do I store extra rubber bands? Use small containers or ziplock bags. Sort by color for quick access.
 Final Thoughts on Mastering How to Make Loom Bracelets
What are the best materials for making loom bracelets as a beginner? Learning how to make loom bracelets opens doors to creativity, focus, and connection. It’s a simple skill with deep rewards. From kids to adults, everyone can benefit.
With basic tools and a little practice, stunning designs emerge. The journey teaches patience, precision, and pride. Whether making for fun, gifts, or sales, the possibilities are endless. Embrace the process and enjoy every colorful loop.