What Are the Easiest No-Sew Headband Tutorials for Beginners? Creating your own accessories is both fun and rewarding. Among the most popular handmade fashion items are diy headbands. These customizable pieces allow you to express your personality while saving money. Unlike store-bought versions, diy headbands let you choose every detail—from fabric and color to shape and size. As a result, they match your outfits perfectly and suit your comfort needs. Whether you’re dressing up for a party or adding flair to a casual look, a handmade headband enhances your appearance instantly. In addition, making them at home gives you full control over materials. You can pick eco-friendly fabrics, soft linings, or hypoallergenic elastics. Therefore, diy headbands become not only stylish but also safe for sensitive skin.
Moreover, crafting diy headbands encourages creativity and mindfulness. Many people find sewing or assembling accessories to be a calming activity. It offers a break from screens and daily stress. Furthermore, it’s an excellent way to use leftover fabric scraps. Instead of throwing them away, you turn waste into wearable art. Children and teens especially enjoy designing their own headbands. Parents often use these projects to teach basic sewing skills. Schools and craft clubs also adopt them for group activities. Consequently, diy headbands support learning and bonding. With so many techniques available, anyone can start—no prior experience needed. Ultimately, this trend blends practicality with self-expression.
 Why Making DIY Headbands Is Worth Your Time
Personalization Meets Practical Benefits
One of the biggest advantages of diy headbands is personalization. You decide the width, pattern, and fit based on your preferences. For example, if you have thick hair, you can make wider bands that hold everything in place. If you prefer subtle elegance, choose delicate lace or neutral tones. Also, you can design matching sets for family members or friends. This makes diy headbands ideal for gifts or themed events. Birthdays, holidays, and bridal showers all benefit from custom creations.
In contrast, store-bought options may not offer the exact look or feel you want. Some mass-produced headbands contain stiff padding or rough seams. Others slip easily or cause headaches after short wear. However, when you make your own, you avoid these issues entirely. You test the fit as you go and adjust accordingly. Additionally, you save money in the long run. A single high-quality headband from a boutique might cost $15 or more. Yet, with bulk supplies, you can create ten or more for the same price. Thus, diy headbands deliver better value over time.
Choosing the Right Materials for Your Project
Fabrics, Elastic, and Embellishments Explained
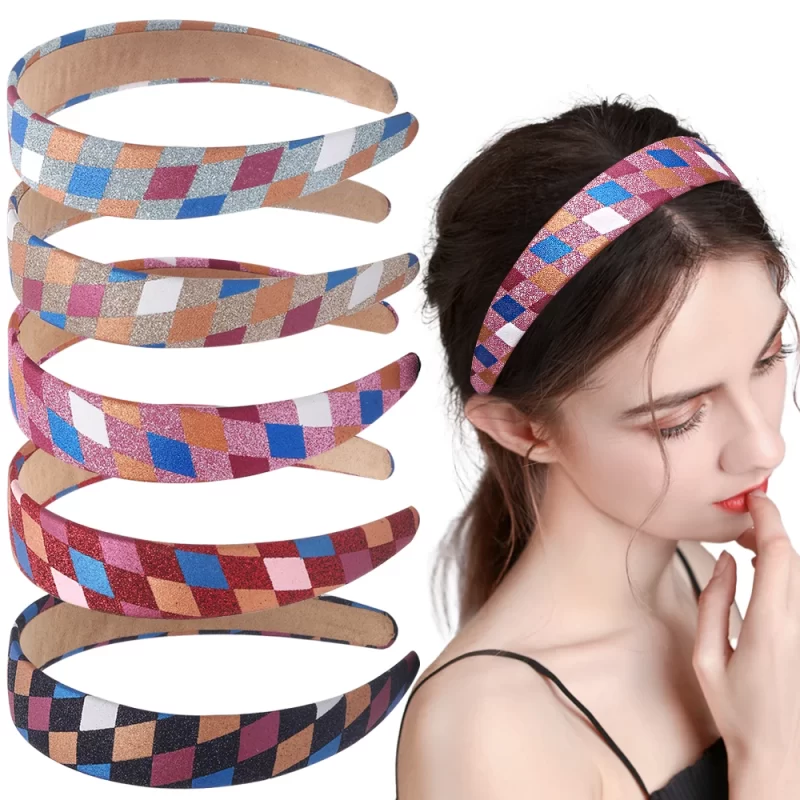
Selecting materials is the first step in any successful diy headband project. Cotton fabric remains a top choice due to its softness and ease of use. It washes well and comes in endless prints. Jersey knit is another favorite, especially for stretchy, no-sew styles. Its natural elasticity ensures a snug yet comfortable fit. Satin and silk add luxury and reduce frizz, making them great for bedtime wear. Fleece works well in winter because it provides warmth without bulk.
Elastic types matter too. Braided elastic holds its shape longer than flat varieties. Clear elastic is nearly invisible and perfect for minimalist designs. For non-slip performance, consider silicone-lined strips or grippy terry cloth. These prevent sliding, even during movement. Decorative elements like bows, buttons, or rhinestones add flair. However, ensure they’re securely attached to avoid loss. Hot glue works quickly, but sewing offers durability. Always pre-wash fabrics to prevent shrinkage later. Therefore, thoughtful material choices lead to better results.
 Step-by-Step Guide to Sewing a Classic Fabric Headband
Simple Instructions for Beginners
Start by measuring your head just above the ears. Cut two fabric strips: one for the outer layer (about 20 inches long) and one for the lining. Next, place the pieces right sides together and pin along the long edges. Then, sew using a ¼-inch seam allowance, leaving both ends open. Afterward, turn the tube right side out using a safety pin or turning tool. Press it flat with an iron for a clean finish.
Now, fold the raw edges inward at both ends and pin them shut. Insert a piece of elastic (typically 6–7 inches, depending on head size). Sew across each end to secure the elastic inside. Use a zigzag stitch for flexibility. Finally, close the openings completely. Try it on and adjust if needed. This basic style works with any fabric and requires only a sewing machine. As a result, it’s ideal for first-time crafters.
Alternatively, hand-sewing is possible with strong thread and small stitches. Though slower, it allows greater portability. Either method produces a durable, reusable headband. Over time, you can experiment with different widths and trims. Hence, mastering this technique opens doors to more complex designs.
No-Sew Options for Quick and Easy Creations
Fast Alternatives Using Everyday Supplies
Not everyone owns a sewing machine—or wants to learn. Fortunately, there are effective no-sew methods for making diy headbands. One popular option uses stretchy jersey fabric cut into long loops. Simply measure, cut, and tie the ends together. The natural give of the material keeps it secure without pins or glue. This version takes less than five minutes and costs almost nothing.
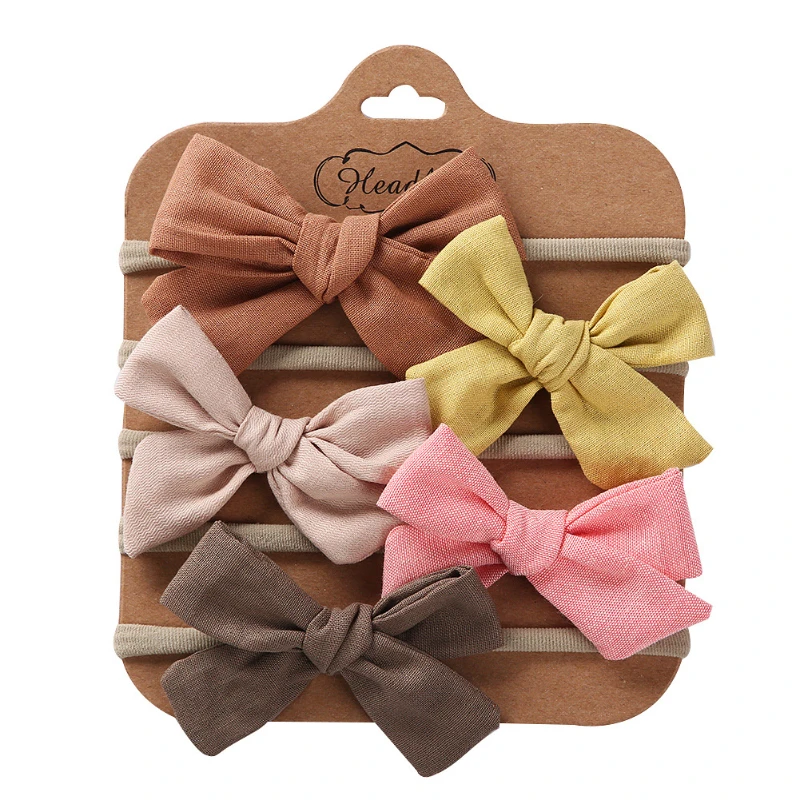
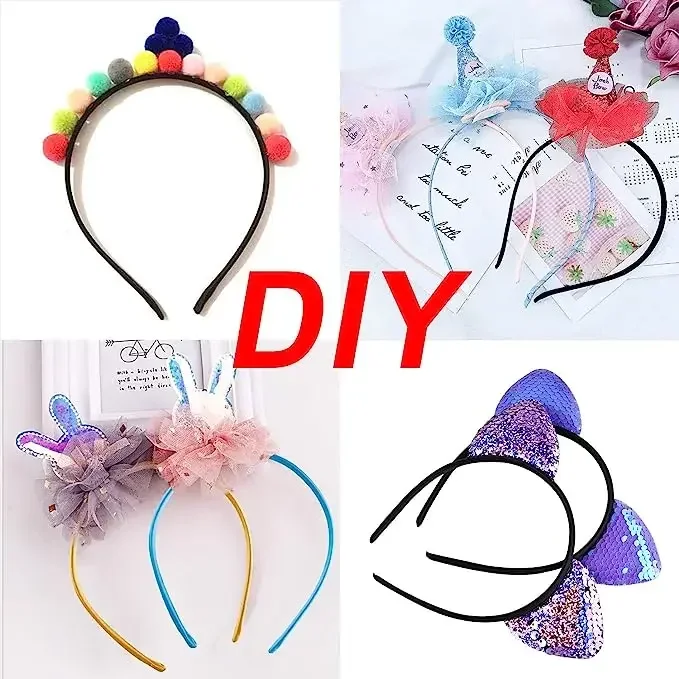
Another approach involves using a plain headband base from a craft store. Then, wrap it with ribbon, yarn, or fabric strips. Secure the ends with hot glue for instant customization. You can braid three strips together and glue them onto a plastic band. Adding a bow or charm completes the look. Foam headbands covered in fabric also work well for kids’ crafts. They’re lightweight and easy to decorate.
Additionally, old t-shirts or leggings make excellent sources of free material. Just cut them into continuous loops. These upcycled headbands help reduce textile waste. Since they require minimal tools, they’re great for travel or classroom use. Therefore, no-sew diy headbands offer accessibility and speed.
 Styling Tips: How to Match Your Headband to Any Outfit
From Casual Wear to Special Events
A well-chosen headband can elevate even the simplest outfit. For everyday wear, neutral tones like beige, gray, or black blend seamlessly. Pair them with jeans, tees, or office attire. On the other hand, bright colors or floral patterns stand out beautifully in spring and summer. They complement sundresses and sandals effortlessly. Animal prints add edge to monochrome looks.
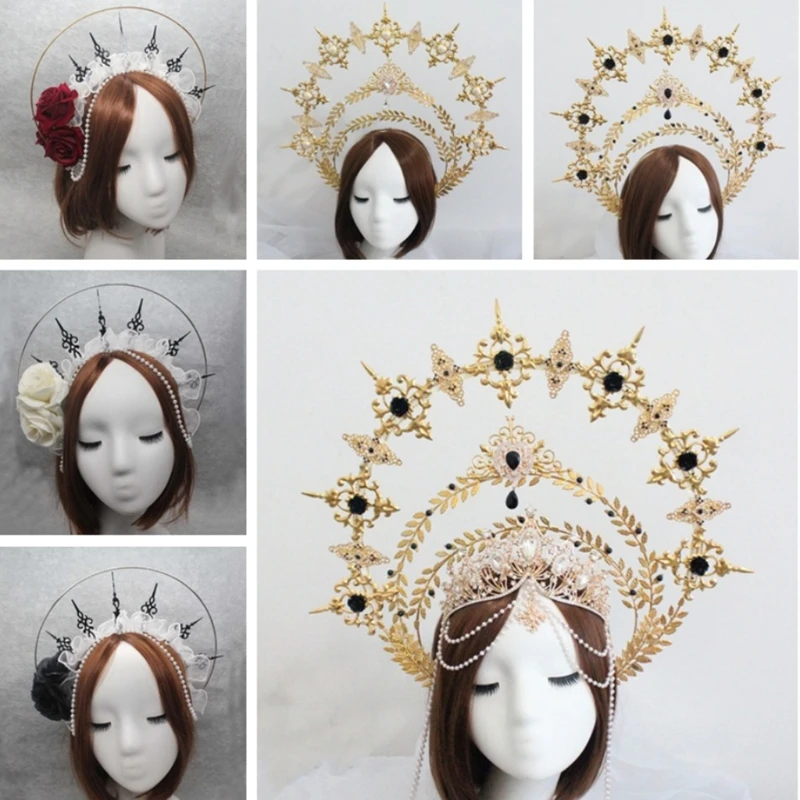
For formal occasions, consider embellished diy headbands. Attach pearls, sequins, or velvet flowers for a sophisticated touch. Brides often wear lace-trimmed versions for weddings or photoshoots. Meanwhile, metallic threads shine under indoor lighting. These details make your accessory the focal point. Athleisure outfits pair well with sporty fabric bands. Moisture-wicking materials keep hair off your face during workouts.
Seasonal themes also inspire creative choices. Red and green for Christmas, pastels for Easter, orange and black for Halloween. Kids love holiday-themed diy headbands for school events. Adults enjoy them for parties or photo ops. Therefore, styling possibilities are nearly endless. With a few adjustments, each headband fits multiple scenarios.
Best Tools and Supplies for Successful Crafting
Must-Have Items for Smooth Workflow
Having the right tools makes diy headbands easier and more enjoyable. A good pair of fabric scissors ensures clean cuts every time. Rotary cutters help when working with large pieces. Cutting mats protect surfaces and improve accuracy. Measuring tapes and rulers assist in achieving consistent sizes. Pins or clips hold layers together before sewing.
If you plan to sew, a basic sewing machine speeds up production. Choose one with adjustable stitch length and zigzag capability. Irons and pressing cloths give professional finishes. Thimbles protect fingers during handwork. Needles should match your thread and fabric type. For no-sew projects, hot glue guns are essential. Use low-temp models for safety, especially around children.
Storage bins keep supplies organized. Label containers for elastic, fabric scraps, and trims. Worktables with good lighting reduce eye strain. Natural daylight is best for color matching. Additionally, pattern templates save time on repeated designs. Templates can be printed or made from cardboard. Overall, proper tools increase efficiency and quality.
 Frequently Asked Questions About DIY Headbands
Common Concerns Answered Clearly
Can I wash my diy headbands? Yes, most can be hand washed or gently machine cleaned. Always check fabric care labels first. Air drying preserves shape and elasticity. Do they stay in place during exercise? Only if made with grippy materials. Silicone strips or terry cloth linings improve hold. Can kids make them safely? Absolutely—with adult supervision. Use child-safe scissors and cool glue guns.
How long does it take to make one? Simple no-sew versions take 5–10 minutes. Sewn ones may take 20–30 minutes. Are expensive materials necessary? Not at all. Thrifted clothes and remnant fabrics work well. Can I sell headbands I make? Yes, but follow copyright rules for patterns. What if it’s too tight or loose? Adjust elastic length or use adjustable knots. Will fabric fray over time? Pre-washing and sealing edges helps prevent this. These answers empower beginners to start confidently.
 Final Thoughts on Creating Your Own Accessories
Empowerment Through Handmade Fashion
How Can You Make a Headband at Home in Under 30 Minutes? Diy headbands represent more than just a craft—they symbolize independence and creativity. By making your own, you reject generic trends and embrace individuality. Each piece reflects your taste, mood, and effort. Moreover, the process builds valuable skills and boosts confidence. Whether sewing or gluing, you gain hands-on experience. Over time, your designs become more refined and unique.
Additionally, diy headbands promote sustainability. Reusing fabric reduces waste and environmental impact. They also make heartfelt gifts that show thoughtfulness. Friends and family appreciate personalized touches. As interest in slow fashion grows, handmade accessories gain importance. Therefore, continuing this practice supports mindful consumption. Ultimately, diy headbands combine joy, utility, and style in one simple project.