Introduction
How to make DIY bracelets for gifting? DIY bracelets are a fun and creative way to express yourself. Making your own bracelets allows you to explore endless styles, colors, and techniques. Whether you’re a beginner or an experienced crafter, there’s always something new to try. Handmade bracelets also make wonderful gifts for friends and family.
Why Choose DIY Bracelets?
DIY bracelets are cost-effective and customizable. Unlike store-bought jewelry, you can design them to match your personal taste. They also allow you to create unique pieces that stand out. Crafting your own bracelets is a great way to learn new skills and relax. It’s a fun hobby for individuals or a group activity with friends.
Benefits of Making Your Own Jewelry
Making your own jewelry unleashes your creativity. You can experiment with different materials and designs. It’s also a rewarding process to see your ideas turn into beautiful accessories. Additionally, DIY bracelets can be eco-friendly if you use upcycled or natural materials. Creating your own jewelry fosters a sense of accomplishment and pride in your work.
 Essential Tools and Materials
Creating DIY bracelets requires the right tools and materials. Preparing them beforehand ensures smooth crafting. Here’s what you need to get started:
Tools You’ll Need
Having the right tools makes bracelet making easier and more enjoyable. Here are the essentials:
- Scissors: For cutting threads, cords, or elastic. A sharp pair works best.
- Pliers: Round-nose pliers for wire bending, flat-nose pliers for gripping, and cutters for trimming.
- Beading Needles: Useful for threading small beads onto fine cords.
- Measuring Tape: To ensure the right bracelet length for perfect fit.
- Glue: Strong adhesives like jewelry glue secure knots or materials.
- Bead Organizers: Keeps your beads, charms, and embellishments sorted and easily accessible.
These tools are essential for both beginners and experienced crafters. Invest in quality tools for long-lasting use.
Common Materials: Beads, Threads, Charms, and More
The choice of materials depends on the style you want to create. Here are common materials:
- Beads: Glass, wooden, acrylic, or gemstone beads can add texture and color.
- ** Threads:** Use embroidery thread, waxed cord, or elastic thread for different bracelet types.
- Charms: Personalized charms make your bracelets unique and meaningful.
- Clasps and Findings: Lobster clasps or magnetic closures ensure easy wear and secure fitting.
- Wires: Jewelry wires suit advanced designs like wire-wrapped or charm bracelets.
- Natural Materials: Feathers, shells, or wooden beads create eco-friendly and bohemian-style pieces.
Combining these materials lets you craft a variety of fashionable DIY bracelets for all occasions.
Easy DIY Bracelet Ideas for Beginners
Starting with simple DIY bracelets is a great way to build your crafting skills. These beginner-friendly designs require minimal tools and basic materials you might already have. Let’s explore some easy ideas to try when starting out with DIY bracelets.
Beaded Bracelets
Beaded bracelets are classic and versatile. They are perfect for beginners looking to experiment:
- Choose Your Beads: Select beads in various colors, sizes, and materials like glass, wood, or acrylic.
- Prepare Your Thread: Use stretch cord or thin elastic thread for easy wear.
- String the Beads: Thread your chosen beads in any pattern or style you like.
- Tie a Secure Knot: Use a strong knot or add glue to ensure durability.
These bracelets can complement any outfit and make fantastic gifts. Plus, they are customizable to suit all styles.
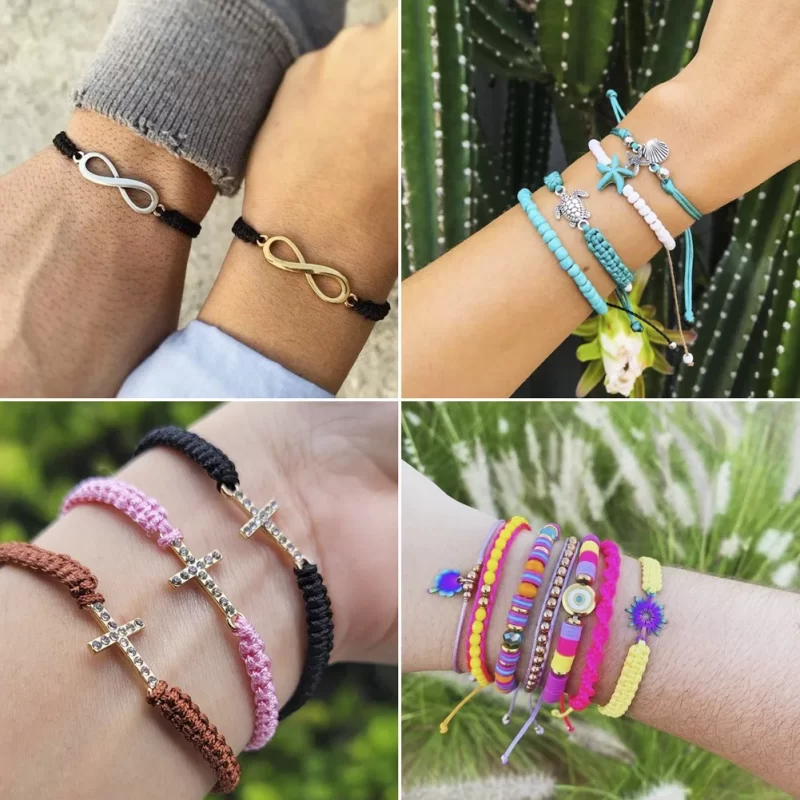
Friendship Bracelets
Friendship bracelets are a timeless craft for all ages. They symbolize connection and make heartfelt gifts:
- Materials You Need: Embroidery threads or colorful cords work best.
- Pick a Design: Try simple knots or woven patterns like chevrons or braids.
- Use a Clipboard: Secure your threads on a clipboard to keep them steady while you work.
- Knot with Care: Follow tutorials for knot placement to create neat designs.
These bracelets are fun, colorful, and nostalgic. You can even make matching sets with friends.
Stretch Cord Bracelets
Stretch cord bracelets are quick and easy to make. They don’t require clasps or complex techniques:
- Pick Stretchy Cord: Choose high-quality, clear elastic cord for durability.
- Select Your Beads: Use lightweight beads to ensure comfort.
- Measure to Fit: Cut the cord slightly longer than your wrist size.
- Thread and Secure: String the beads and tie a tight knot with glue for extra hold.
These bracelets are simple, stretchy, and suitable for anyone. They’re perfect for layering with other jewelry.
By experimenting with these beginner ideas, you can gain confidence in making beautiful DIY bracelets. Unleash your creativity and make stylish pieces with ease!
 Advanced DIY Bracelet Techniques
Take your bracelet-making skills to the next level with advanced techniques. These methods allow you to create intricate designs and unique pieces that stand out.
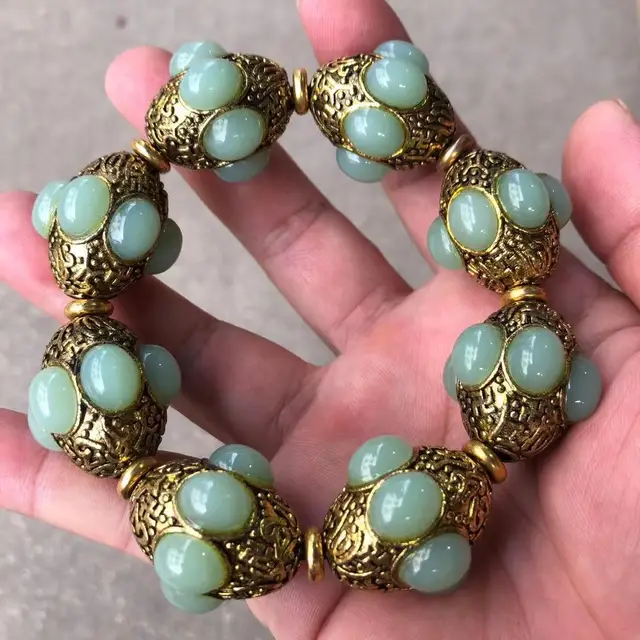
Wire-Wrapped Bracelets
Wire-wrapped bracelets are stylish and versatile. They can elevate any outfit with a touch of elegance.
- Choose Your Wire: Use jewelry wire in gold, silver, or copper for a polished look.
- Select Your Beads: Gemstone beads or crystals work well for wire-wrapping projects.
- Wrap Carefully: Use round-nose pliers to shape the wire into loops around the beads.
- Create a Closure: Attach the ends to clasps or form a secure hook.
Practice on simple designs and gradually try intricate wrapping patterns. These bracelets reflect craftsmanship and charm.
Leather Braided Bracelets
Leather braided bracelets offer a rugged and timeless style. They’re perfect for masculine or bohemian looks.
- Materials Needed: Use leather cords in natural or dyed colors for variety.
- Braid the Strands: Combine three or more strands for a basic braid, or try more complex weaves.
- Secure the Ends: Fasten the braided leather with metal clasps or knots.
- Add Embellishments: Include beads or small charms for extra appeal.
These bracelets are durable and pair well with casual or outdoor outfits. They make thoughtful gifts.
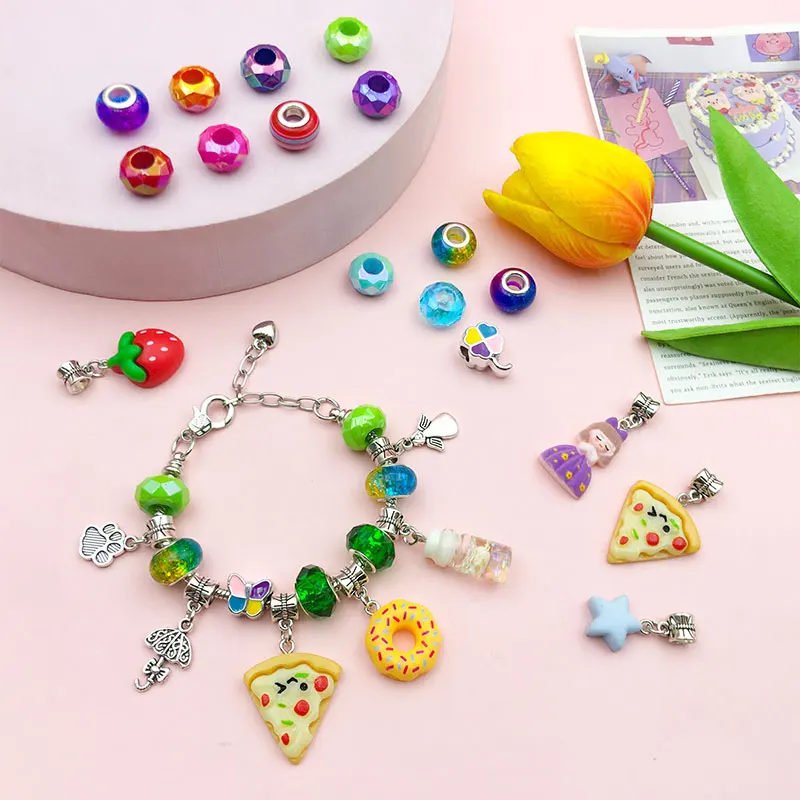
Charm Bracelets DIY
Charm bracelets are highly customizable and fun to make. You can design them to reflect personal stories.
- Pick Your Base: Use a chain bracelet or stretch cord as the foundation.
- Choose Charms: Find charms that represent hobbies, memories, or meaningful symbols.
- Attach the Charms: Secure charms with jump rings or wire loops.
- Balance the Design: Space the charms evenly for a balanced look.
These bracelets are perfect for gifting or keeping as keepsakes. Explore unique charms to personalize your creation.
With these advanced techniques, let your creativity run wild. Create statement pieces that showcase your talent.
Creative Customization Tips for Unique Bracelets
Creating truly unique bracelets is all about customization. Personal touches make your designs stand out.
Adding Personalized Charms
Personalized charms add meaning and individuality to your DIY bracelets. Here’s how you can include them:
- Choose Special Charms: Pick charms showcasing names, initials, or important symbols.
- DIY Charms: Create charms using polymer clay or recycled materials for a personal touch.
- Balance Design: Distribute charms evenly to ensure an attractive and wearable bracelet.
- Mix Styles: Combine meaningful charms with decorative beads for a stylish fusion.
Adding personal elements makes your bracelets one-of-a-kind and perfect for gifting.
Using Unconventional Materials
Experimenting with unconventional materials can elevate your bracelet-making skills. Think outside the box with these ideas:
- Recycled Items: Use old zippers, bottle caps, or fabric scraps for sustainable designs.
- Unexpected Objects: Incorporate safety pins, hardware washers, or leather remnants for edgy styles.
- Natural Elements: Add feathers, dried flowers, or hand-painted stones for unique textures.
- Combine Textures: Mix unconventional materials with traditional beads for visual interest.
These materials create bespoke pieces that showcase creativity and innovation.
Mixing and Matching Colors and Textures
The combination of colors and textures can significantly enhance your bracelet designs. Here’s how you can master this:
- Color Harmony: Use a consistent color palette for cohesive designs.
- Add Contrasts: Combine bold tones with neutral shades for striking looks.
- Explore Textures: Pair smooth beads with rough or natural elements like wood or leather.
- Layered Designs: Stack bracelets with varying materials for a unique and trendy style.
Mixing colors and textures lets you make bracelets that suit all types of themes and occasions.
These customization tips ensure eye-catching, personalized homemade jewelry creations. Let your imagination inspire stunning bracelet designs!
 Fun DIY Bracelet Projects for Kids
Children enjoy crafts that are simple, colorful, and engaging. DIY bracelet projects are perfect for them. These ideas are easy to make and use safe materials for little hands. Let’s explore some fun options that kids will love!
Simple Elastic Bracelets
Stretchy elastic bracelets are ideal for beginners and young crafters:
- Gather Materials: Get elastic cord and lightweight beads in vibrant colors.
- Measure the Cord: Cut it slightly longer than the wrist size.
- String the Beads: Let kids thread beads in fun patterns.
- Secure with a Knot: Tie the cord tightly to prevent beads from slipping.
These bracelets are quick and customizable. Kids can create matching sets with friends.
Painted Wooden Bead Bracelets
Painting wooden beads adds a personal touch to bracelets:
- Select Materials: Use plain wooden beads and non-toxic paint.
- Paint Designs: Let kids create patterns or characters on the beads.
- Thread the Beads: Slide painted beads onto stretchy cord or thread.
- Secure the Bracelet: Tie a sturdy knot to finish.
These bracelets are colorful, fun, and perfect for artistic kids. They also make thoughtful handmade gifts.
DIY bracelet projects for kids give them a sense of accomplishment. Simple materials and guidance spark creativity. Let kids dive into bracelet making for hours of fun!
Sustainable and Eco-Friendly DIY Bracelet
Making sustainable and eco-friendly bracelets is both fun and beneficial for the environment. By choosing responsible materials, you can create unique pieces while reducing waste. Let’s explore how to make bracelets with upcycled and natural items.
Upcycled Material Ideas
Upcycled materials turn waste into beautiful handmade bracelets. Here are some creative ideas:
- Old Fabrics: Cut strips from old clothes or scarves to make colorful braided bracelets.
- Bottle Caps: Decorate caps with paint and attach them using threads or wires.
- Broken Jewelry: Reuse beads and findings from damaged pieces to craft new bracelets.
- Cans Tabs: Connect can tabs with wires or cords for trendy designs.
- Plastic Bags: Twist or braid plastic strips to create vibrant bracelets.
These ideas encourage resourcefulness and help minimize discarded items. Transform everyday objects into wearable art!
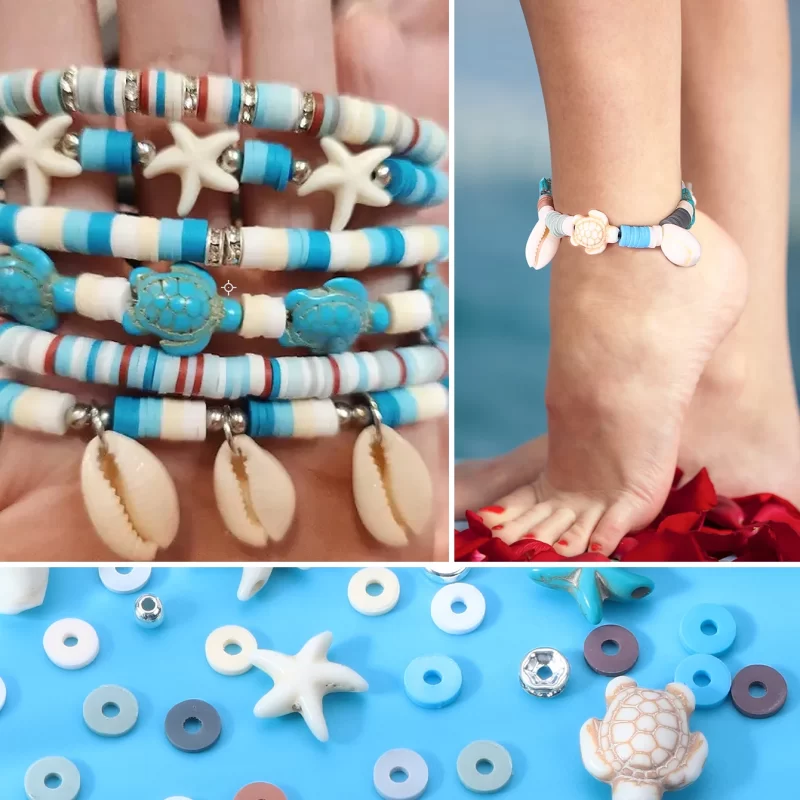
Using Natural Elements: Wood, Stones, and Shells
Natural materials add texture and charm to eco-friendly bracelets. Incorporate these elements for unique designs:
- Wood Beads: Use polished or unfinished wooden beads for a rustic look.
- Stones: Select smooth or rough stones for earthy and authentic bracelets.
- Shells: Attach small shells for a beach-inspired accessory.
- Feathers: Pair feathers with colorful threads for bohemian-style bracelets.
- Dried Flowers: Use clear resin to embed flowers for nature-inspired pieces.
These materials are perfect for sustainable crafting and bring the beauty of nature to your bracelets. Combine them with eco-friendly cords or clasps for durable creations.
By embracing sustainable practices, you can create beautiful bracelets while caring for the planet. Craft responsibly and inspire change!
 Tips for Selling Handmade Bracelets Online or Locally
Selling handmade bracelets can be a rewarding way to share your creativity. With a few simple strategies, you can successfully market your DIY creations. Let’s explore tips for pricing, promotion, and packaging to attract customers.
Pricing Your Artistry
Setting the right price is crucial for selling handmade bracelets. Here are some steps:
- Calculate Costs: Add up materials, tools, and any shipping fees.
- Factor Time: Consider the hours spent crafting each bracelet.
- Research Prices: Check the prices of similar handmade jewelry in the market.
- Add Profit Margin: Ensure your pricing covers costs and generates profit.
- Offer Discounts: Provide bulk-buy offers or seasonal deals to attract repeat buyers.
Fair and competitive pricing helps customers understand the value of your artistry.
Promoting Your Creations on Social Media
Social media is an effective platform for showcasing DIY bracelets. Use these methods:
- Post Photos: Share high-quality images of your handmade bracelets.
- Create Stories: Use Instagram or Facebook stories for behind-the-scenes crafting updates.
- Engage Followers: Interact through comments, polls, and live sessions.
- Use Hashtags: Add popular tags like #DIYBracelets to reach a larger audience.
- Collaborate: Partner with influencers or other crafters to promote your pieces.
- Run Ads: Invest in targeted ads to highlight your unique designs.
A strong social media presence builds interest and connects you with potential buyers.
Packaging and Presentation Ideas
Attractive packaging increases the appeal of handmade bracelets. Follow these tips:
- Choose Eco-Friendly Materials: Use recyclable boxes, paper, or fabric pouches.
- Include Brand Elements: Add a logo, business name, or a story about your creations.
- Add Personal Touches: Include handwritten thank-you notes or customization options.
- Ensure Safety: Use secure wrapping to avoid damage during shipping.
- Enhance Unboxing: Create a delightful unboxing experience with neat and creative packaging.
Presentation reflects your professionalism and elevates the customer experience.
With thoughtful pricing, active promotion, and appealing packaging, anyone can turn handmade bracelets into a thriving business!
Frequently Asked Questions (FAQ)
What Materials Do I Need to Start Making DIY Bracelets?
To start making DIY bracelets, you’ll need basic materials such as beads, stringing material (elastic cord, nylon wire, etc.), clasps, charms or pendants, spacer beads, as well as tools like pliers, wire cutters, scissors, and beading needles.
How Long Does It Take to Make a DIY Bracelet?
The time required to make a DIY bracelet depends on its complexity. A simple beaded bracelet can take as little as 30 minutes, while more intricate designs with multiple charms or knots may take an hour or more.
Can I Make DIY Bracelets Without Specialized Tools?
Yes, you can make basic DIY bracelets with minimal tools. While specialized tools like pliers and wire cutters enhance the crafting process, simple beads and elastic cords can be used with just scissors and a needle for threading.
Are DIY Bracelets Durable?
DIY bracelets can be highly durable if made with quality materials and proper techniques. Using strong stringing materials, secure clasps, and reliable fastening methods ensures your bracelets can withstand regular wear.
How Do I Choose the Right Beads for My DIY Bracelet?
Choose beads based on the bracelet’s purpose and the wearer’s style. Consider factors like bead size, color, material, and shape to match your design vision. Selecting complementary beads enhances the overall aesthetic of the bracelet.
Can I Personalize My DIY Bracelet?
Absolutely! Personalizing your DIY bracelet with initials, names, birthstones, or meaningful charms adds a unique and sentimental touch. Customization makes the bracelet a special and treasured piece of jewelry.
What Are Some Popular DIY Bracelet Styles?
Popular DIY bracelet styles include beaded bracelets, friendship bracelets, charm bracelets, braided bracelets, wire-wrapped bracelets, and adjustable stretch bracelets. Each style offers a different look and creative opportunity.
How Do I Ensure My DIY Bracelet Fits Properly?
Measure the intended wearer’s wrist accurately and choose an appropriate length. Use adjustable clasps or elastic cords to accommodate slight variations in size, ensuring the bracelet fits comfortably without being too tight or too loose.
Can I Make DIY Bracelets as Gifts?
Yes, DIY bracelets make thoughtful and personalized gifts for friends, family, and loved ones. Customizing the design with meaningful charms or colors adds a special touch, making the gift more memorable and cherished.
Where Can I Find Inspiration for DIY Bracelet Designs?
Inspiration for DIY bracelet designs can be found in nature, fashion magazines, online jewelry communities, social media platforms like Pinterest and Instagram, and through personal experiences and creativity. Exploring different sources can spark new and unique design ideas.
 Conclusion
Are DIY bracelet tutorials suitable for beginners? Crafting your own bracelets not only allows you to express your creativity and personal style but also provides a meaningful way to connect with others through handmade gifts. By understanding the various techniques, choosing the right materials, and following practical tips, you can create beautiful and durable bracelets that reflect your unique personality and artistic flair. Whether you’re a beginner or a seasoned crafter, DIY bracelets offer endless possibilities for customization and creativity. Embrace the joy of making your own jewelry, and let your imagination guide you in creating stunning DIY bracelets that you and others will cherish for years to come.