
Easy friendship bracelets have long been a beloved craft that brings people together through color, pattern, and personal connection. These simple yet meaningful accessories are more than just woven threads—they represent bonds, memories, and shared moments between friends. What makes them especially popular is how accessible they are; anyone can learn to make easy friendship bracelets with just a few basic supplies and a little patience. From summer camps to school hallways, these handmade gifts spread kindness and creativity across age groups. Moreover, their rise in popularity has been fueled by social media, where step-by-step tutorials inspire millions to pick up embroidery floss and start knotting.
This article explores the history of friendship bracelets, essential materials, beginner-friendly techniques, popular patterns, styling ideas, care tips, and answers common questions. Whether you’re crafting for fun, gifting, or teaching others, understanding the full scope of easy friendship bracelet tutorial for beginners enhances both enjoyment and impact. Most importantly, each bracelet tells a story—one of friendship, effort, and heartfelt expression.
 Materials Needed for Friendship Bracelets
Having the right materials ensures a smooth bracelet-making process. Let’s explore the essentials and extras.
Essential Supplies
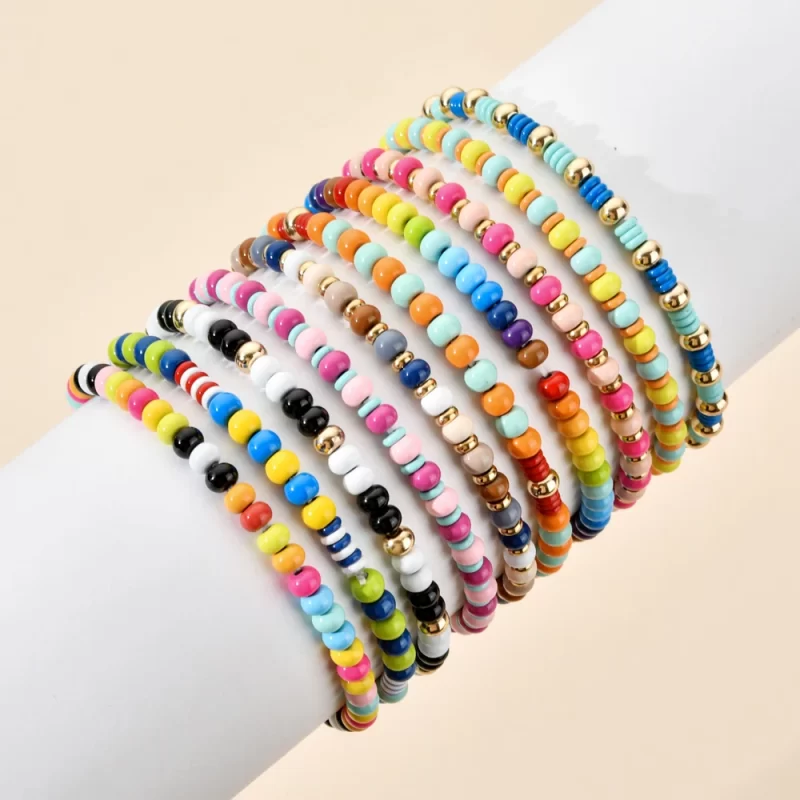
- Embroidery Floss: This is the key ingredient. Choose various colors for vibrant bracelets.
- Scissors: Sharp scissors help cut the thread cleanly.
- Tape or Clipboard: These hold the bracelet steady while you work.
- Measuring Tape: Use this to measure your thread for consistency.
Optional Tools and Accessories
- Beads and Charms: Add these for a personal touch to your bracelets.
- Safety Pins: Use these to attach your bracelet to soft surfaces for stability.
- Craft Mat: This protects your workspace and adds comfort.
- Knotting Tool: Makes tying knots easier and more precise.
With these materials, you’re ready to start crafting easy friendship bracelets!
Choosing Patterns and Styles
Selecting patterns and styles is vital when making easy friendship bracelets. It defines their look and feel. Consider your skill level and personal preferences to choose the best designs.
Popular Bracelet Designs
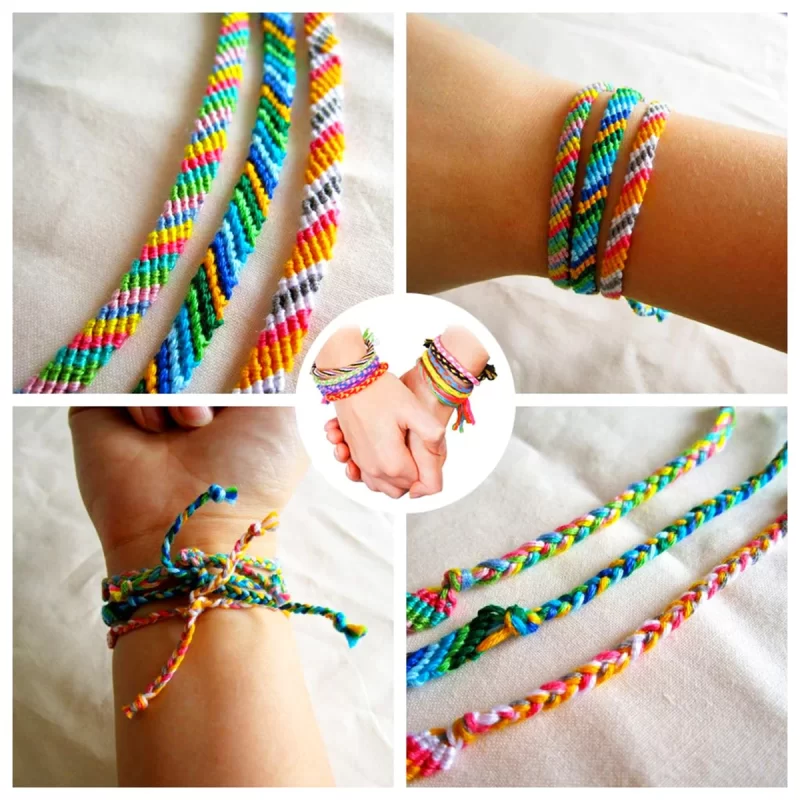
- Chevron Pattern: A timeless design with a striking zig-zag look. Perfect for vibrant color combinations.
- Spiral Design: A fun, twisting pattern. This is simple and ideal for beginners.
- Diagonal Stripe: A classic choice with clean, linear stripes running across the bracelet.
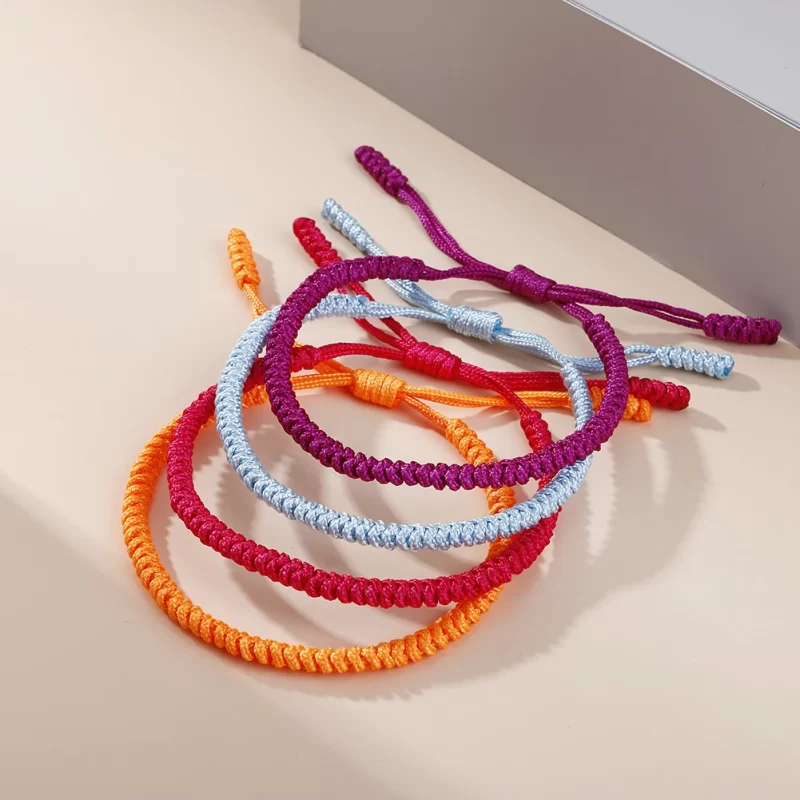
- Braided Style: Combines simplicity and elegance. Braiding three strands creates a polished, sophisticated look.
- Chain Link Style: Mimics the look of actual chains for a modern style.
These popular designs cater to different skill levels, from beginner to advanced. Experiment with each to find your favorite.
Color Combinations and Themes
- Two-Color Combos: Use contrasting colors like blue and yellow for bold, eye-catching designs.
- Gradient Tones: Use shades of the same color for smooth, gradual transitions.
- Theme-Based Colors: Match colors to occasions or inspirations, like pastels for spring or red and white for holidays.
- Rainbow Patterns: Vibrant and cheerful, these work well for all styles and patterns.
- Neon and Metallics: Add flair with bright or shiny threads that stand out.
The right colors elevate your design and make your bracelet more personal. Use themes or favorite colors for the best outcome.
 Step-by-Step Guide to Making Basic Friendship Bracelets
Making friendship bracelets can be simple and fun. Follow these steps to create your first masterpiece.
Setting Up Your Workspace
- Choose a Well-Lit Area: Good lighting helps you see details clearly as you work.
- Opt for a Comfort-Friendly Surface: A flat table or crafting mat is ideal.
- Secure Your Bracelet: Use tape, a clipboard, or a safety pin to hold the bracelet steady.
- Organize Your Materials: Arrange threads, scissors, and other tools within easy reach.
- Minimize Distractions: Set your phone to silent and focus on your project.
A tidy and organized setup ensures a smooth bracelet-making experience.
Creating the Initial Knots
- Cut the Threads: Measure and cut your embroidery floss to the desired length, about 24–36 inches.
- Align the Threads: Arrange the threads together and fold them in half.
- Tie a Loop Knot: Create a loop at the folded end by tying a basic overhand knot.
- Secure the Loop: Either tape it down or clip it to hold it firmly while you work.
- Separate the Threads: If using multiple colors, spread the strands to avoid tangling.
Once the initial knots are ready, you can start weaving your chosen pattern. Proper preparation simplifies the process of making easy friendship bracelets.
Easy Bracelet Patterns for Beginners
Creating easy friendship bracelets doesn’t require advanced skills. Here are three beginner-friendly patterns to try.
Simple Spiral Design
The simple spiral design is great for beginners. Its twisting look makes it fun and unique.
- Cut Your Threads: Use 3–4 threads in different colors, each about 24–36 inches long.
- Tie an Anchor Knot: Align the threads, fold in half, and make a basic loop knot.
- Start Knotting: Select one thread as the working thread. Wrap it over and around others to make knots.
- Keep Consistent: Always knot in the same direction to form a spiral pattern.
- Finish the Bracelet: Tie a secure knot at the desired length and trim the excess threads.
This pattern is quick, easy, and colorful. Try different thread combinations to experiment.
Chevron Pattern
The chevron pattern is a timeless choice. Its zig-zag design is both striking and simple.
- Prepare the Threads: Use at least 5 threads of equal length (around 30 inches).
- Organize the Colors: Arrange threads in a mirrored order (e.g., blue, red, yellow, yellow, red, blue).
- Tie Forward Knots: Start from the outer threads, moving inward while tying forward knots.
- Knot the Reverse Direction: Once you reach the center, repeat in reverse, working outward.
- Repeat for the Full Bracelet: This creates the chevron’s zig-zag look. Finish off with a loop knot.
The chevron style is ideal for learning symmetry and working with multiple colors.
Braided Bracelet Tutorial
Braided bracelets are simple yet elegant. Perfect for those who love classic styles.
- Cut Your Threads: Use three threads of equal length, around 24–30 inches each.
- Tie an Anchor Knot: Secure the threads at the top with an overhand knot.
- Divide into Sections: Separate the threads into three parts for braiding.
- Start Braiding: Cross the right section over the middle, then the left section over the new middle.
- Continue Until Done: Repeat the process until the bracelet reaches the desired length.
- Secure the Ends: Tie off with a knot and trim any leftover thread.
Braiding is an easy way to create stylish bracelets. Mix colors for added charm.
Experiment with these patterns to improve your skills and build confidence in making easy friendship bracelets.
 Tips for Adding Personal Touches
Friendship bracelets become more special with personal touches. This section guides you to enhance your designs.
Customizing with Beads and Charms
Beads and charms can turn simple bracelets into unique treasures. Here’s how to incorporate them:
- Choose Fitting Beads: Select beads that match your theme or personal style.
- Thread the Bead Mid-Knotting: Slide a bead onto the thread after completing each knot.
- Add Charms Between Knots: Tie knots around a charm to secure it in place.
- Use Patterns: Alternate beads and knots for balanced, visually pleasing designs.
- Test Durability: Ensure knots around beads or charms are tight to avoid slipping.
Using beads or charms allows bracelets to reflect personality and meaning.
Using Unique Knotting Techniques
Experimenting with knotting techniques can make bracelets stand out. Here are ideas to try:
- Square Knots: These knots offer a clean, polished look with consistency.
- Twisted Knots: Create textured, spiral patterns for added depth.
- Macramé Knots: Utilize forward and backward knots for intricate patterns.
- Alternating Colors: Switch colors between knots for eye-catching contrast.
- Double Knots: Reinforce knots for extra strength and durability.
Unique knotting makes your friendship bracelets more creative and personalized.
Troubleshooting Common Issues
Crafting easy friendship bracelets can sometimes lead to challenges. Fixing mistakes and avoiding tangles are key to a smooth experience.
Fixing Mistakes in Patterns
Mistakes happen, but they are fixable. Follow these tips to correct pattern errors:
- Identify the Error: Spot where the mistake occurred before undoing the knots.
- Undo Carefully: Loosen knots gently using a needle or safety pin to avoid damaging threads.
- Reorganize Threads: Arrange threads back in the correct order before re-knotting.
- Resume Knotting: Continue your pattern while paying attention to alignment and symmetry.
- Learn from Mistakes: Take your time and double-check placement as you progress.
Fixing errors ensures your bracelet pattern looks neat and consistent.
Preventing Tangling and Fraying
Tangling and fraying are common issues when making friendship bracelets. Avoid them with these steps:
- Separate Threads: Keep threads organized and untangled while working.
- Choose Quality Floss: Use durable embroidery floss that resists fraying.
- Work Slowly: Knot threads carefully to avoid twists and tension buildup.
- Trim Frayed Ends: Cut damaged fibers as needed to maintain a tidy look.
- Use Smooth Tools: Opt for smooth tools like safety pins instead of sharp edges.
Following these tips reduces tangles and ensures a clean, easy bracelet-making process.
 Creative Gifting Ideas for Friendship Bracelets
Friendship bracelets make wonderful gifts. With a little creativity, you can add a personal touch.
Packaging and Presentation Tips
Packaging enhances the gifting experience. Here are simple tips to present friendship bracelets beautifully:
- Use Decorative Boxes: Opt for small, colorful boxes to hold the bracelet neatly.
- Add Tissue Paper: Wrap the bracelet in soft tissue paper for protection and style.
- Include Gift Tags: Attach handmade tags with messages for a warm, personal touch.
- Try Mason Jars: Place the bracelet in a jar and tie a ribbon around it for charm.
- Display on Cards: Secure the bracelet on a designed card for a clean, elegant presentation.
- Wrap with Ribbons: Finish with matching ribbons to create a polished look.
Thoughtful packaging turns a simple bracelet into a heartwarming gift.
Incorporating Messages and Symbols
Adding messages or symbols can make bracelets more meaningful. Here’s how to personalize them:
- Engrave Charms: Attach engraved charms with initials or special dates to the bracelet.
- Add Letter Beads: Incorporate beads spelling out names, words, or phrases.
- Pick Symbolic Colors: Use colors representing themes like friendship, love, or special events.
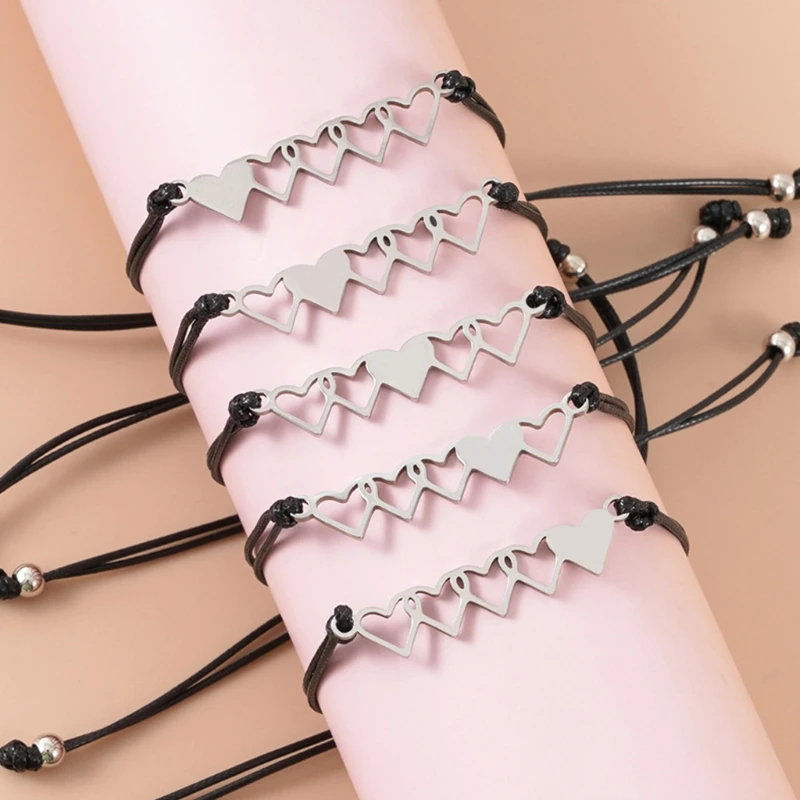
- Include Tiny Pendants: Choose pendants featuring meaningful symbols, like hearts or stars.
- Craft a Matching Set: Design bracelets with shared colors or designs for multiple friends.
- Add Hidden Messages: Knot threads in patterns that subtly represent initials or shapes.
By incorporating meanings, your bracelet becomes a cherished keepsake. Combine thoughtful designs with creative presentation for the perfect gift!
Frequently Asked Questions About Easy Friendship Bracelets
Can young kids make them?
Yes. With supervision, children aged 6+ can learn basic knots.
How long does one take to make?
Simple designs take 15–30 minutes. Complex ones may need hours.
What if the thread breaks?
Tie a small knot and continue. Hide it under new knots if possible.
Are they washable?
Not recommended. Water weakens glue and fades dye. Remove before bathing.
Can I use yarn instead of floss?
Yes, but it’s bulkier. Better for decorative pieces than wristwear.
Do they last long?
With care, several months. Avoid snagging on rough surfaces.
Can boys wear them?
Absolutely. Neutral colors like gray, navy, or camouflage suit all genders.
Where can I find free patterns?
Websites like BraceletBook and YouTube offer thousands of tutorials.
Caring for Your Easy Friendship Bracelets
To extend the life of easy friendship bracelets, handle them gently. First, avoid exposure to water, lotions, and perfumes. These degrade fibers and cause fading. Second, remove them before sleeping or playing sports to reduce friction.
If dirt appears, spot-clean with a damp cloth. Do not scrub hard. Let air dry away from direct sunlight, which bleaches colors. Never machine-wash or iron.
Store extras flat in a drawer or box. Keep them separated to prevent snags. Use tissue paper between layers if stacking.
Inspect regularly for loose threads. Trim frayed ends carefully. Reinforce weak spots with clear nail polish—apply a tiny drop to knots.
Rotate wear if you own multiple. Continuous use wears out one piece faster. Alternating preserves all.
With mindful care, your easy friendship bracelets stay bright and strong. Their beauty lies not only in appearance but in the memories they carry.
 Conclusion: Spreading Joy One Easy Friendship Bracelet at a Time
How to make quick friendship bracelets for friends? Easy friendship bracelets continue to inspire connection, creativity, and compassion across generations. More than just knotted thread, they carry emotions, stories, and promises between friends. Whether made in ten minutes or several hours, each easy friendship bracelet reflects time, thought, and care. Their simplicity invites everyone to participate, regardless of skill level or background. As handmade gestures in a digital world, they remind us of the power of tangible love. By sharing them freely, we build stronger communities and brighter days. Ultimately, every knot tied is a step toward deeper bonds. And in that way, easy friendship bracelets remain a timeless tradition worth passing on.