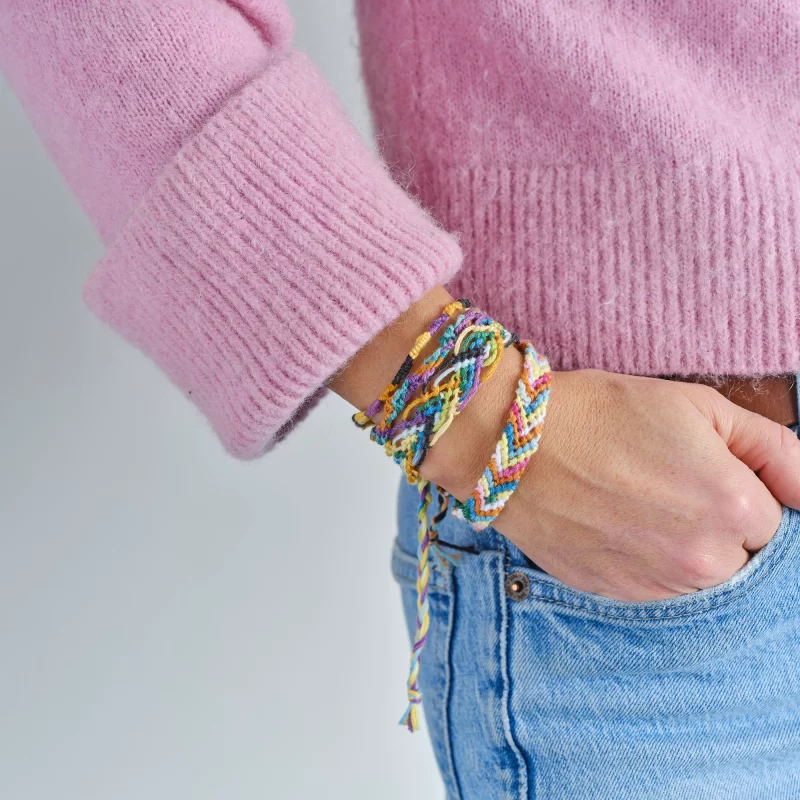
The Origin and Significance of Friendship Bracelets
Friendship bracelets carry a rich history and meaningful symbolism. Initially, they were crafted by indigenous people in Central and South America. Over time, the tradition spread across the globe. These colorful bracelets symbolize the bonds of friendship. They are tokens of care and respect between friends. Each color and pattern holds unique meaning. Sometimes, they reveal the wearer’s wishes or traits. Traditionally, a friend ties the bracelet onto your wrist. The belief goes that you should wear it until it naturally falls off.
This signifies the lasting nature of true friendship. How to make friendship bracelets has become a shared knowledge. It often gets passed on from one friend to another. This adds value to the craft, strengthening connections. Friendship bracelets remain popular, especially among young people. They celebrate festivals, travels, and life milestones with these handmade treasures. Knowing how to make friendship bracelets connects us to a rich cultural inheritance. It fosters creativity and solidarity among peers. In today’s digital age, creating something by hand is a meaningful pause. It reconnects us to simpler joys and the essence of friendship.

Essential Supplies for Making Friendship Bracelets
Before diving into the art of crafting friendship bracelets, it’s important to gather all the necessary supplies. Ensuring you have everything on hand will make the process smoother and more enjoyable. Here’s a list of essentials:
- Embroidery Floss or Craft Thread: This is the backbone of your bracelet. It comes in a wide array of colors. Choose high-quality floss for durability and better color retention.
- Clipboard or Tape: To keep your bracelet steady while you’re working, you’ll need a clipboard to clip the threads onto or tape to secure them to a stable surface.
- Scissors: A sharp pair of scissors is essential for cutting the thread.
- Measuring Tape: To measure lengths of thread and the size of your bracelet, keep a measuring tape handy.
- Beads and Charms (optional): For extra flair, incorporate beads and charms into your designs.
- Safety Pins or Needles (optional): Safety pins can be pinned to a pillow or your pants, offering an anchor to work against, while needles can help with threading beads.
Once your supplies are ready, you’re set to begin learning how to make friendship bracelets. Remember to choose colors and supplies that reflect the personality and preferences of the friend who will be receiving your handmade gift.
Choosing the Right Thread and Colors
Choosing thread and colors is a crucial step in how to make friendship bracelets. The right choices will bring your design to life and personalize your gift. Here are tips to help you select the best options:
- Quality Counts: Opt for high-quality embroidery floss or craft thread. Your bracelet will last longer and the colors will stay vibrant.
- Meanings Matter: Colors hold significance. Red can symbolize love, while green may represent hope. Pick colors that convey a message or fit your friend’s style.
- Create Contrast: Use contrasting colors for a striking effect. They make patterns pop and add visual interest.
- Pattern Planning: Before starting, decide on a pattern. This helps you choose the right colors and quantity of thread.
- Test Combos: Lay the threads next to each other to see how they look together. It can prevent clashing colors.
Remember, the colors and thread quality you choose will affect the final look and feel of the bracelet. Take your time, experiment with combinations, and select with your friend in mind.
 Basic Knots: Techniques and Tips
Mastering basic knots is key in learning how to make friendship bracelets.
The Four Fundamental Knots
1. Forward Knot (FK): Begin with two threads. Cross the right over the left, then loop it under and through. Pull it up firmly to make a knot.
2. Backward Knot (BK): Start with two threads again. This time cross the left thread over the right, loop it under, and then through. Secure it by pulling upwards.
3. Forward-Backward Knot (FBK): Use this to change direction in your pattern. Make a forward knot with the right thread. Then immediately follow with a backward knot using the same threads. This avoids a color change in the bracelet.
4. Backward-Forward Knot (BFK): Similar to the FBK, this starts with a backward knot but finishes with a forward knot. This again helps maintain the color pattern without shifting position.
Knotting Tips for Consistency
- Tightness Matters: Keep knots consistent in tightness. This helps your bracelet maintain an even look.
- Practice Makes Perfect: Work on these knots repeatedly. Your speed and skill will grow.
- Use a Pattern: Following a pattern will help you know which knot to use and when.
- Thread Tension: Hold threads firmly but not too tight. This prevents the bracelet from curling.
These techniques will form the foundation of your bracelet-making skills. With these knots and tips, you’ll create beautiful, handmade friendship bracelets with ease.
Step-by-Step Instructions for Beginners
Making your first friendship bracelet is exciting and simple when you follow these step-by-step instructions.
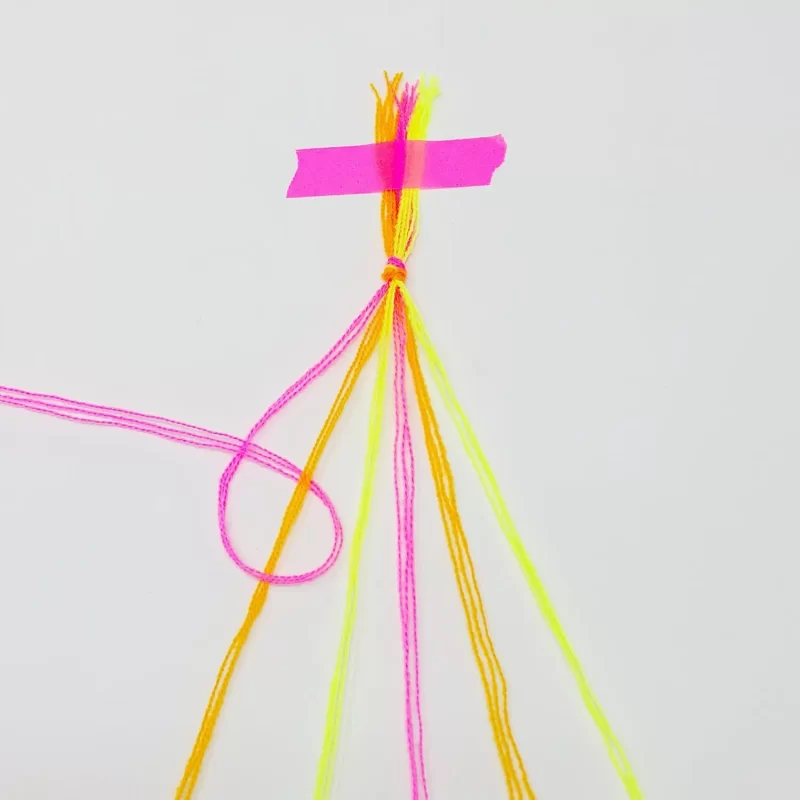
- Cut the Threads: Measure and cut several strands of embroidery floss or craft thread. Each strand should be about 30 inches long, to allow for knotting and tying.
- Secure the Threads: Tie a knot at one end of your threads, leaving about a 3-inch tail. Clip this end to a clipboard or tape it to a stable surface to keep it in place.
- Sort Your Colors: Arrange the threads in the order required by your pattern. This step makes the knotting process smoother.
- Start Knotting: Using the basic knots you’ve learned, start creating your bracelet. Follow the pattern and keep your knots uniform.
- Continue the Pattern: Keep repeating the knots according to your pattern. Watch your bracelet grow as you add more knots.
- Check the Length: Measure the bracelet as you go along. It should fit comfortably around your friend’s wrist.
- Finish the Knotting: Once you reach the desired length, tie another knot to secure the end of the bracelet.
- Tie onto Your Friend’s Wrist: Present your handmade bracelet to your friend, and tie it around their wrist, making sure it’s not too tight or too loose.
- Trim the Excess: Carefully trim any excess thread from the ends, leaving enough so the knots don’t unravel.
By following these instructions, you’ll create a simple yet meaningful piece of jewelry. Remember to choose colors that reflect your friend’s personality and preferences, and put love into every knot. Happy crafting!
 Advanced Patterns and Designs for Experienced Crafters
After mastering the basics of making friendship bracelets, you might feel ready to tackle more complex designs. Advanced patterns and designs can turn a simple bracelet into a stunning piece of art. For those who’ve got a good handle on the fundamental knots, here’s how to expand your craft.
Experiment with Intricate Patterns
Start by exploring patterns that involve more than the basic knots. Look for designs that include chevrons, stripes, waves, or even alphabets. Websites and crafting books often have a range of patterns from simple to complex.
Learn to Integrate Different Knots
Mixing knots can create texture and unique effects in your bracelets. Combine forward, backward, and forward-backward knots to form interesting patterns. Practice makes perfect as you learn to switch between knots seamlessly.
Play with Width and Length
Adjust the width by adding more strands of thread. For longer bracelets that can wrap around the wrist multiple times, use longer strands from the start.
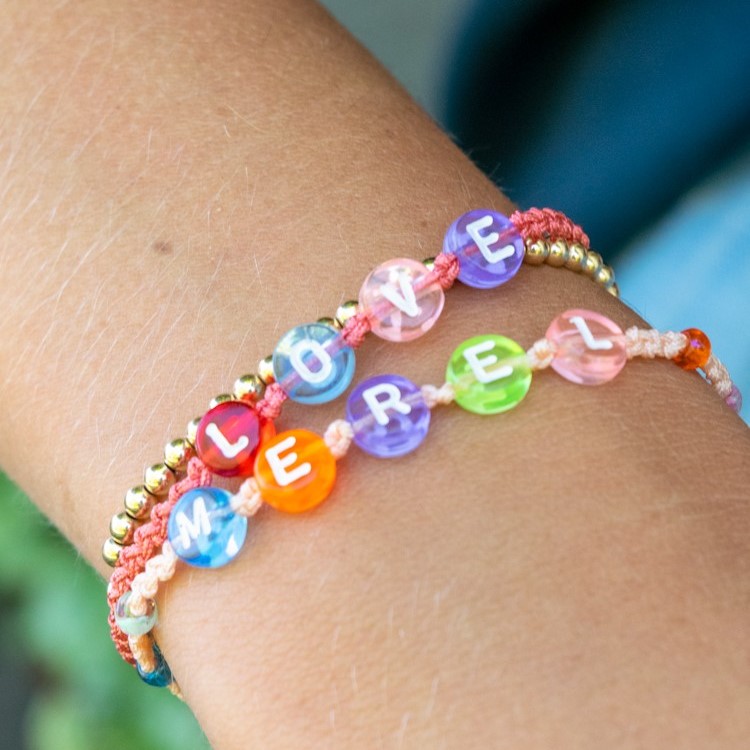
Add Complexity with Beads and Charms
For a truly special bracelet, weave in some beads and charms. Make sure to select ones with holes that fit your thread. Adding these elements will require patience as you thread each bead or charm into place.
By pushing your crafting boundaries, you can create intricate and personalized friendship bracelets. Remember to keep practicing, be patient with new techniques, and always craft with your friend’s tastes in mind. With time and creativity, your skills will grow, and you’ll be able to make truly exceptional friendship bracelets that are cherished for their complexity and beauty.
Finishing Touches: Adding Beads and Charms
Adding beads and charms can elevate a simple bracelet into a unique accessory. With a few extra steps, your friendship bracelets will stand out with a touch of personality. When including beads and charms, consider the following:
- Pre-Plan Your Design: Think about where beads or charms should sit. Plan their placement before starting your bracelet. This prevents design hiccups later.
- Choose the Right Size: Beads and charms come in various sizes. Ensure their holes are large enough for your thread but not too bulky.
- Secure Your Extras: When you reach the point to add a bead or charm, thread it onto the strand, then continue knotting. This keeps it in place.
- Knot Around Beads: If using larger beads, you might need to knot around them. This requires tight knots to prevent slippage.
- Even Spacing: Keep your beads and charms evenly spaced. This gives your bracelet a balanced look.
- Final Knots: After adding the last bead or charm, finish your bracelet with secure knots. This holds everything together.
Remember, these special touches are what make the bracelet uniquely yours. They reflect the thought and effort you put into this gift for your friend.
 Caring for Your Friendship Bracelets
Once your friendship bracelets are crafted, caring for them properly ensures they last longer and retain their beauty. Follow these simple tips for maintaining your bracelets:
- Avoid Water: Keep your bracelets dry. Water can weaken the thread and cause colors to bleed.
- Clean Gently: To remove dirt, lightly rub with a dry cloth. Don’t use harsh cleaners.
- Store Carefully: When not wearing them, store bracelets in a dry place. Avoid tangling by hanging them up or laying them flat.
- Limit Sun Exposure: Excessive sunlight can fade the colors. Wear your bracelets in the shade when possible.
- Prevent Snags: Be cautious around sharp objects. Snags can cause the thread to fray or break.
By taking these small steps, you’ll keep your friendship bracelets looking great. The better you care for them, the longer they’ll symbolize your cherished friendships.
Inspiring Patterns and Tutorials: Expanding Your Bracelet-Making Repertoire
Exploring a variety of patterns and tutorials can keep your bracelet-making experience fresh and exciting. Utilize online resources, books, and videos to learn new techniques and designs.
Online Tutorials and Videos
Platforms like YouTube offer a plethora of video tutorials that demonstrate how to make friendship bracelets step-by-step. Visual learners can benefit greatly from watching these tutorials to understand the nuances of different patterns and techniques.
Books and Craft Magazines
Invest in books or subscribe to craft magazines that feature friendship bracelet patterns. These resources often provide detailed instructions and photos, making it easier to follow along and master new designs.
Crafting Communities and Workshops
Joining crafting communities, both online and offline, can provide support, inspiration, and feedback. Participate in workshops or forums where fellow bracelet makers share their knowledge and creations, helping you learn and grow in the craft.
Benefits of Making Friendship Bracelets
Engaging in the craft of bracelet making offers numerous benefits beyond creating beautiful accessories. Here are some of the positive impacts:
Enhances Creativity and Patience
Crafting friendship bracelets stimulates your creativity as you design patterns and choose colors. Additionally, the repetitive nature of knotting helps develop patience and attention to detail.
Strengthens Social Bonds
Sharing the experience of making friendship bracelets with friends or loved ones fosters stronger social connections. It provides a shared activity that can lead to meaningful conversations and lasting memories.
Stress Relief and Mindfulness
The rhythmic process of knotting threads can be meditative, helping to reduce stress and promote mindfulness. Focusing on the craft allows you to relax and disconnect from daily pressures.
Affordable and Personalized Gifts
Friendship bracelets are cost-effective yet meaningful gifts. They allow you to express your appreciation and affection in a personalized way, making them cherished tokens of friendship.
 Conclusion
Learning how to make friendship bracelets opens up a world of creativity, personal expression, and meaningful connections. By mastering the essential techniques, exploring various patterns, and adding personal touches, you can craft beautiful, personalized bracelets that symbolize the bonds of friendship. Whether you’re a beginner or an experienced crafter, the joy of creating and sharing these handmade accessories is immeasurable. So gather your materials, invite some friends, and embark on the delightful journey of friendship bracelet making. Your hands will not only create beautiful art but also weave stronger ties of camaraderie and love.